24.12.15

A new favourite coat part 3: it's finished!

IMG_0033

A few weeks ago I finished my coat - finally! You can read my previous two posts about my adventures in coat making here and here.

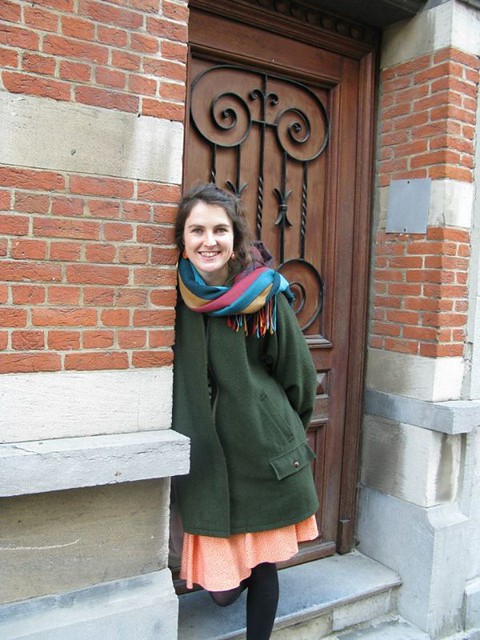
When I finished it at first I had that feeling you have when you finish a sewing project and you're not sure if you are happy with it or not yet. I left it to grow on me for a wee while before daring to wear it out the house. I'm now home in Scotland for Christmas and I've even brought it with me as my 'coat of choice' for the trip!

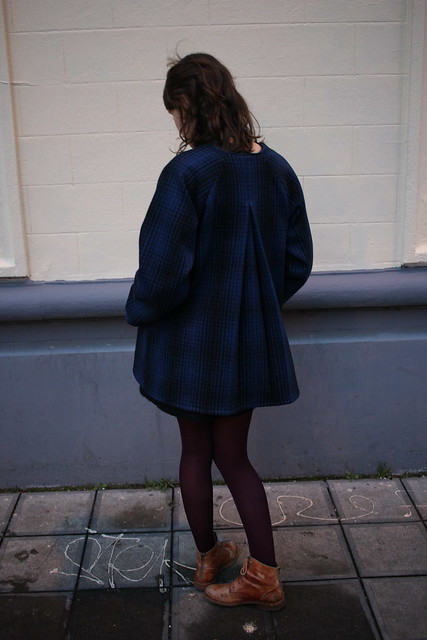
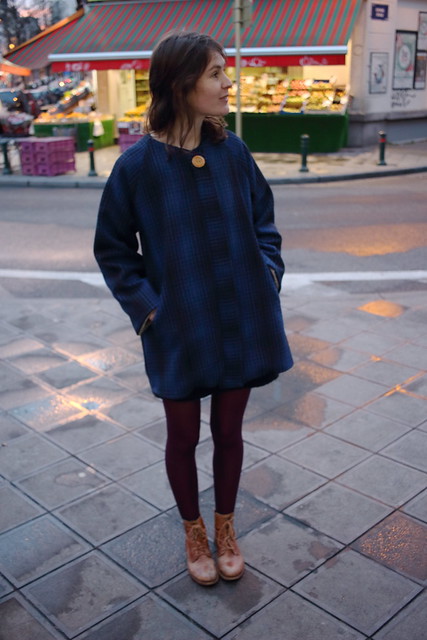
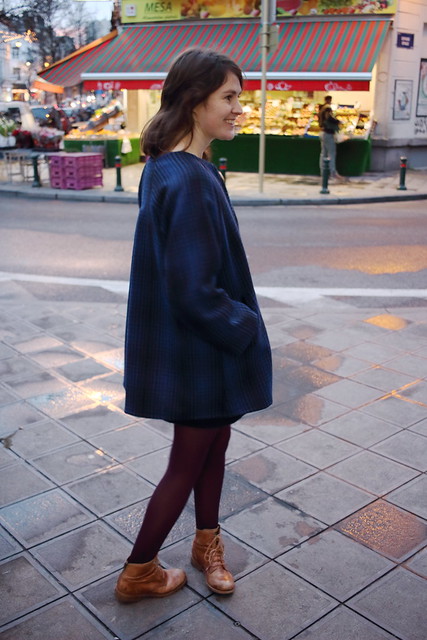
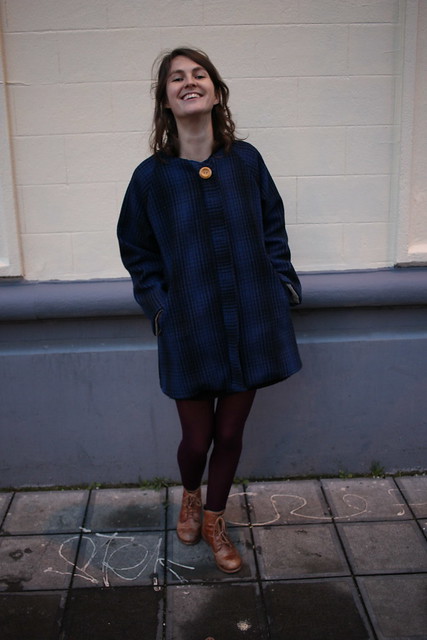
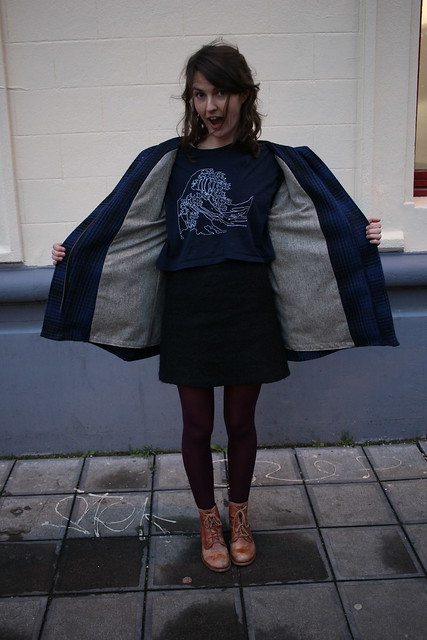
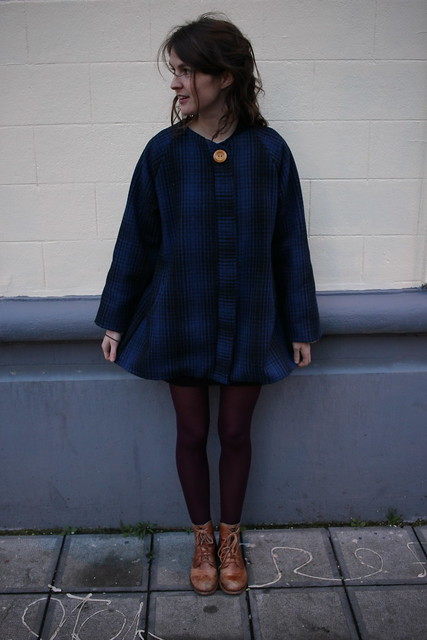
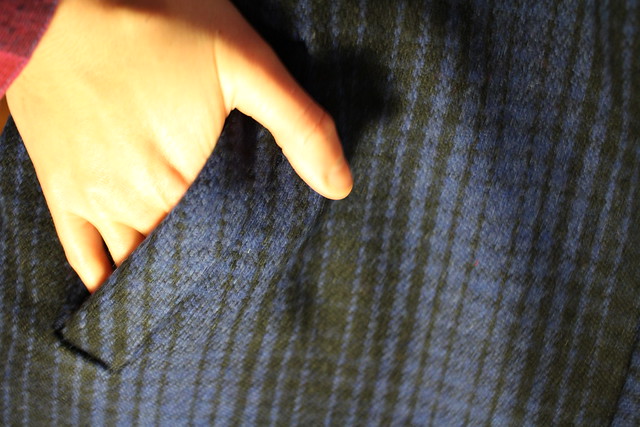
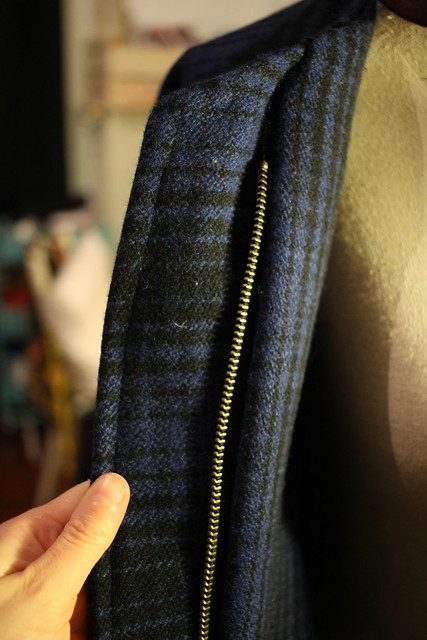
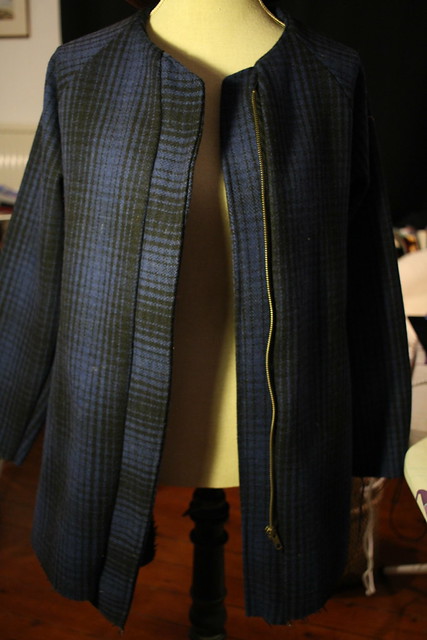
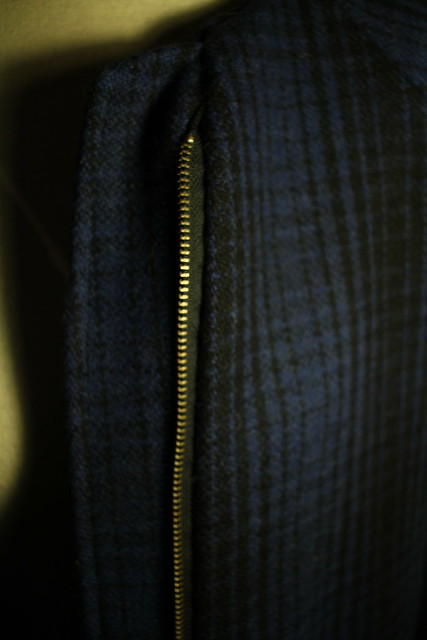
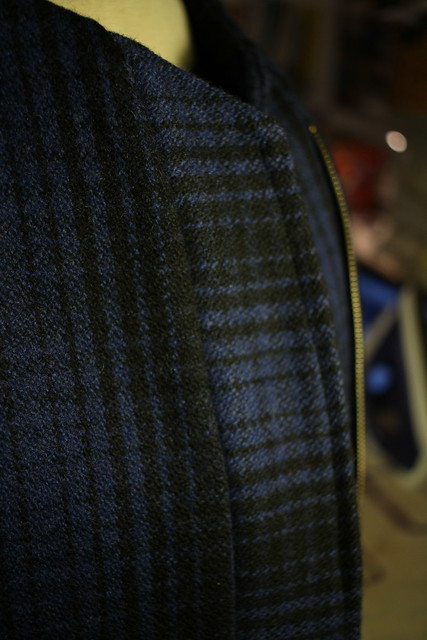
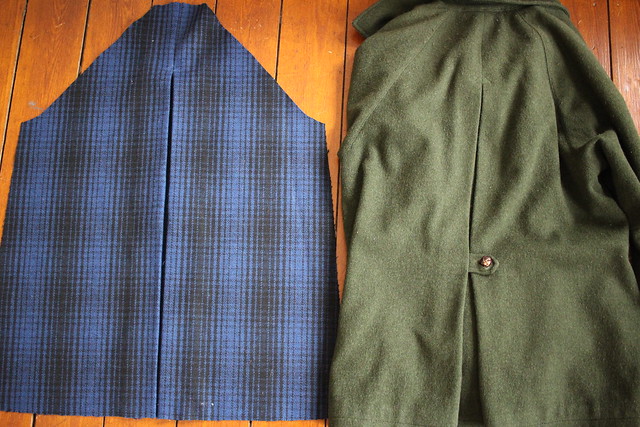
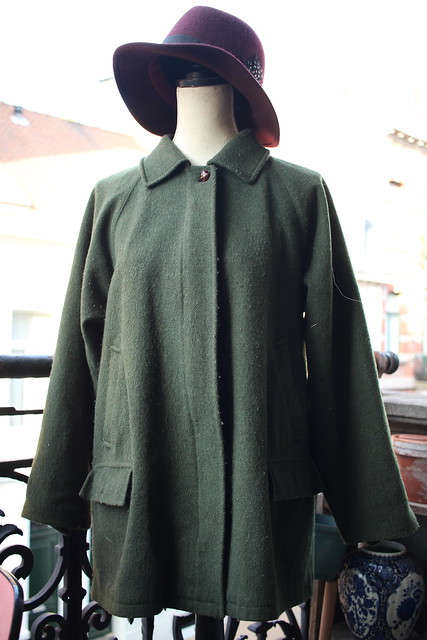
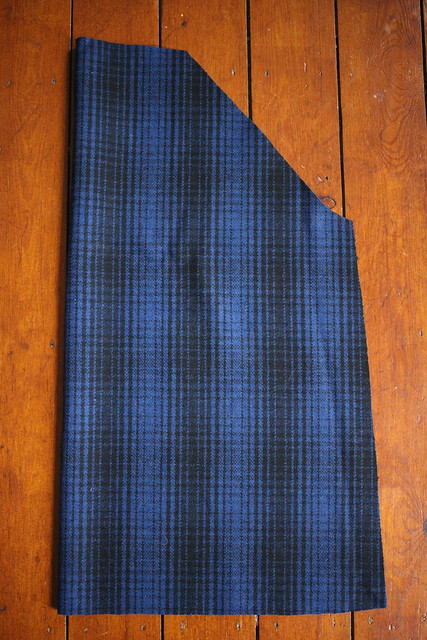
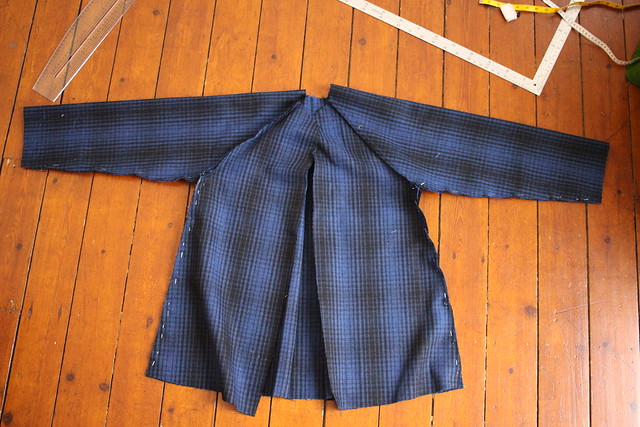
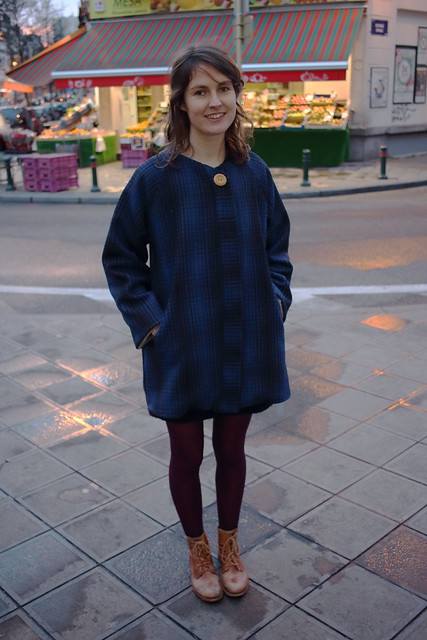
It's far from perfect but I love the shape of the coat and the fabric is great as it goes with everything but isn't dull. For my next such coat adventure I'll make sure I add a collar - I feel that is definitely missing! I added a decorative wooden button too which I think it goes really well with the blue and black checked fabric.

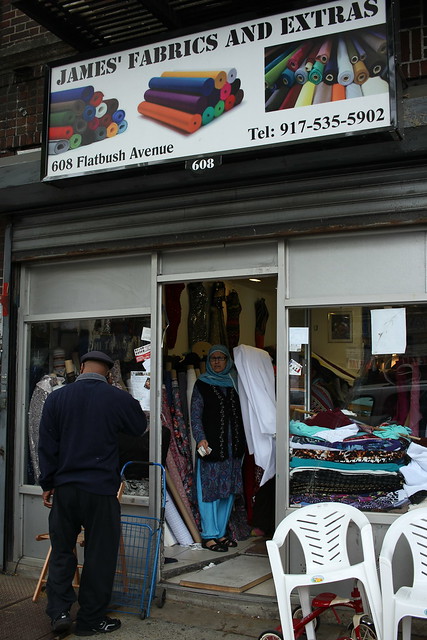
For the lining I used a thick almost tweed-like material from Berger. I knew I didn't want a cheap polyester lining and I wanted it to be breathable too. So far I'm happy with it and it is keeping me warm.
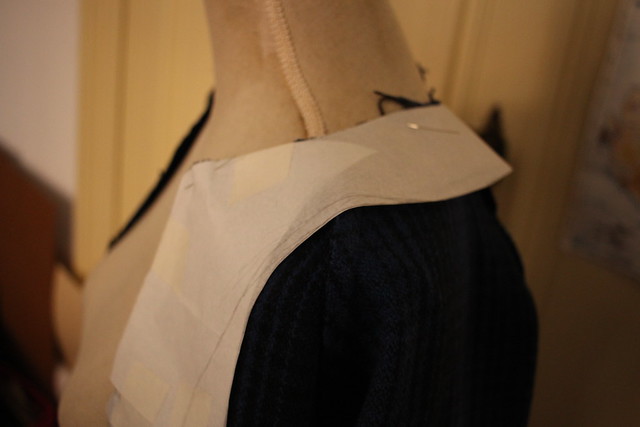
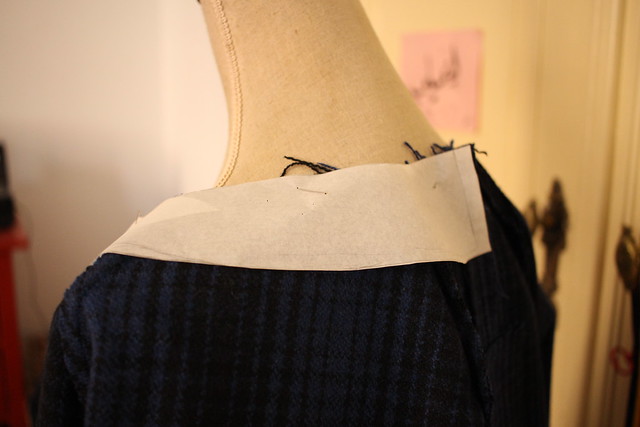
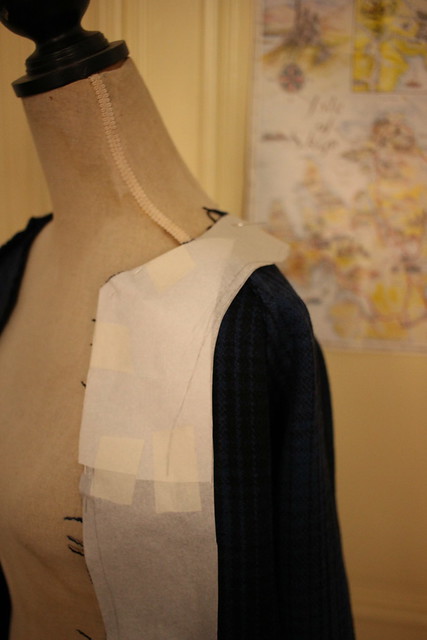
This was a project I'm really proud of and I'm really happy I drafted/rubbed off my own coat pattern rather than using an existing pattern - I definitely learnt a lot!

I think I must have caught the coat making bug as I've already nearly finished another coat - a waterproof! I'll be back in January with some pictures - once I work out how to add snap buttons (way more complicated than it looks).

Before leaving for the holidays I got some pictures of my new lovely coat out and about on the mean streets of Brussels. Happy Christmas everyone - here's to unpicking, topstitching, backstitching - and to sewing adventures in 2016!

IMG_0042
IMG_0055
IMG_0047
IMG_0032
IMG_0039
IMG_0037
IMG_0057
IMG_0050
IMG_0046

8.11.15

Hometown glory

Imagine my delight and surprise when I was home in Scotland this summer to find that a sewing shop has opened up in my hometown!

IMG_9823

Holm Sown is a lovely shop situated on King Street, the main thoroughfare through the lovely town of Castle Douglas in south-west Scotland, where I happily spent the first 18 years of my life. The shop sits across the road from the Sulwath Brewers - which is incidentally where I was heading when I first saw the shop!

I find seeing physical versions of sewing patterns in a bricks and mortar shop pretty exciting as I'm so used to seeing anything to do with sewing through the screen of my computer. Coming in to real contact with 'sewing things' whether it be in a shop or meeting people you've connected with online is great. Seeing the likes of Grainline Studio patterns and Sewaholic patterns staring back at me through the shop window I had to go in.

I really hope the shop does well. If I'm honest I was surprised to see a sewing shop in Castle Douglas as I wouldn't have immediately thought there would be a huge market in passing trade in a small town. But the fact that the shop offers workshops and has an online shop will surely help. I had a quick chat with Rachel who runs the shop and she is really nice, so I wish her lots of success and I can't wait to pop in at Christmas time with my Mum and see what delights are on offer!

So what did I pick up the last time? I got some Merchant and Mills fabric which I really like but have not dared cut into yet! I also got a Megan Neilson's Darling Ranges dress pattern which I've sewn up in the leftover fabric from my last White Tree Fabrics project.

I made some slight modifications in that I didn't add the elastic or the buttons so it just pulls over my head. There was also some unorthodox fitting techniques at the neckline but I think the flowery fabric is forgiving enough that this doesn't stand out too much. I've now made the adjustment on the pattern so if I make it again it will be a cleaner finish.

And take a look at my earrings below - my talented friend Krysia makes them out of old bike tyre inner tubes!

IMG_9817

IMG_9835

IMG_9867

IMG_9813

IMG_9865

IMG_9812

6.11.15

Chin to the chest

IMG_9783

IMG_9793

When my yoga teacher said she was looking for someone with a sewing machine to make some rice pillows I quickly volunteered my services. It was a good opportunity to use up some of my ever-growing collection of fabric scraps and as I said in my previous post, sometimes you just need a simple sewing project.

It was nice to make things that will be used by other people too.

The pillows are 21.5cm by 11cm and have an in inner pillow made out of cotton calico. The inner pillow is full of 200g of rice plus a liberal sprinkling of lavender.

The idea is to place the pillow over your eyes at the end of the class as demonstrated in this photo. The weight of the rice is soothing as is the smell of the lavender, and it helps you to relax.

I'm happy to bring together sewing and yoga as they are both two activities I love!

('Chin to the chest' is what my lovely teacher is always reminding my to do as apparently I have a tendency to tilt my head back!)

IMG_9800

IMG_9774

IMG_9757

IMG_9791

IMG_9785

IMG_9789

2.11.15

A new favourite coat part 2: winter is coming!

IMG_9904

The coat I started in May is still a work in progress six months on. I'm not going to lie - I wish I was faster at sewing it, but sometimes other things in life get in the way. Since May I've done a fair bit of sewing but when I turned to the coat rather than just getting stuck in, that pesky voice in the head that stops us facing up to new challenges would get in the way.

I would start to work on the coat and then decide to make a dress instead or pontificate about other sewing ideas. While I've sewn jackets before (the RdC Gerard I lade last October is still a big favourite), this coat was out of my comfort zone, and to boot I'm making the pattern up as I go along using my favourite coat as a model.

There were many times over the last few months when I didn't feel like doing much on the coat, even though I felt like sewing.  Exploring this feeling has taught me some more about my relationship with sewing.

If I don't feel that great I might need to feel productive and switch off by going through the motions of sewing something I feel comfortable with. I'm probably not in the best frame of mind for giving welt pockets a go for the first time, for example. If I mess it up (and I'm more likely to with an agitated mind) I'll likely take the failure to heart and blow it completely out of perspective in my mind, adopting an 'oh typical', 'just my luck', 'well I'm shit at sewing so of course I messed it up' attitude.

Whereas, generally, if I feel on top of things in life, content, well, and generally at peace, I'm much happier to push myself and work out new things and get a bit messy - i.e. have all surfaces and available floorspace covered in sewing stuff. And if it doesn't work out I won't view it as time lost or as a 'failure', I'll just be happy to have learnt something and to have been sewing.

I'm happy to report that over the past week I was in the latter more positive sewing groove and have made some steps forward with the coat!

First of all... the zip and zip flap are in ! I wanted to emulate the zip construction on my model coat exactly.

IMG_9919
IMG_9921
IMG_9909
IMG_9908

The facing is in! Photos of some unorthodox facing drafting methods. I decided to not have a collar.

IMG_9642
IMG_9644
IMG_9641

And...after much practicing the welt pockets are in!

IMG_9907
IMG_9899
IMG_9896
IMG_9902
IMG_9906

I think what ultimately sets apart homemade wool coats and 'professional' coats is that it is so hard to press the seams properly! So I need to do some more work to get them as smooth as possible.

Just the lining to draft and sew and I might have this coat ready before the real Belgian winter sets in. 

1.9.15

Glasgow girl

IMG_9477

I spent four and half happy years in Glasgow before moving to Brussels and it is never far from my thoughts. And while I was back in the city a few weeks ago (as part of my annual summer pilgrimage home) I visited the Necropolis, one of the most unique cemeteries in Europe (and a great location for amateur photoshoots).

The gravestones are all really interesting and you have an amazing view of the city! (Père Lachaise may have Doors front-man Jim Morrison but we've got a monument to super Calvinist John Knox!) The Necroplis also makes several appearances in the wonderful Alisdair Gray novel Lanark.

IMG_9474

Now to the dress - you guessed it, it's a BHL Anna! I'm trying to revisit patterns at the moment and Anna is a big favourite of mine!

IMG_9470

IMG_9475

The fabric comes from an old skirt which I got at the Petits Riens. It was a huge pleated thing which after some unpicking and ironing became two pieces of lovely fabric to play with! (I regret not taking a 'before' picture so you'll just have to take my word for it but I was too eager to get stuck in and unpick straight away!)

Above all I'm really pleased I successfully positioned the pattern pieces so that the stripes run into each other from the bodice to the skirt.

IMG_9488

For more information about the Necropolis see here.

walking in the glasgow necropolis - Snap 4
(This last photo was taken with my Pentax film camera back in 2009 when I first visited the Necropolis with some photography friends!)

17.8.15

Canicule belge

IMG_9044

Earlier this summer I completed my third make as part of the White Tree Fabrics blog team.

The pattern is a version of a dress I made before (see this post). This time I made the bodice a bit looser and then gathered it along the neckline to pull in the excess. I made some thin strips of bias binding for the straps - they are a tad on the fragile side though and I've since reinforced them a bit!

IMG_9043

I love this shape of dress for summer. The fabric I used comes from White Tree Fabrics and is a navy printed cotton with pale pink and blue flowers. It is thin and breathable and drapes well too. I really like the flowers against the navy background.

IMG_9040

My cousin is getting married next year and I'd like to make this shape of dress for the wedding - perfect for ceilidh dancing! I just need to find the right fabric for swooshing and swishing!

I like this picture where my boyfriend's sister's dog 'Cashou' makes an appearance!

IMG_9035

22.5.15

A new favourite coat part 1: how to make an inverted box pleat down the centre back

0

I'm currently working on recreating my favourite coat of all time. I bought it in my second or third week in Brussels, over 5 years ago, at the 'marché au puces' at the Place du Jeu de Balle. It cost me 10 euros and for the incalculable amount of times I've worn it, it's fair to say I've definitely got my money's worth. It's a plain, green coat but there is something about it that I just love. The brand is 'Tiroler Loden' which is apparently a schmancy Austrian coat maker. It's cosy, comfy, has great pockets and raglan sleeves, and is slightly too big for me so there is plenty place for a jumper underneath. Look how happy it makes me!

emily original coat 1

IMG_8958

So in keeping with my recent attempt to draft my own patterns I decided that trying to recreate this one would be no more difficult than hunting out a coat pattern I liked and then working out how to make it. I have an idea in my head of a red version of this coat. In the meantime I'm diving head first into a (hopefully) wearable muslin. The fabric I'm using cost me 1 dollar a yard, yes, 1 DOLLAR A YARD. That is way too cheap to be ok. I bought it in Brooklyn, New York, in a small shop on Flatbush Avenue near Prospect Park when I was there last week on a trip.

IMG_8635

How to make an inverted box pleat in the centre back of a coat

The coat is far from finished but today I want to share a tutorial for how to make an inverted box pleat in the centre back of a coat, a feature of my beloved green coat. I worked out how to do it through much analysis and fondling of my green coat - imitating clothes you love is so frustrating because you can't unpick things!

This tutorial can be used for any back coat pattern piece cut on the fold.

(I'm going to focus on construction and presume you have a pattern piece but just a quick word about drafting: make sure your pattern piece has the 'extra' fabric needed for the pleat. This means widening the pattern piece by (in my case) 11cm from where your centre back seam is to count for the pleat.)

So here we go:

1) Cut out your back coat piece on the fold.
1

2) Your back coat piece once it is opened up (obviously your pattern piece will vary depending on the style of the pattern you are using).
2

3) Draw a line down the centre in chalk on the wrong side of the fabric.
3

4) On this line measure down 14cm (or whatever distance you want the pleat to begin from) and mark that point.
4

5) On each side of the centre back mark two points, one 5.5 cm from centre, and another 11 cm from centre. Then square these lines up to be parallel with the point you marked 14cm down from the top of the pattern piece.
Whatever measurements you use it is important that each column is the same width as they will become the two sides of each pleat. So each of my columns are 5.5cm.

5

6

6) Take the first line you drew on one side of the centre back and fold it over, right sides together. Now sew along this line with with a tiny seam allowance of just a few millimetres. The idea is to define this fold so that it stays in place. Repeat for the other side of the coat.

Hope this step is clear from the photos.

7

8

9

7) Fold the outer columns under the inner columns.

10


11

12


It should look like this on the wrong side...

13

...and this on the right side.

14

8) Now you are going to sew the part of the coat above the line you drew 14cm down from the top. Lift up the pleat and pin along the centre back.

15

Sew. It should look like this from the front.

16

9) Topstitch a small triangle where the top of the pleat meets the sewn part of the cente back seam.

17

10) This part is tricky to show in photos. Basically the aim is to cut away the unnecessary fabric at the top.
You should now have three layers of fabric. Repeat the following for both sides.

18

Cut down the centre of the first layer of fabric only from top to just above your triangle.
Then cut to the left to the end of the pleat.

19

Open up this panel as in the photo. Cut it off leaving a seam allowance at the centre back and leaving the double layer of fabric at the top of the pleat in between my fingers in the previous photo.

It should now look like this:

20

You should be able to stick your finger right through from here:

21

to the front:

22

I'll deal with whether I add a button and fastening like the one that appears on my green coat another day :)

Voila !

 - - - - - - -

Here is a picture of the finished back piece pinned to the sleeves and the two front pieces before I sewed those four seams.

23

Then I sewed the side seams and underarm seams in one fell swoop - one of my favourite sewing manouvers!

24

To be continued....