20.2.16

Who'll stop the rain?

IMG_0437

I had barely finished the final stitches of my blue plaid coat and for some strange reason I decided to plunge straight into another coat making project.

It’s interesting how we pick projects – why do we have ideas for some things and then take months to get round to taking any action, and others just spring from nowhere and the wheels are in motion before you can stop to think about it?

This particular project was the result of a few factors:

1) The fact I don’t really have a proper waterproof jacket (a bit strange considering I’m from Scotland and live in Belgium, and love cycling and being outside..). Every year I feel as if I muddle through and by the time I think of getting one it’s nearly spring. Maybe I’m not as outside as I’d like to be!
So I had thought about trying to make one but didn’t really seriously entertain the idea. I just bought some very cheap yellow and red waterproof material on a whim in Berger a few months ago with the vague idea of making one at some point.

2) I’ve been seeing wonderful yellow jackets everywhere for a while now. It seems the yellow raincoat is very à la mode en ce moment.

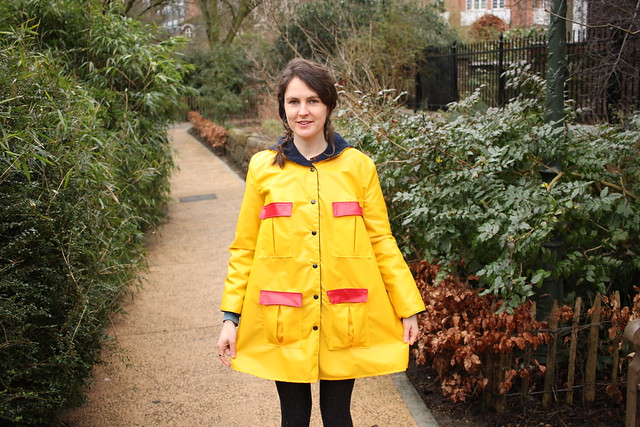
3) Then I found out about Make My Lemonade – partly through my flatmate (who also sews, yay!). And through Jo’s post about her great Paloma shorts. Looking around on the site I found the Rita pattern which set the lightbulb off in my mind and the project was born.

So before I knew what was happening I was in the midst of making a raincoat!

IMG_0444

IMG_0438

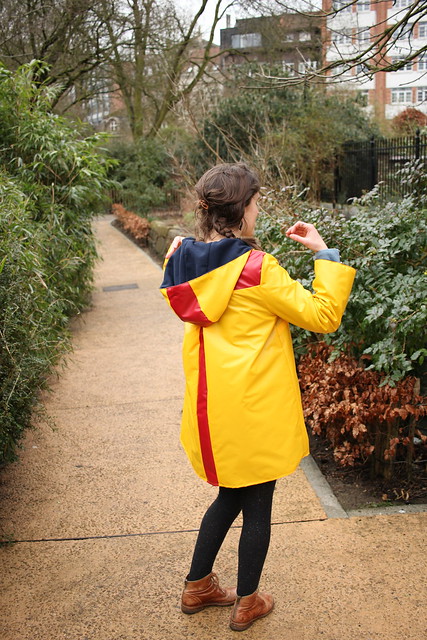
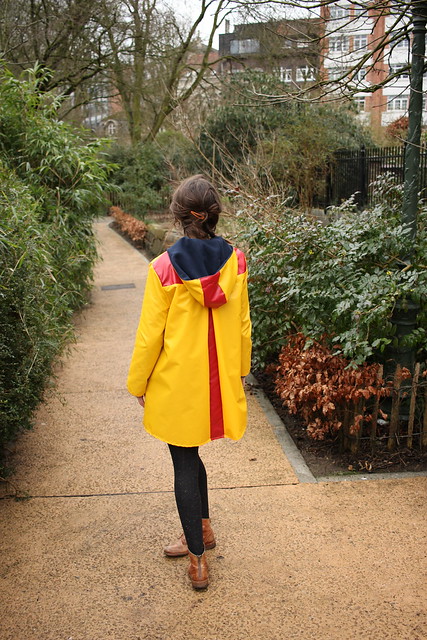
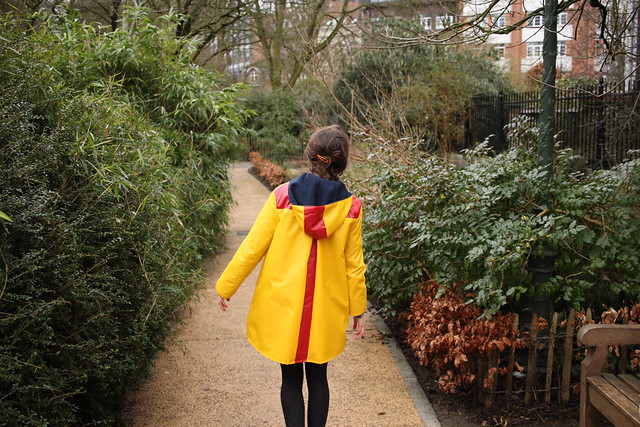
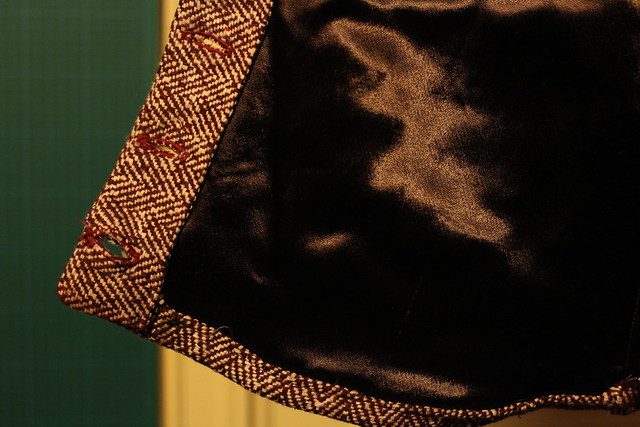
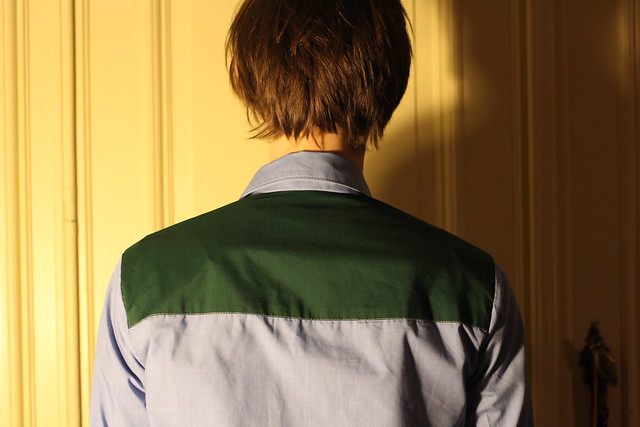
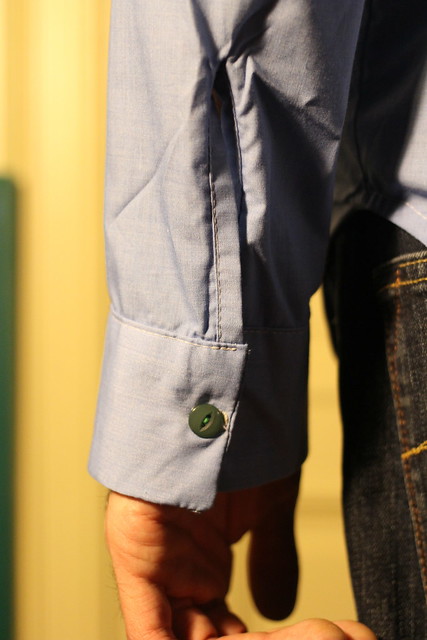
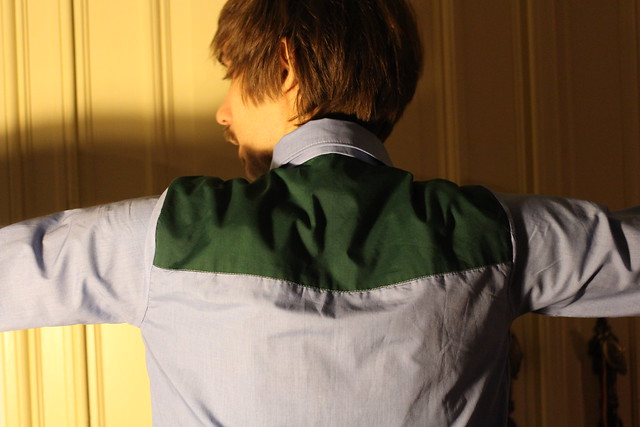
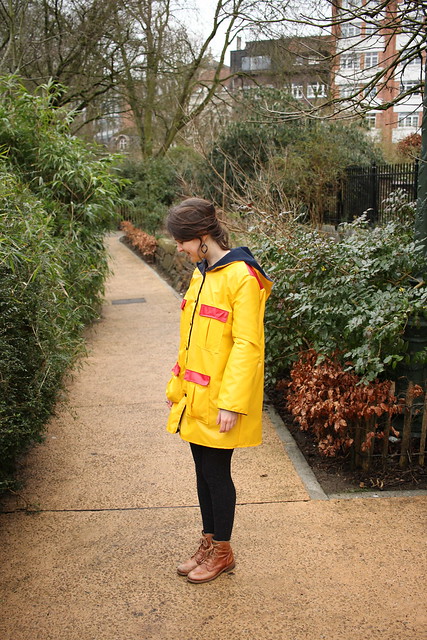
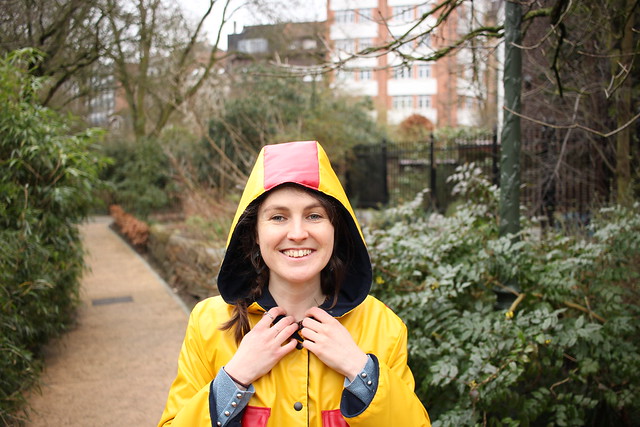
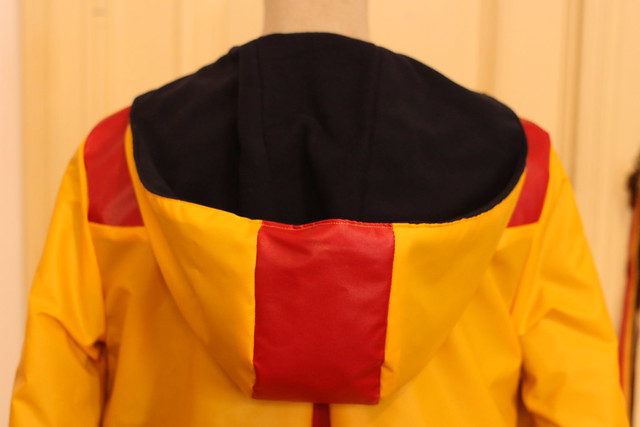
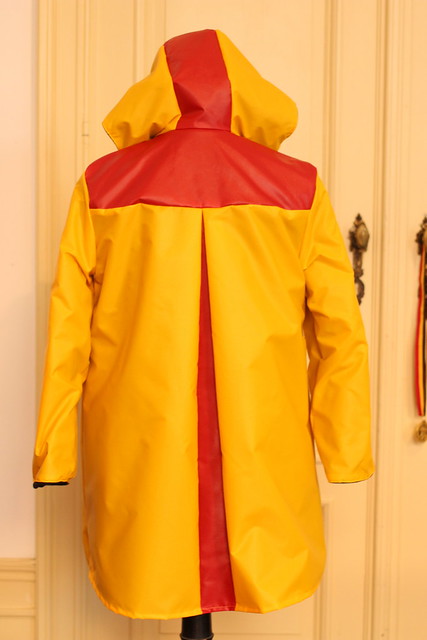
Rita is a great basic (and free!) pattern but I made some significant modifications to it: I lengthened the sleeves, added a fleecy lining, and added a three-piece hood. I really love the back pleat and yoke and wanted to accentuate them by using a contrast colour.

IMG_0445"

IMG_0070"

IMG_0072

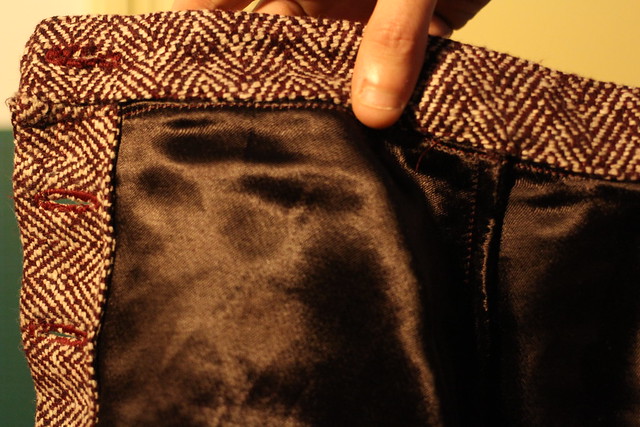
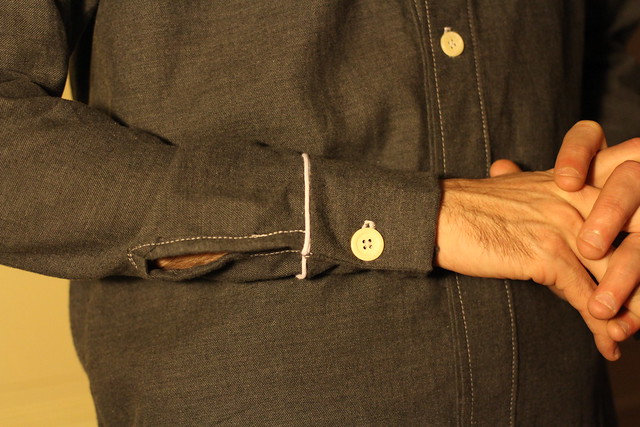
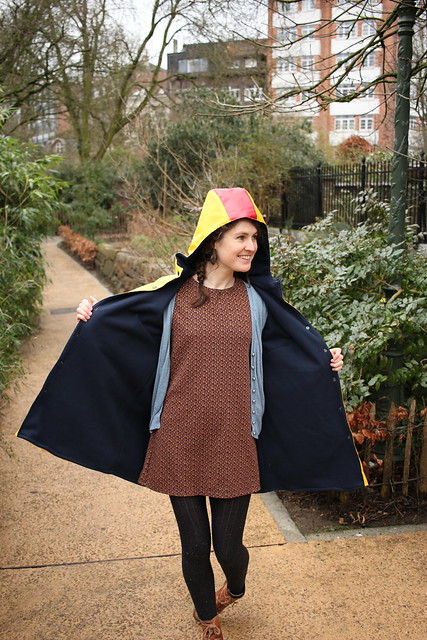
I really enjoyed working out how to sew in the lining! I can’t really explain the process properly but there are lots of great tutorials out there on bagging linings. But what I wish I had done though is cut a bigger size to take into account the extra bulk of the fleecy lining. It’s a bit tight under the arms so I can’t really wear a big jumper with it. It’s fine with a thin jumper or cardigan though. If I make this pattern again I'll also lengthen the sleeves a tad.

IMG_0447

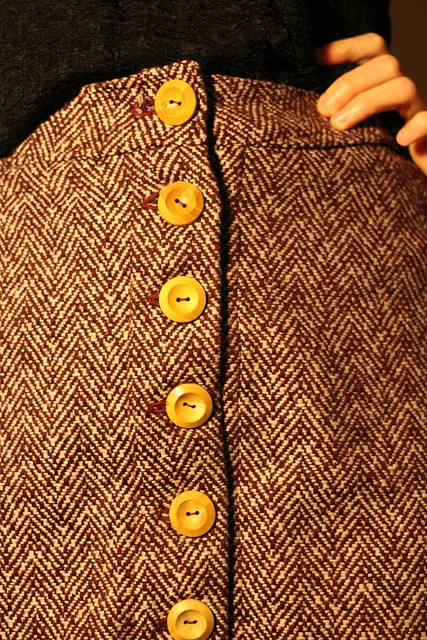
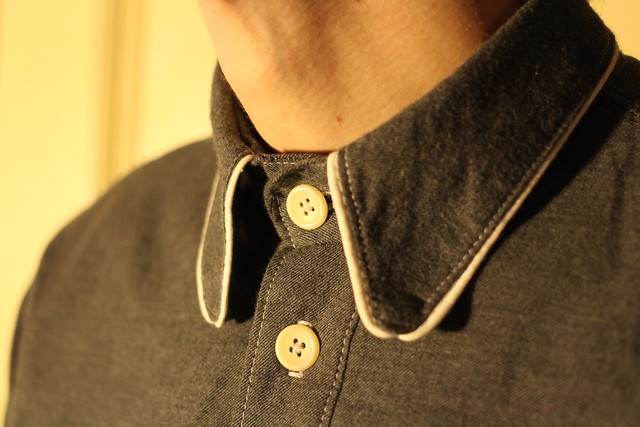
The only part which was a headache was adding snap buttons! Argh!! For the life of me I couldn’t work out how to put them on. I tried so many times but they just wouldn’t stay on the material. In the end after much deliberation (and hammering) I took the nearly-finished coat to a couturière to see if she could add the snaps on - and she did! I thought it would be better to actually pay a bit more and get the project finished properly rather than ruining it by messing up the snaps. I’d like to master snaps though myself as I’m not a massive fan of sewing buttonholes!

IMG_0326
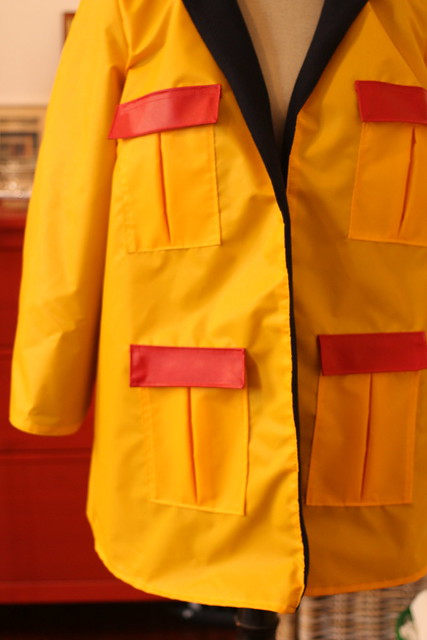
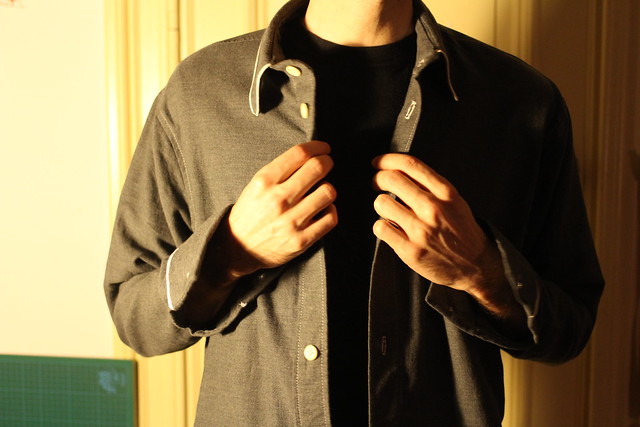
(before the snaps were added!)

IMG_0074

I think it is great for pottering about when it is a bit rainy but not that baltic. So far I’ve worn it in light rain mostly, and once in quite heavy rain on my bike – I was surprised that it kept my quite dry, although as it is not the best quality waterproof material I wouldn’t set off on a hike with it or anything. But if it can handle my 10 minute cycle to work that’s good enough for me. If I can get my hands on some good quality waterproof fabric I'll definitely think about making another raincoat. It’s no North Face-type jacket but I really love it and I think this is one of those moments when you have to stop yourself from being overly critical and remind yourself that you made a raincoat. Yes!

IMG_0433

7.2.16

Rosari

IMG_0347

I really love A-line shaped skirts and have seen so many nice versions over the last few months as 1970s-style skirts seem to be all over the place.

So when I saw the Rosari skirt from Pauline Alice online I added it to my 'want list' of patterns but said to myself I didn't really need it…and then I subsequently bought it when I saw it in a new sewing shop in Etterbeek, ‘Chipote et Papote’...whoops.

IMG_0332

IMG_0348

IMG_0326
IMG_0338

I decided to sew a winter-appropriate version so I used this purple/white wool which I got at the Marché des Abattoirs ages ago and I used the last remaining pieces of the best lining fabric I’ve ever come across (bought in La Maison des Tissus). It’s a kind of ‘lined lining’ - shiny and slidy on one side but rougher on the other side giving it a ‘sturdy drape’ (if that is such a thing!).

IMG_0358

IMG_0357

I worked on this over Christmas at home in Scotland and finished it back in Brussels and I’m really happy with the result and have worn it pretty much all of January! For once I actually made something that was missing in my wardrobe that I really needed; a basic skirt which is still interesting enough that I enjoy wearing it!

The pattern comes with lots of great pocket options too. I prepared pocket version C but didn't use it in the end as they didn't really work in this busy and bulky fabric. It's great when what is a relatively simple pattern comes with great additional options and well-written instructions so you feel it was worth your while getting! :)

IMG_0341

IMG_0346

2.2.16

Tomber la chemise

IMG_0308
One of my recent projects was to make a shirt for my sewing crazy boyfriend (haha!) Nico. And in the end I made two!

IMG_0302

The first one was an adaptation of the Men's shirt pattern from the GBSB book ‘Sew Your Own Wardrobe’. I used some blue shirting cotton that I have no recollection of purchasing and some mystery green material for the back yoke also from the depths of my stash.

IMG_0300

The lovely green eggshell buttons come from Gold Fingers.

IMG_0311

As the pattern just has a simple collar with no stand I drafted one using this handy guide from Em Makes Patterns.

I also lengthened the sleeves and added cuffs and plackets.

IMG_0310

As Nico is a slim bean I just decided to go for it and make up the smallest size to see if it would fit him as I viewed the first shirt as a test and ‘skill sharpening’ exercise anyway. It’s wearable but a little too tight under the arms for his liking.

IMG_0298
'Hmmmm, sew me another shirt, and make sure it fits this time!'

IMG_0296

So back to the drawing board for attempt two!

For the next shirt I picked a grey warm soft fleecy-like cotton from Berger and rubbed off one of his favourite shirts to make sure that this time I got one that fitted him as he likes. I added white piping for a country and western look!

IMG_0269
'Let's dance!'
IMG_0266

I’d like to make another one and really go all out with the country and western feel – I love the use of piping and the front feature of the République du Chiffon ‘Jolaine’ shirt so might steal the idea for a men’s shirt.

Construction wise I had a great time making these shirts. I got really into trying to be as accurate as possible and work out the best way to do things.

IMG_0262

Here are some online resources I found indispensable:

Em Makes Patterns is one of the most useful blogs ever! Love the focus on pattern manipulation/adaptation/construction. I followed her how-to on copying a shirt pattern to the letter.

> My GBSB ‘Sew Your Own Wardrobe’ book Men’s shirt instructions were useful for the basic first steps, particularly the button bands. It was good to have some basic instructions to start from which I could adapt.

> The last time I made a shirt it was the Grainline Archer. The method used in the Archer instructions is to join the collar to the stand and then attach the whole thing to the shirt. However, I much prefer the method Sewaholic use in their instructions which involves making the collar first, then attaching the collar stand to the shirt using a collar stand template. Lastly, you attach the collar to the stand.

IMG_0280

> I turned back to Grainline for the plackets though as I think this explanation is great, as is the one for cuff construction.

IMG_0276

IMG_0290

Now my plan is to make a third shirt and really hone the process. It’s frustrating when you learn something (such as collar and stand construction) and really grasp it but then forget it again when you don’t do it for a while!

The only thing I don’t enjoy about shirt making is buttonholes; probably my least favourite and most fear-inducing sewing task. I find it so tricky to do them and there is so much pressure as you only get one shot!

Above all, Nico is happy (I hope)! And I might try to sneakily wear one of these shirts from time to time too…

IMG_0292

IMG_0291

Disclaimer: Nico bears sole responsibility for the moustache featured in this post.