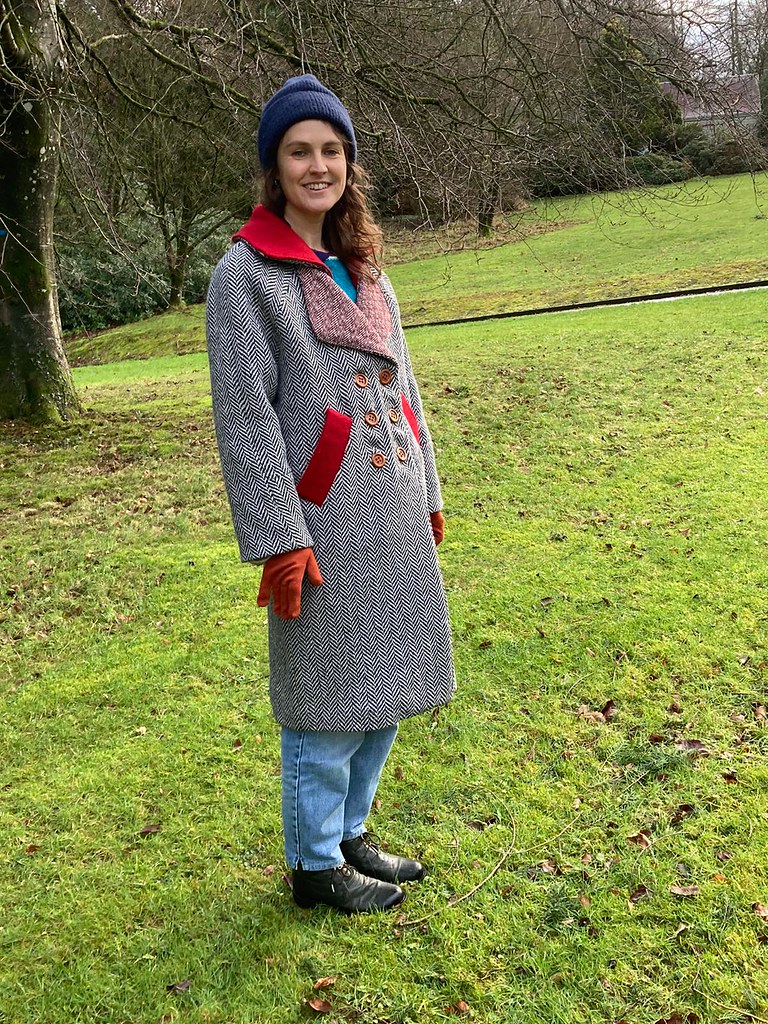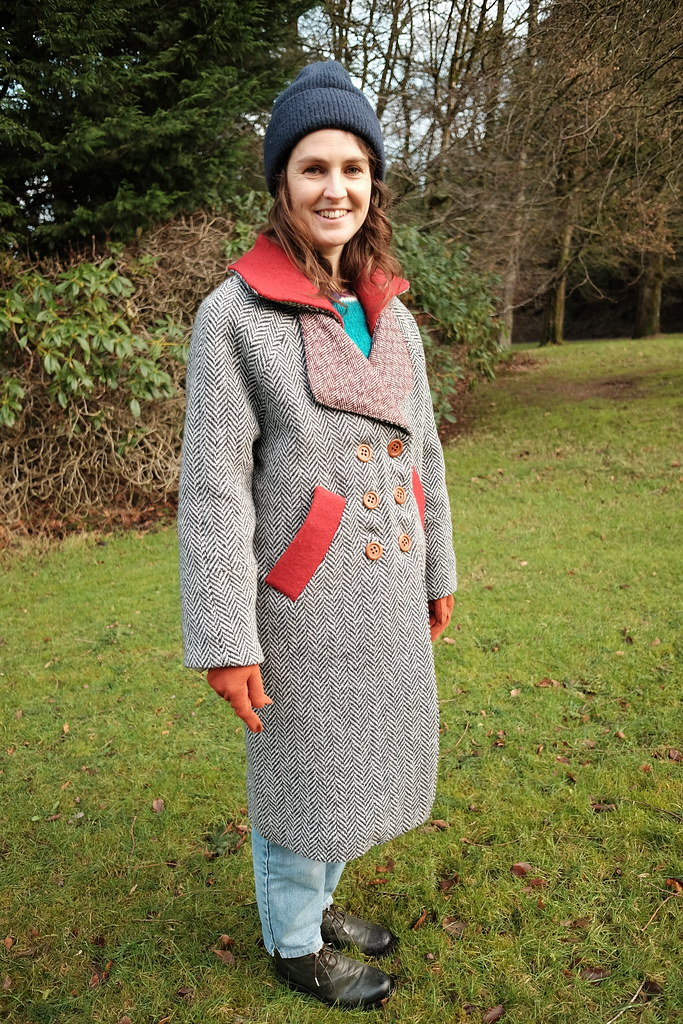
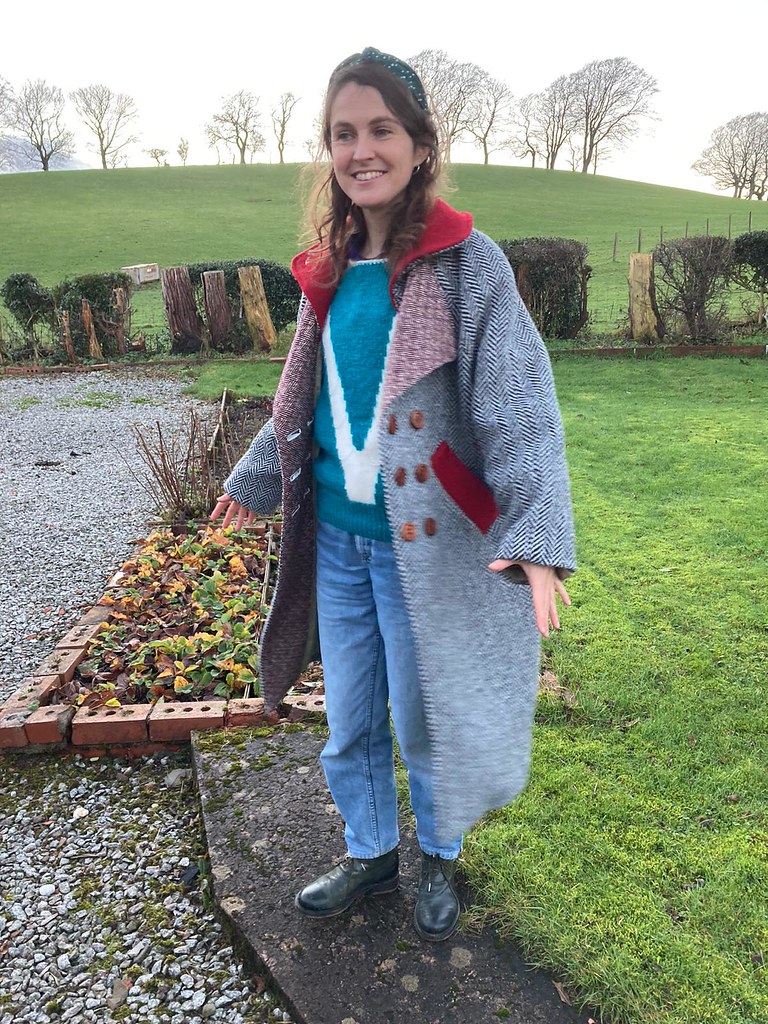

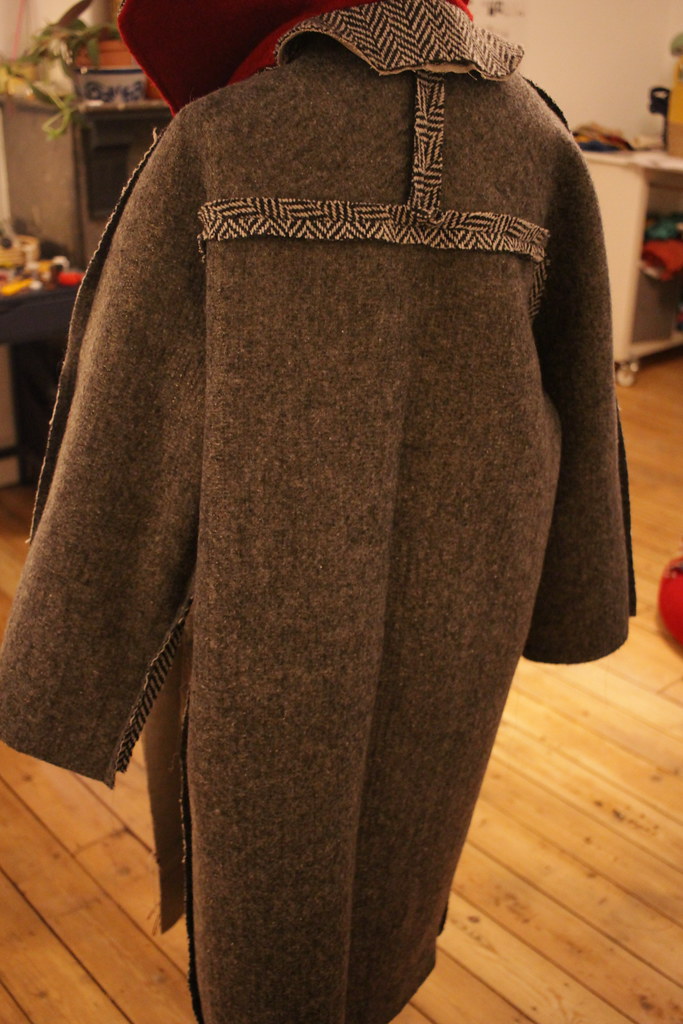
Finishing off 2021 to report on a very involved project that I worked on a little bit each day over several weeks – I made my dream coat! I have learnt loads making it and I’m really quite proud of it (as anyone who has spoken to me recently will have heard!). It brightens up a grey day, is comfortable, warm, has plenty of room for wearing a jumper with it, has pockets, and I can even cycle in it. I’ve got a lot to say about making this so read on to find out more. Apart from some little things here and there that could be neater, overall, I’m really pleased with the finish.
The pattern
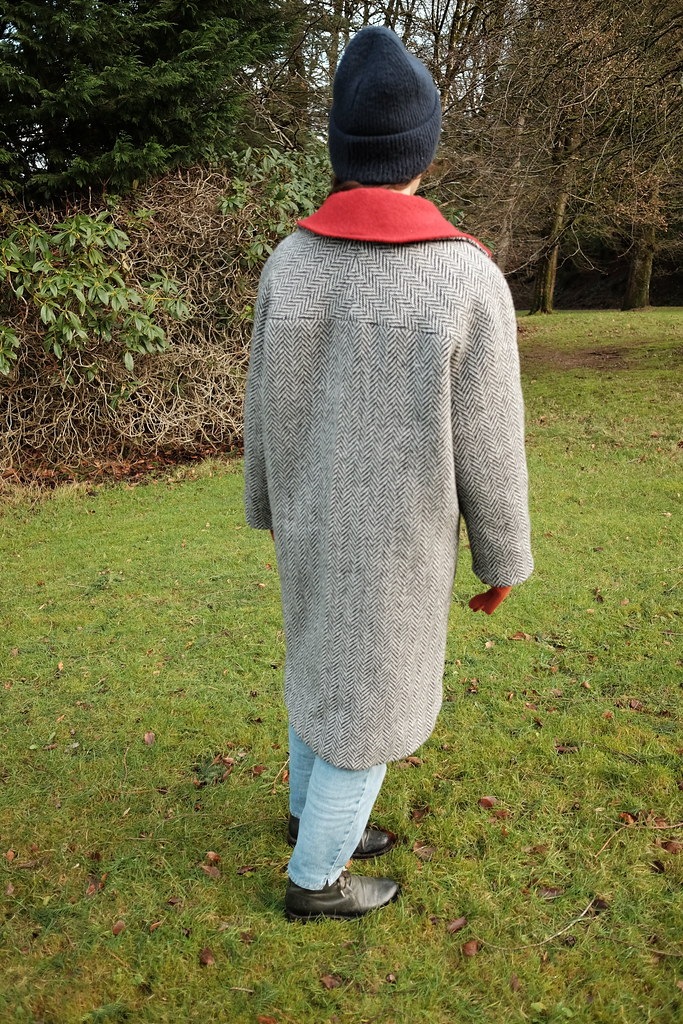
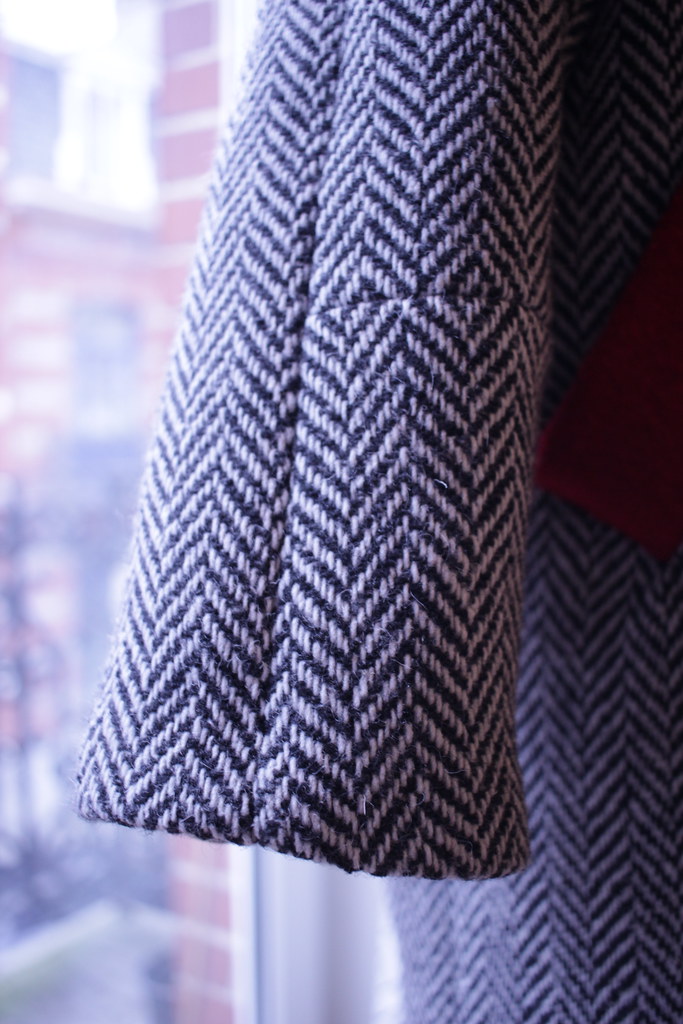
The pattern I used was from issue 216 of Burda from December 2017 (pattern number 109 on page 8, and available online). I was looking through the magazine and was drawn to the pattern for the deep raglan shoulders and the collar style. I modified it slightly by not doing the sleeve cuffs the way the pattern suggested and I followed the first method for doing the hem in this amazing Youtube video on sewing a lined jacket corner. I also moved the welt pockets (which was a slight mistake as I had to make the pocket bags smaller as they were overlapping with the buttonhole area!).

The fabric choices
Main fabric
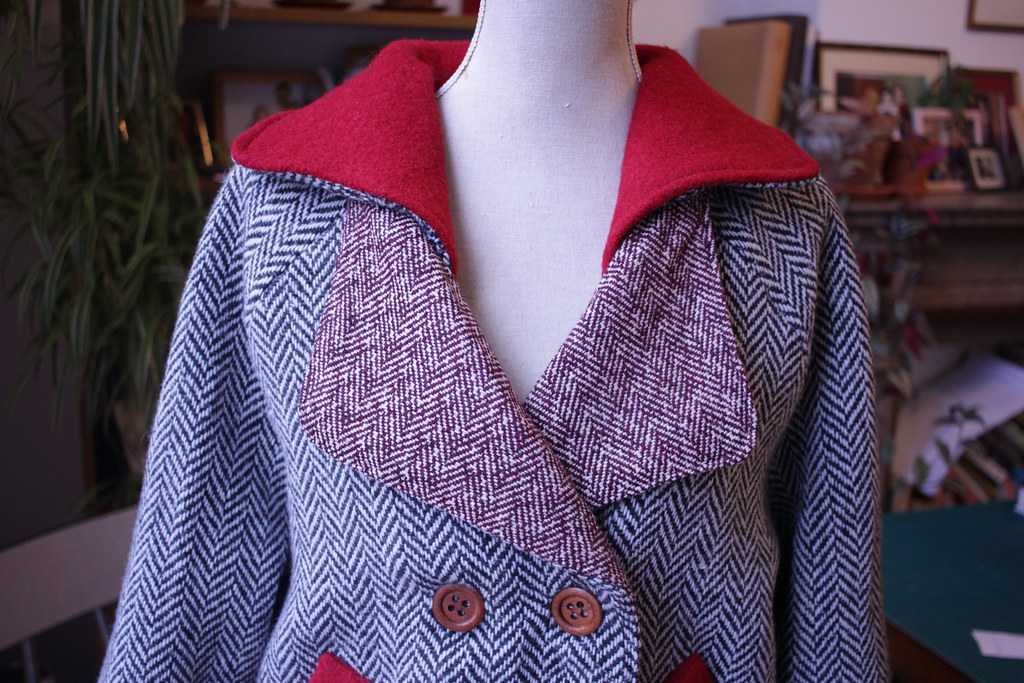
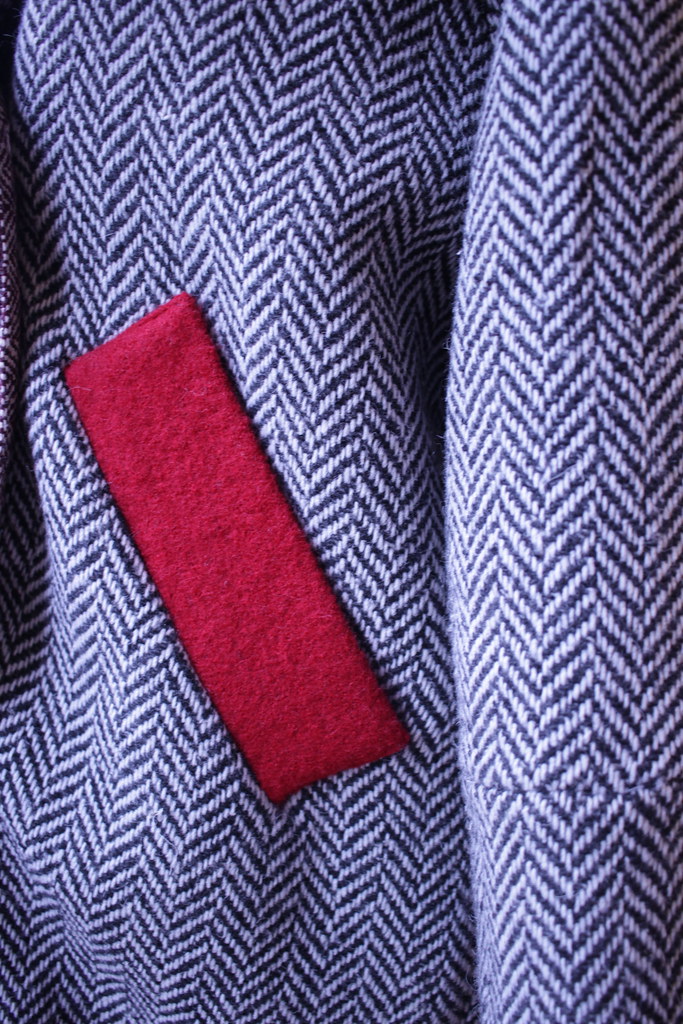
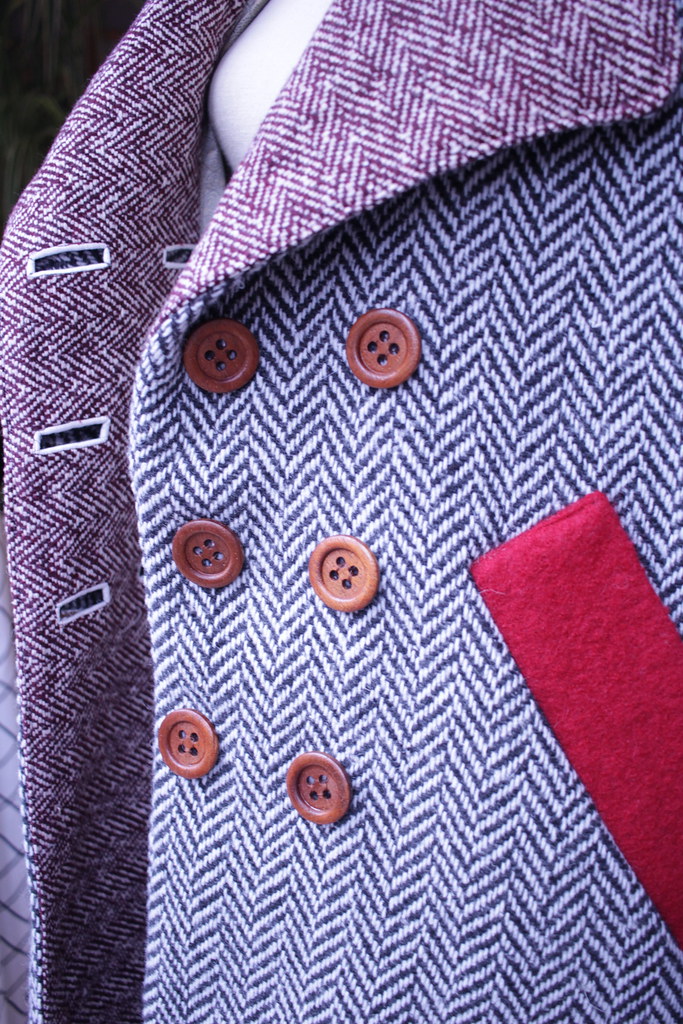
I bought this Herringbone wool fabric from Passion Tissus in Saint-Gilles, but I didn’t have enough to do the whole coat in it, which was actually a blessing in disguise. At first I wanted to use all of the red fabric for the collar pieces but I also did not have enough of that either as I just had a few bits leftover from a previous project. So in the end I chose to use a third fabric for the front facings (i.e. the lower lapels), this was leftover fabric I previously used to make this skirt in 2016.
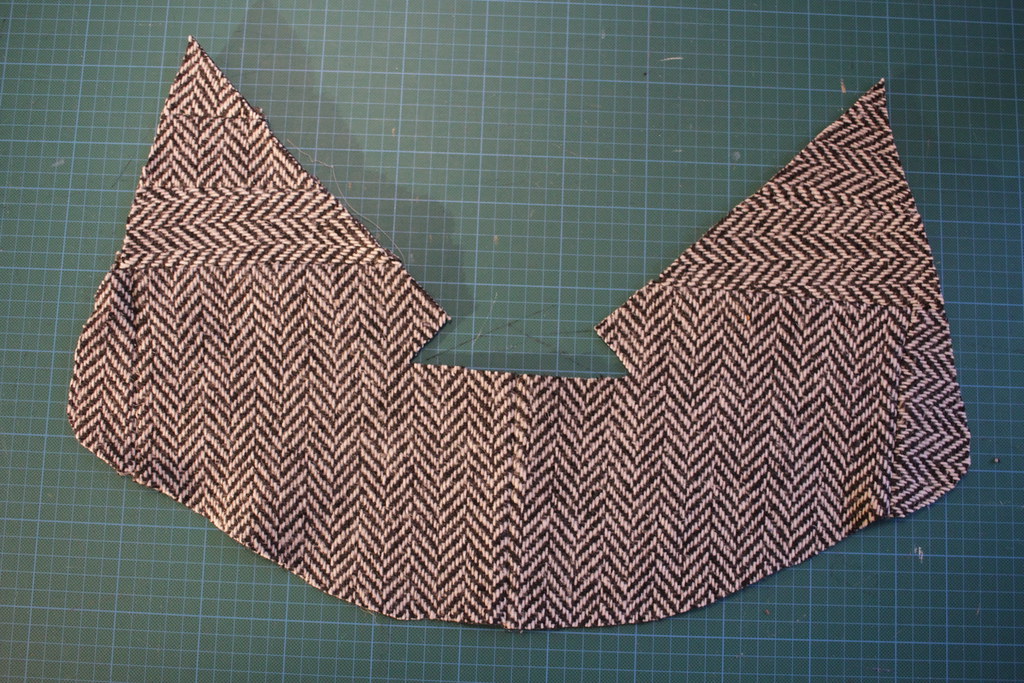
I also had to patchwork small pieces of the Herringbone fabric to make the undercollar! So to say I used every last scrap of the fabric is no exaggeration!

I think the combination of the three fabrics and the wooden buttons works really well! I interfaced (interfacing in French = entoilage) the front facing, welt pockets, and collar with camel hair (poil de chameau) which I bought in a haberdashery near where I live. From previous projects I learnt that it is good to get good and appropriate interfacing for your fabric as it really improves the quality of the finish. Always interested in trying out different materials for interfacing.
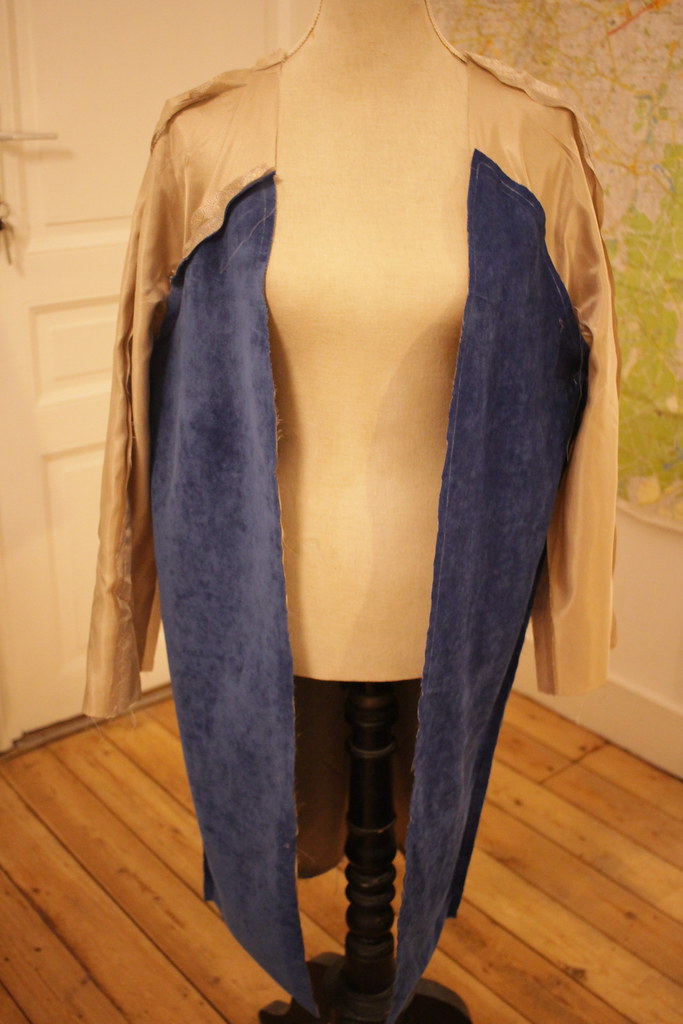
Lining and Interlining
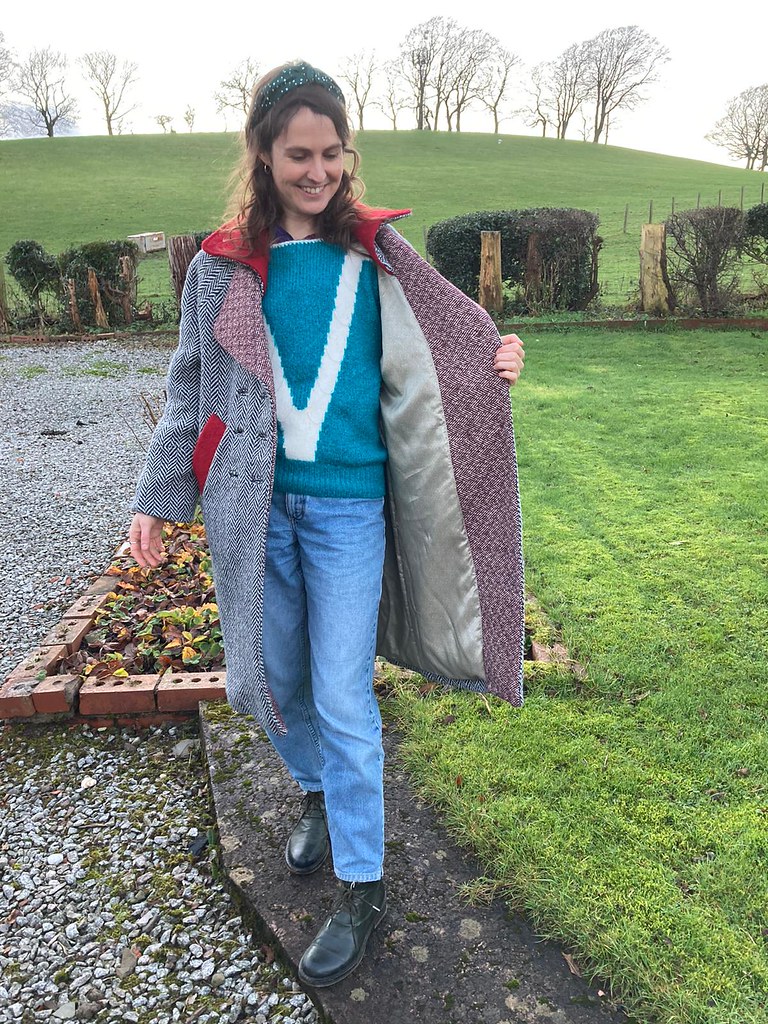
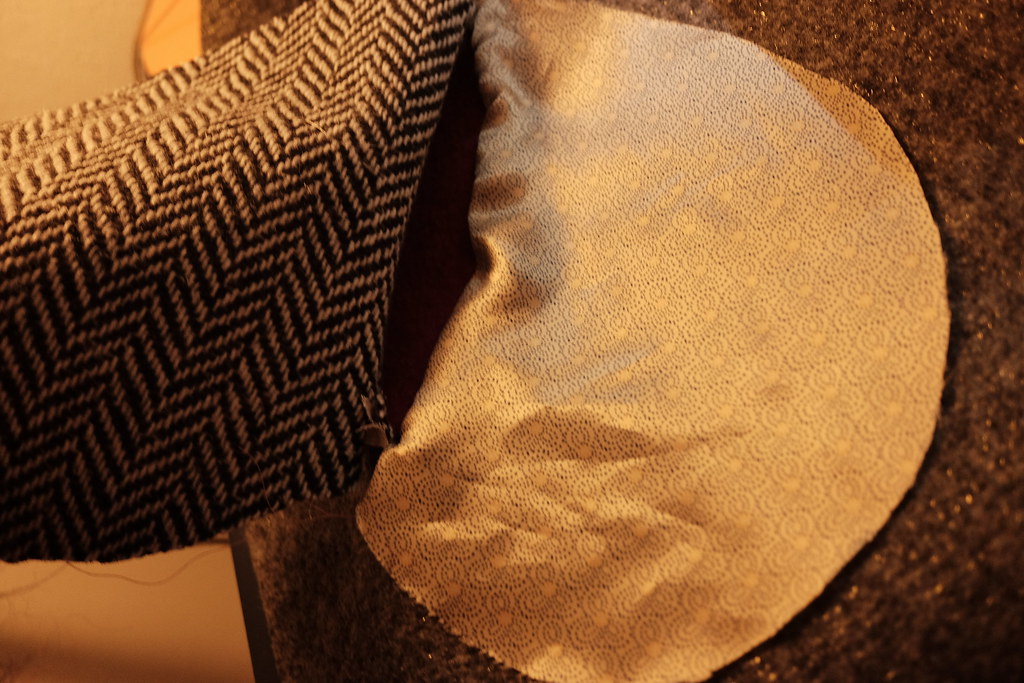
The lining fabric is gorgeous (also from Passion Tissus) and I’m so glad I got to use it for this coat. I decided to interline the front and back lining pieces with a blue toweling fabric. I wanted to ensure the coat would be warm so I think this was a good move, I didn’t interline the sleeves as I didn’t want to add too much bulk and also I didn’t have that much of the toweling fabric. I read quite a lot about interlining to prepare for this project and it is quite interesting to think about what fabrics you can use, while you can buy special interlining fabric it seems that flannel or a towel fabric are really good choices, they are light and add warmth which is what you are trying to achieve.

>
The construction
I decided to write out all of the steps involved as there are quite a lot and this will be a good reference for when I’m planning my next coat! I did mostly follow the instruction order in the pattern but the below is my own ‘work flow’ that has extra steps or things in a slightly different order.
1) Trace off pattern (and add seam allowance!) in your size, make any necessary modifications, and make a test version! I made a shorter test version of this coat which turned out quite nice too. I’ve not taken any pictures of it yet but will share at some point too.
2) Cutting, interfacing and interlining
- Cut out all pieces in coat self fabric, lining fabric, interlining and interfacing.
- Interface front facing, welts, back facing, and upper collar.
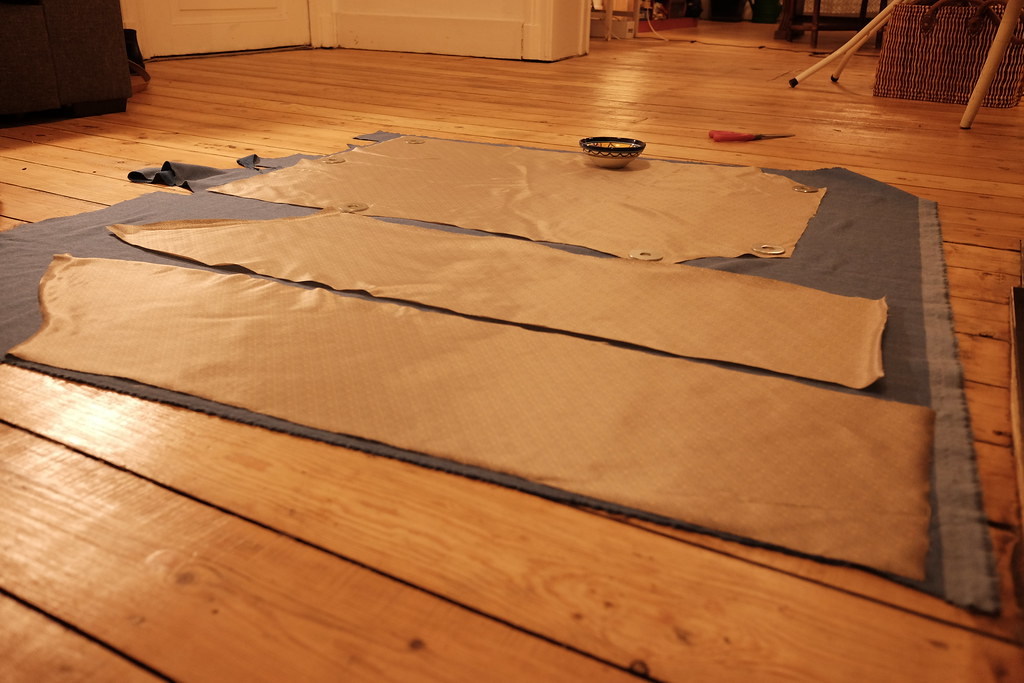
- Interline front and back lining pieces.

3) Preparing coat front
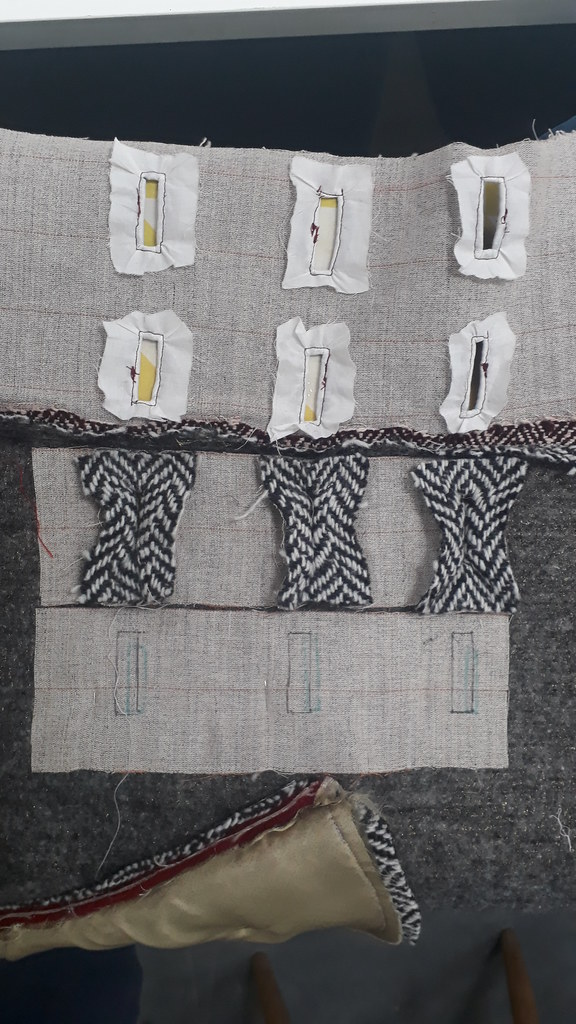
- Sew welt pockets. There are loads of tutorials online but I just followed the Burda method which I found relatively simple.


- Join front facing to (side) coat front (don’t sew all the way to top and bottom, but enough so that the area where the buttons will be is joined.
- Do the bound button holes on right side of coat front.


4) Preparing collar
- Join upper collar to back facing – this was quite tricky to get right so do a practice on some scrap fabric to make sure you get a neat finish – and set aside.

5) Sew coat
- Sew back sleeves together at centre back seam then attach to back piece.
- Sew front sleeves to coat front pieces.
- Sew front and back sleeves together.
- Sew side seams
6) Sew lining
- Sew back sleeves together at centre back seam then attach to back piece.
- Sew front sleeves to coat front pieces.
- Sew front and back sleeves together.
- Sew side seams.
- Set aside.

7) Attaching collar to coat
- Sew front facings all the way up.
- Attach under collar to back neckline.
- Sew upper collar to under collar right sides together, leaving the inner seam that will join front facing open. Turn right side out. Sew open seams of collar to front facing
- Stitch to secure shoulder seam to the collar seam.

8) Join lining and coat
Sew lining and coat together right sides facing, joining the lining to the coat facings.
9) Hem and bagging the lining
- Fold hem and lining
- Assemble bodice and facing down to lower edge
- Assemble facing with lining to notch
- Self bottom
- Lining with self bottom
- Cuffs
- Bagging the lining: Unpick a 15cm gap in the sleeve lining upper seam, pull coat through. Turn out – celebrate, you are nearly done! Here is a video of me doing this for this coat:
10) Final hand sewing and buttons
- Hand stitch hem vents.
- Hand stitch sleeve lining hole.
- Hand stitch sleeve lining at cuff to hold in place.
- Press hem
- Sew on buttons

Now go forth and live your life in your new coat!
Nothing you make exists in isolation, and this coat would not exist if it had not been for the previous coats I made and learned from (the Yates coat from Grainline Studio in 2020, the Rita raincoat pattern from from Make my Lemonade in 2016, a self-drafted coat in 2015, and the République du Chiffon Gérard coat in 2014).
It’s cool to look at this new coat and see how I have progressed. And I know that the next coat I make should be even better for having made this one.