21.12.13

Solstice sewing

beignet preparation
It's the shortest day of the year and I'm putting together the Beignet and Violet patterns from Colette patterns. Quite a long process so looking forward to getting to the cutting out and sewing!
What do you prefer - PDF print at home or pattern in the post?

13.12.13

An epic small bust adjustment story...Part 3

Truffle Dress

Here is my third and final post on this topic (for now at least!) where I'll show you how I carry out SBAs on bodices with darts using the Truffle dress from the Colette Sewing Handbook as an example.

Step by Step example on darts: Truffle Dress by Colette Patterns


1) Mark the bust point. I extended lines through both dart points to find the bust point on the Truffle dress.
1

2) You've also just drawn your first slash line, from the waist through the centre of the dart to the bust point. You'll use the line through the side seam dart later on.
2

3) Draw a slash line from the bust point to the armhole.
3

4)Mark a hinge point 1.5cm from the edge (or whatever your seam allowance amount is).
3a

5) Then put some tape over the bust point and over the hinge point at the armhole.
4


6) Cut along the line from the waist through the bust point and up to the armhole hinge point.
5


7) Mark a point 3cm* inwards from the bust point ( towards the centre front). Then swing the pattern piece over to that point. Secure with some tape.
*Amount that needs to be removed. The pattern bust size (84cm) minus my bust size (78cm) = 6cm excess to be removed. Divide this figure by two = 3cm to be removed on each side of the bodice front piece.
6
7


8) Cut the slash line through the side seam dart to just before the bust point (don't forget to leave a hinge).
8


9) Then swing this lower front section upwards to move the waist line back to its original position. In doing so you will be moving the side seam dart leg points. See comparison between original position of dart in this photo...
9
...and the new narrower dart in this one.
10


You can extend the dart point to nearer the bust point. Redraw the dart with its new leg points. You might need to reshape the side seam here to ensure that it is smooth. If necessary you can fold the dart closed as if it was being sewn to find the new side seam.

11) For the waistline, you can either redraw the dart, or as I did with the Truffle dress, eliminate it altogether. The most important thing is that the finished waistline length remains the same as in the original pattern. When redrawing the waistline the most important thing is to make sure the pattern piece will line up with the corresponding skirt section. I have drawn in two options for the waistline. The higher one is the one I used as I think the lower centre front section needs to be brought up as this will help remove some of the excess.
12


And here are some photos of my finished Truffle dress:

DSCF7375DSCF7372

As you can see I omitted the front drape as I didn't think it was necessary for this slightly more structured style. I love the texture of this great fabric, which I acquired in the July sale at Maison des Tissus (Chaussée d'Ixelles 117, 1050 Ixelles).

It would be interesting to make the Truffle dress in a different type of fabric for a more flowing style.

I'm really happy with the final fit of this dress and the bodice adjustment. I'm also realising that when it comes to bodice darts the style that fits best for me is side seam darts and no waist darts, this was also the case for the 60s style dress pattern I drafted in the summer.

Phew! That was indeed an epic three-part saga. Time for tea.

DSCF7377

9.12.13

Toile cirée sewing machine cover

DSCF7379

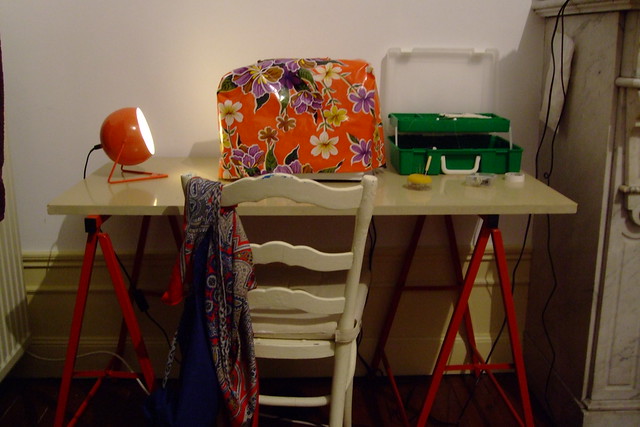
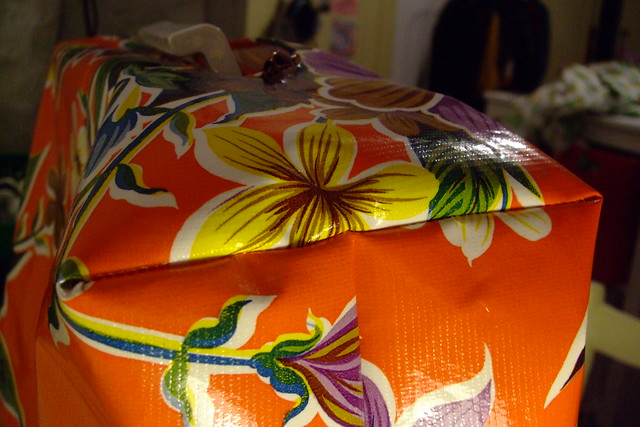
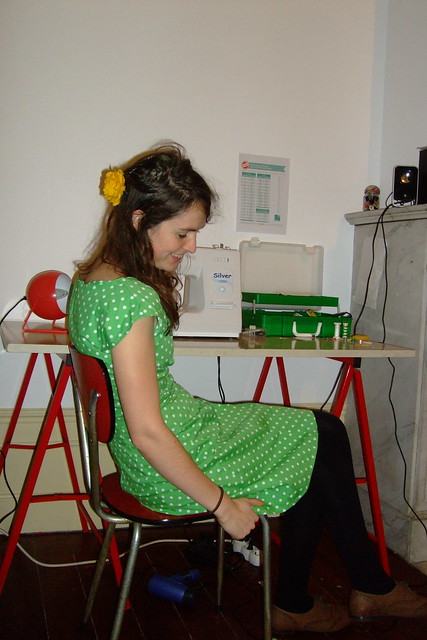
The white plastic sewing machine dust cover that came with my sewing machine, which is now (frighteningly) going on 7 years old, was long past its sell by date so I decided to fashion a new one out of some 'toile cirée' which I have a lot of from an old tablecloth! The best translation for 'toile cirée' in English is 'oil cloth' or 'vinyl cloth', but I'd probably just call it a 'plastic tablecloth'.

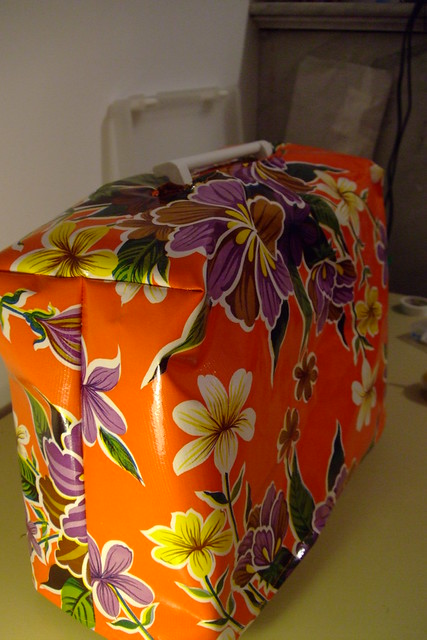
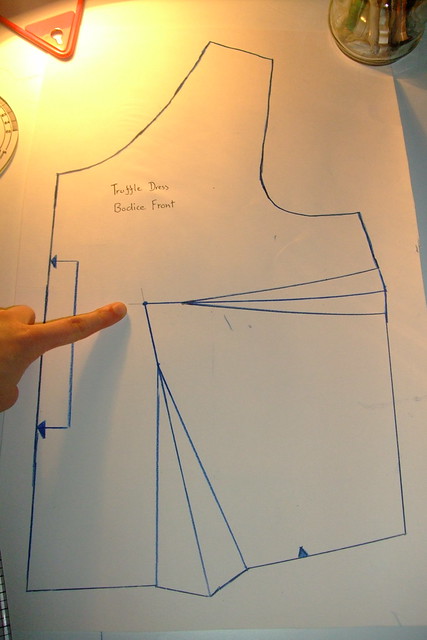
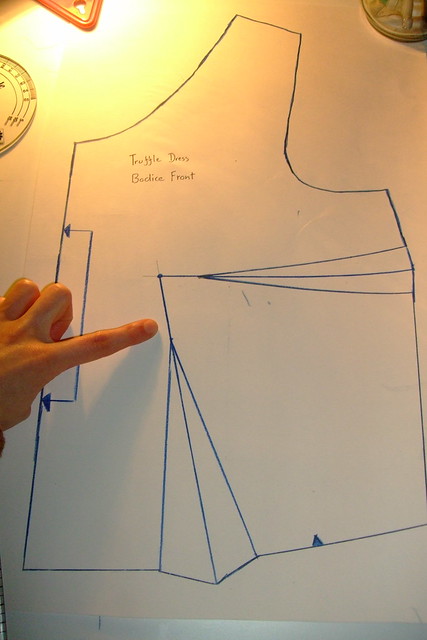
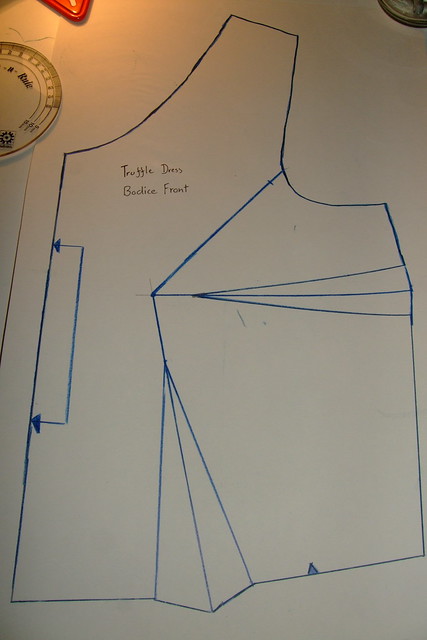
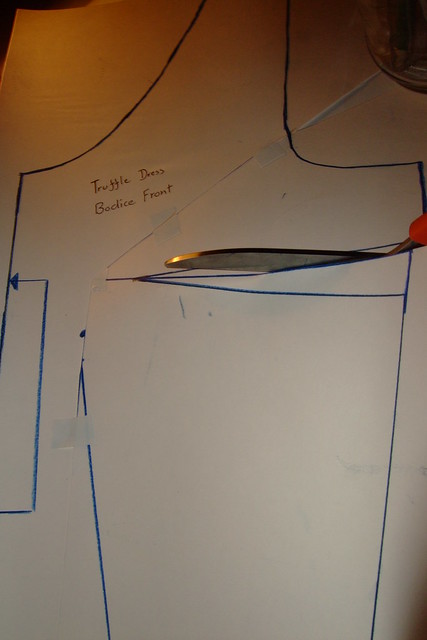
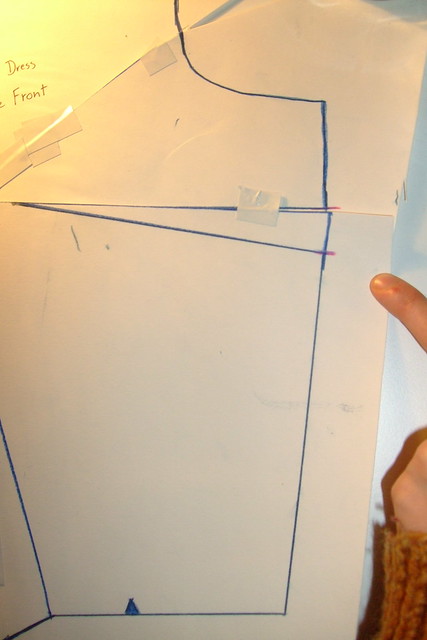
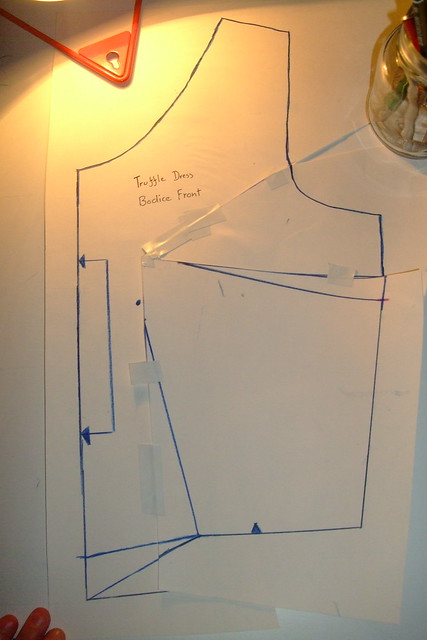
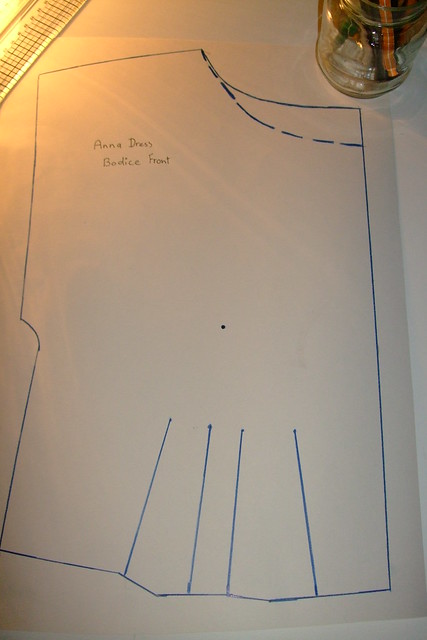
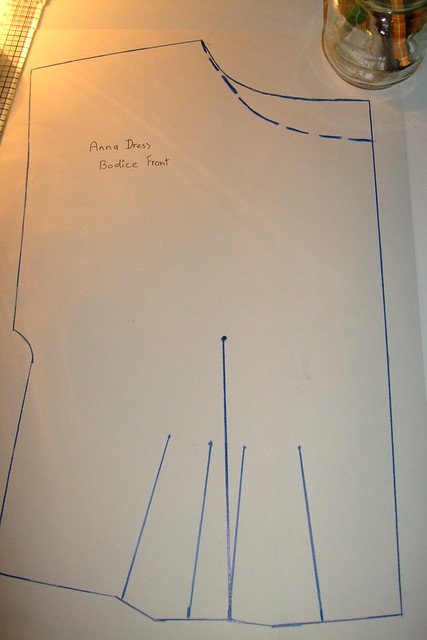
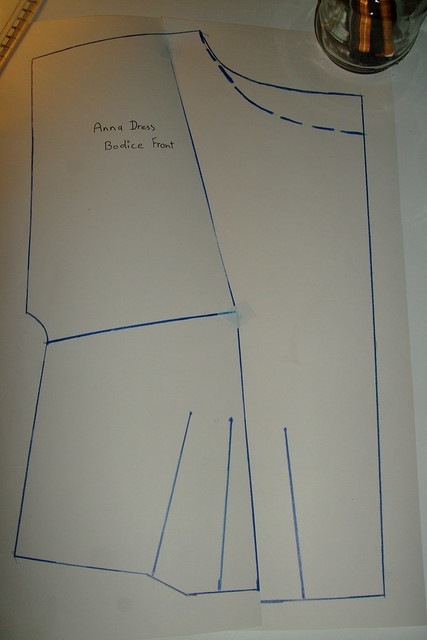
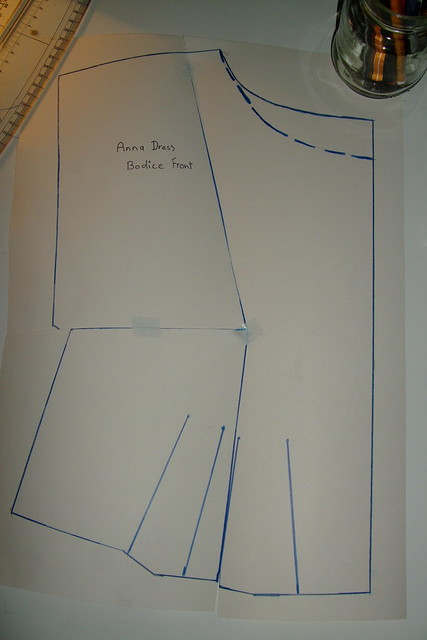
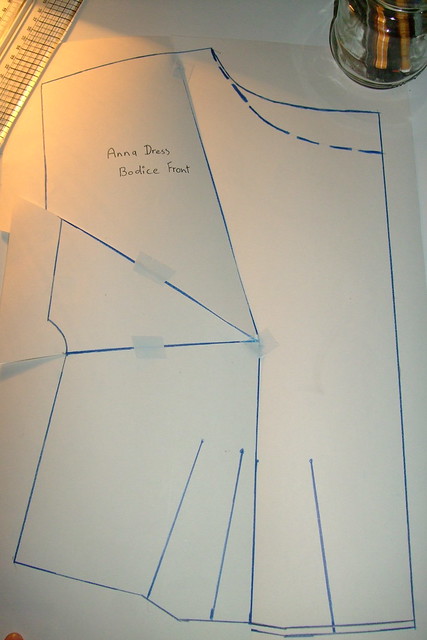
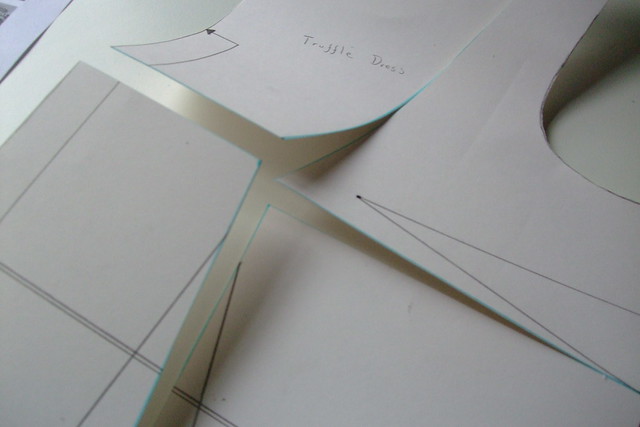
I simply drafted a quick pattern based on the shape of the old cover and then sewed it up.

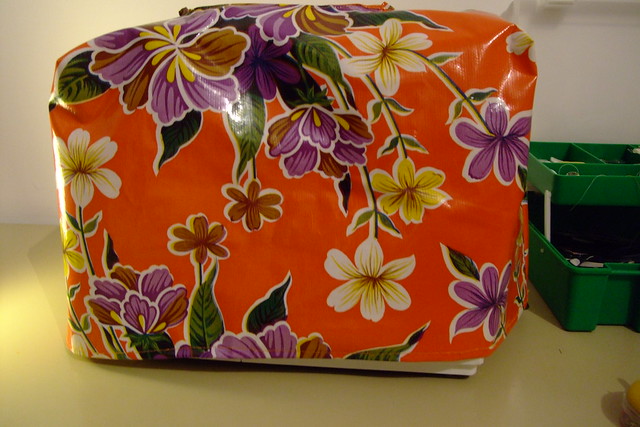
Here it is cut out before I sewed it up. You could make one for your own machine by following this model making sure that the pattern corresponds to your machine measurements. I also drafted a facing for the handle area to finish the edges off.

DSCF7328


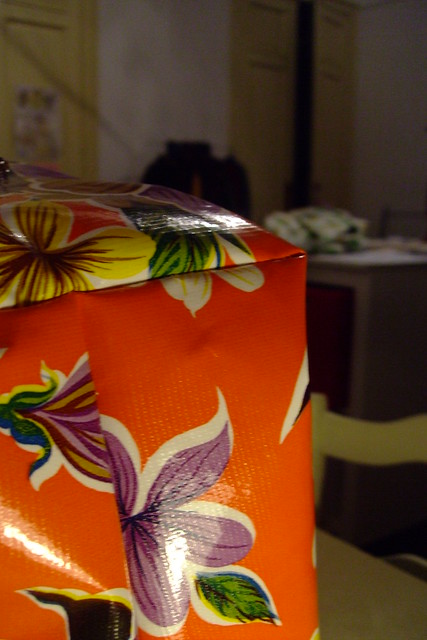
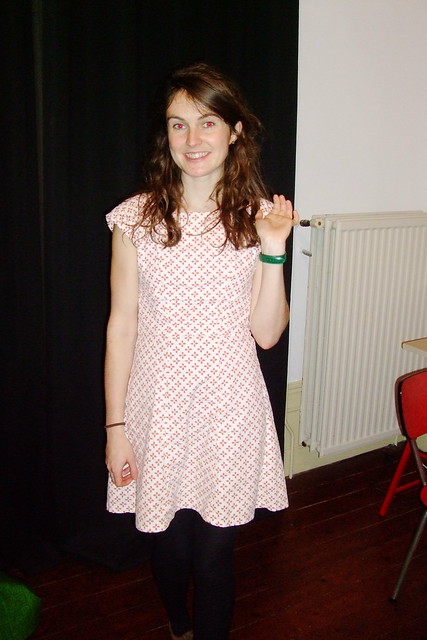
It was fun to use such a thick fabric and to make something that is not for wearing for a change!


DSCF7381


DSCF7380DSCF7382
DSCF7383

4.12.13

Unscalloped

DSCF7385
I made the Meringue skirt this weekend from the Colette Sewing Handbook, but as you'll have noticed my version does not feature the signature scallop edge. Although I cut it out with the scallop edge, unfortunately it didn't look right when I sewed it all together so I decided to just chop it off. I'm quite pleased with the result, but I would like to have another go at the scallop and be less slap dash this time! Or maybe life is too short for scalloped edges?!

7.11.13

An epic small bust adjustment story...Part 2

The Anna Dress
So I think I finally cracked the SBA alteration!

I've set out a step by step guide that explains how to carry out an SBA on a dartless bodice, I don't claim in any way that this is the way to do it, rather it is just what works for me. (Coming soon in my next post will be my step by step guide to doing an SBA on a bodice with darts.)

I worked out how to do it through trial and error, and I'd also highly recommend the amazing Craftsy course, 'Adjust the Bust' by Kathleen Cheetham which really helped me understand the principles behind the adjustment.

There are 3 main things to consider before you start an SBA:

1) How much needs to be removed?
The best way to work out how much needs to be removed is a simple calculation: the pattern bust size (so for the Anna dress UK size 6 this is 81.25cm) minus my bust size (78cm) = 3.25cm excess to be removed. Divide this figure by two (1.6cm) and you have the amount to be removed on each side of the bodice front piece.

2) Where do I slash? Sadly there is not one method for all patterns! Seems to be most commonly at the shoulder, armhole, sideseams, and waist on a dartless bodice and on bodices with darts it seems to be at the waist, armhole, and sideseam. But again this is not set in stone.

3) The golden rule is that the SBA must not alter the finished waist line length or finished side seam length. The centre front length can be altered as you can afford to lose excess fabric here. Or in other words, if you alter the side seams they will no longer match up with the back bodice side seams but if you alter the centre front it is ok as it just 'matches up with itself' so to speak.

Step by Step example on dartless dress: Anna dress from By Hand London

*Please note, I've marked on the original pattern neckline and below it an alternative neckline which is the one I used.*

1) Mark the bust point, about 9cm from in between the top of the two pleats.
DSCF7250

2) Draw a slash line from bust point to waist line, this line should be in between the two pleats, not cutting through them.
DSCF7251

3) Draw a slash line from the bust point to the shoulder, this line should be perpendicular to the shoulder line. Mark a hinge point 1.5cm from shoulder line (or whatever your seam allowance amount is).
DSCF7252

4) Then put some tape over the bust point and over the hinge point at the shoulder to bolster them. Cut along the line from the waist through the bust point and up to the shoulder hinge point.
DSCF7253

DSCF7254


DSCF7256

 
5) Place a mark 1.6cm* inwards from the bust point ( towards the centre front). Then swing the pattern piece over to that point. Secure with some tape.
*Amount that needs to be removed: The pattern bust size (81.25cm) minus my bust size (78cm) = 3.25cm excess to be removed. Divide this figure by two = 1.6cm to be removed on each side of the bodice front piece.
DSCF7256


DSCF7257

6) As the waistline is now out of kilter we need to bring it back together. To do this we can draw another slash line from a point on the side seam (for the Anna dress this is 2cm or so down from the underarm point) to the bust point. We cut through this line, again leaving a small hinge amount. We then overlap this lower section of the bodice by moving it upwards until the waist line pieces meet once more. Secure this in place temporarily with tape as it will be moved later.
DSCF7258


DSCF7261
7) Now the centre front section is longer than the side section so this must be rectified. The side seam point on the waist must remain where it is but you can modify the waist line point on the centre front, you just have to make sure that the waist circumference length stays the same. So redraft the waist line to cut off the excess in the centre front section. The top line in this picture is the new waist line.
DSCF7264

8) In step 6 you shortened the side seam so now it will be too short to match up properly to the back side seam so you need to do another overlap. To do this draw a new slash line from the armhole to the bust point.
DSCF7266

The aim of this slash is to effectively disperse what was taken away in step 6. Cut all the way in (leaving a small hinge of course) and then lift the tape on the side seam slash line and move the slash line at the side seam back to where it was and move the excess to the armhole.
DSCF7267

I hope this is clear, it's tricky to explain this part!
Now redraw the armhole with a French curve.
DSCF7268

And we're done! (I just realised that I forgot to mark the centre front and the cut on fold instruction, sorry about that!)

Tada! Here are some photos of my Anna dress with the SBA alteration:
DSCF7275
DSCF7276

Although I was really happy with it and it is much better than the original muslin I made of the Anna dress size 6, I still felt it was a bit gapy so I decided to try another alteration: on the front bodice I kept the outer pleat but I extended the inner pleat into a dart, which I then altered into a princess seam. My thinking was that this would give a more structured style and remove the extra excess.
DSCF7270
Tada take two! Here are some photos of the Anna dress with the princess seam bodice adaption:
DSCF7285
DSCF7284
DSCF7291
DSCF7282
I love the Anna dress, it really is an amazing pattern!

Coming soon...an epic small bust adjustment story part 3 covering altering bodices with darts using the Colette Truffle dress as an example.

3.10.13

An epic small bust adjustment story...Part 1


When I think back to some of my earlier disastrous sewing projects it strikes me as odd that I never made any muslins! I always dove straight in and tried things out on some piece of lovely one-of-a-kind fabric I'd been saving, which inevitably led to many disappointments when my project didn't turn out as I'd imagined and I'd wasted the nice fabric to boot!

Thankfully I (almost) always make muslins now, and never has this been more useful than when tackling my first pattern from the Colette Sewing Handbook.

I decided to start with the Licorice dress. I traced off the pattern in the smallest size and then cut out the dress in calico. I knew it would be too big in the bust area as the smallest size in Colette patterns is 84cm at the bust and my bust measurement is 80cm. And sure enough the muslin confirmed this.

While I think that the Colette Sewing Handbook is amazing, I would say that it could go into more detail when it comes to fitting issues as the explanation on how to remove excess fabric at the bust in the book (on page 89) was really not detailed enough for me. But of course no book is designed to be the only source consulted and it is not a bad thing to have to go and seek out other complementary information elsewhere.

/////////

So began my online quest to understand exactly how one tackles a 'small bust adjustment'. And this is what I love about the online sewing community: the wealth of information being shared out there is just incredible. I found loads of helpful tutorials on small bust adjustments but there does seem to be some disagreement about how to go about them so I thought it would be a good idea to collate some of the online discussion about SBAs in once place and explain which method works best for me:

Some comments on the Collette blog point out that the method they describe (for the Hawthorn dress) is flawed, this was the one I tried to follow for the Licorice dress. I made some slash lines and then overlapped them, but I didn't really feel that confident in what I was doing so it was a bit of a fluke really. I then redrafted the bodice back into the front dress piece and made a second muslin, which fit much better despite gaping a bit at the neck front.

DSCF7196

Generally speaking I am happy with the fit, although I don't think it will be my new favourite dress (I didn't add the collar or the sleeves to my version so perhaps that is a factor in it not looking quite right).

///////////

Shona Stitches highlighted the problem she discovered with the Colette method: "The main problem is that the Small Bust Adjustment shortened the bodice and made the waist much smaller. It also raised the apex of the dart and moved it more toward the center, which may or may not be a problem depending on your bust."

In the comments IrendeDAdler (You Sew Like a Girl) also points out the flaws with the Colette tutorial. She said: "The widely-known 4-slash SBA/FBA should only be done on bodices with 2 darts, and should not be blindly applied to all darted bodices."

Shona then references this tutorial from Paunnet, which in turn led me to this tutorial on Deer and Doe.

Now I'm in the process of trying out the Paunnet and Deer and Doe methods to try out my second SBA adventure on the Truffle dress.

DSCF7183


Some essential points for me to remember:

 - My bust is 80 compared with 84 on the pattern, so I need take out 4cm at the bust.
 - I think what is needed is to reduce the surface area around the bust, but not shorten the side seams.

I'm still incredibly confused about all this so any help would be much appreciated! :)

2.10.13

Pattern in the post

Look what the Belgian Post delivered to me today - the Anna dress pattern!

DSCF7185

Can't wait to get started on it. Now to rummage through my fabric boxes and decide what to make it up in...

1.10.13

Many Mathildes

I wrote previously about how making the Mathilde blouse was a sewing gamechanger for me in many ways. I finally got round to taking some pictures of the 3 different versions I made!

This is the dress version in a green linen.
DSCF7199

A blouse version in a thin cotton - minus the tucks!
DSCF7206

And the original Mathilde I made as Tilly intended it! Could probably do with a better iron in these photos...
DSCF7207

DSCF7209