One of my favourite dresses is one of my Mum’s old ones. It’s from the British high street shop ‘Wallis’ and was probably bought in the early to mid 1980s. The fabric is that kind of beautifully soft woven fabric which is always so hard to find. The dress is beautifully made and the quality of the fabric is streets ahead of what you tend to find on the high street today.
As I love the dress so much so I decided to have a go at rubbing off the pattern. I don’t have any fabric with the exact same feel or drape so it will be a while until I can make an exact carbon copy but making something inspired by the original dress is good enough for me for now!
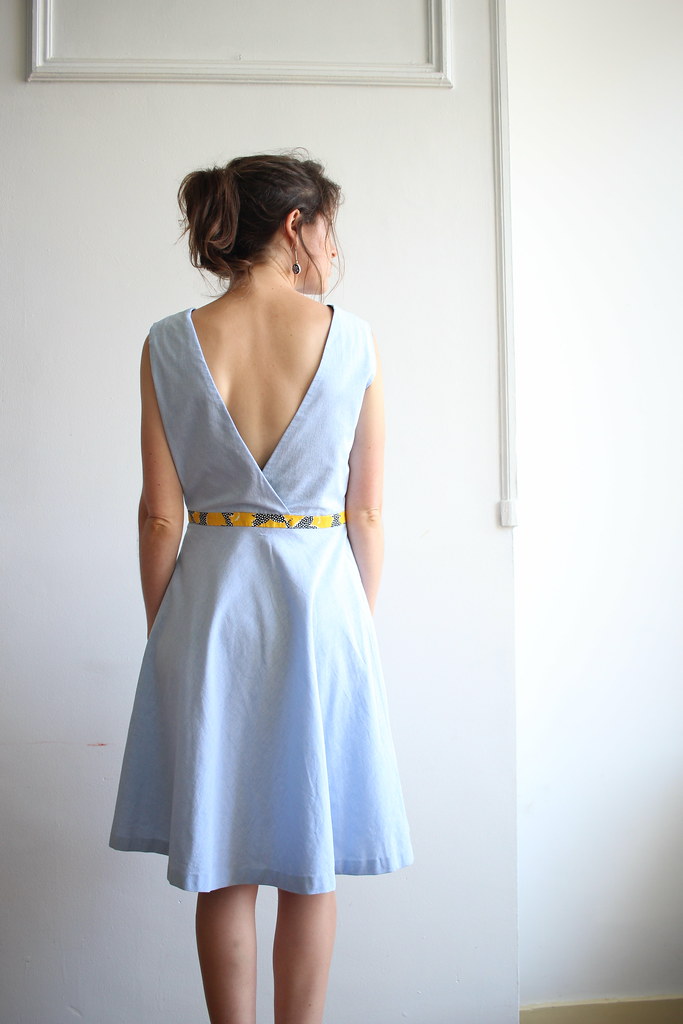
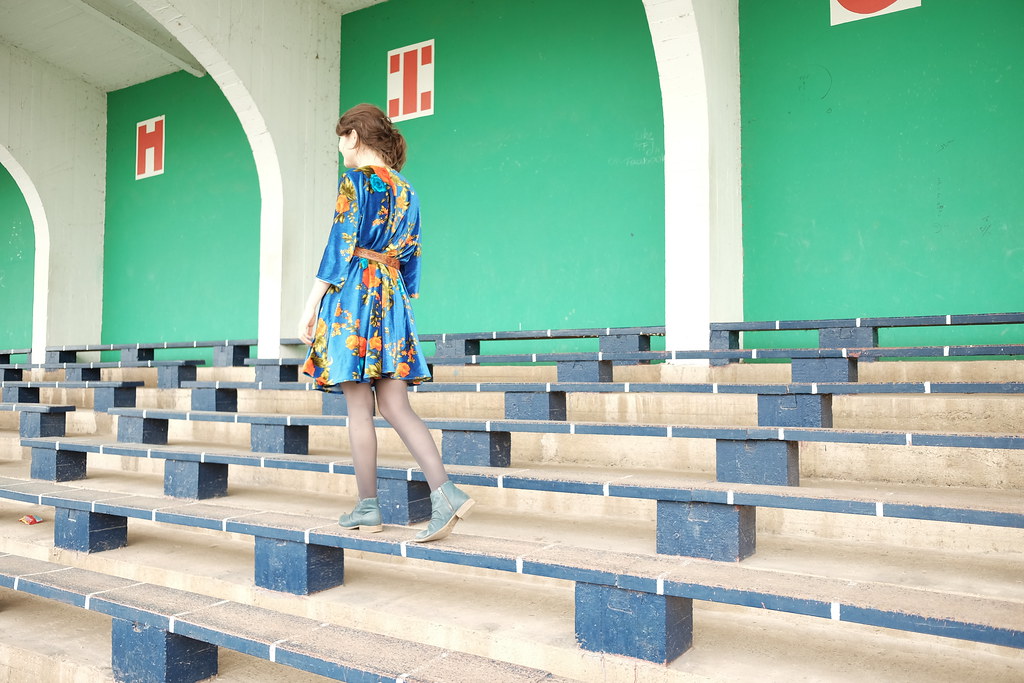
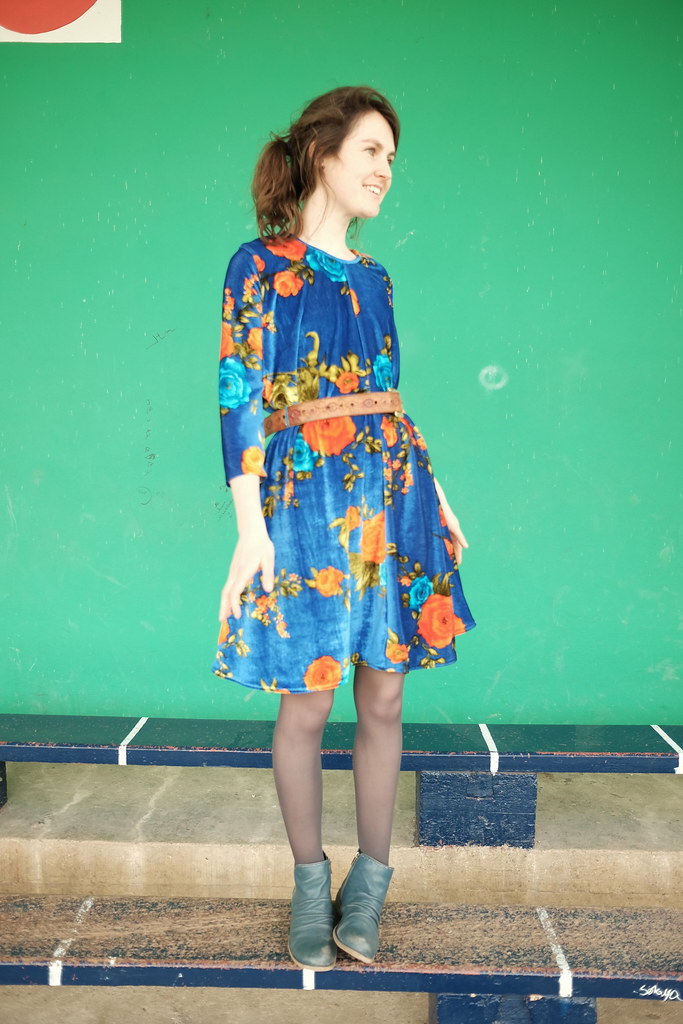
The original dress
The busy pattern makes it hard to photograph but hopefully here you can see the style lines.

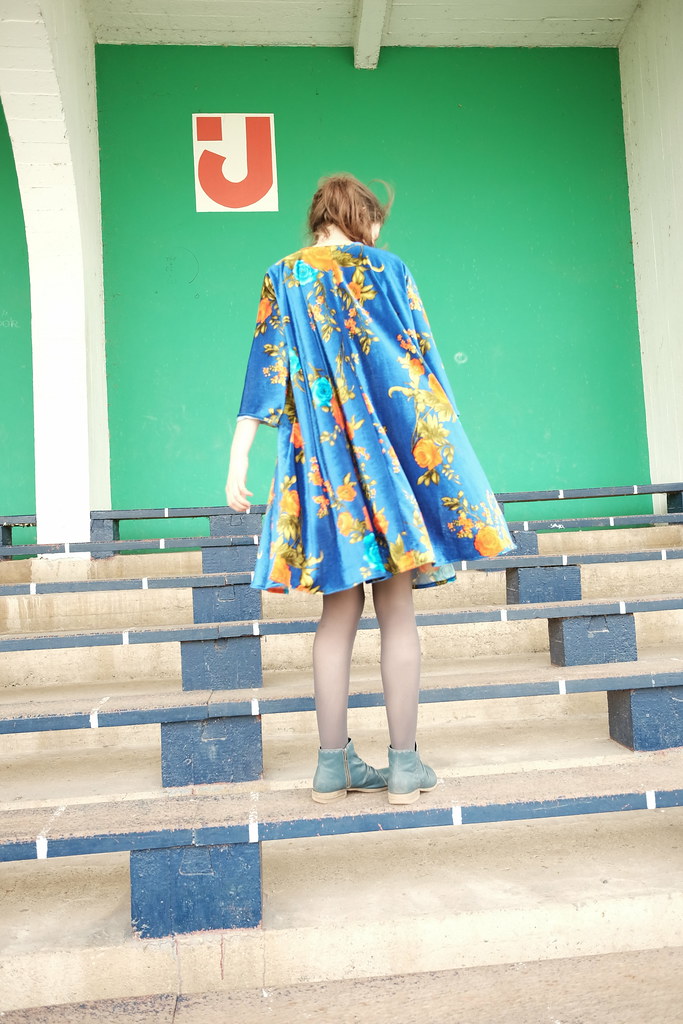
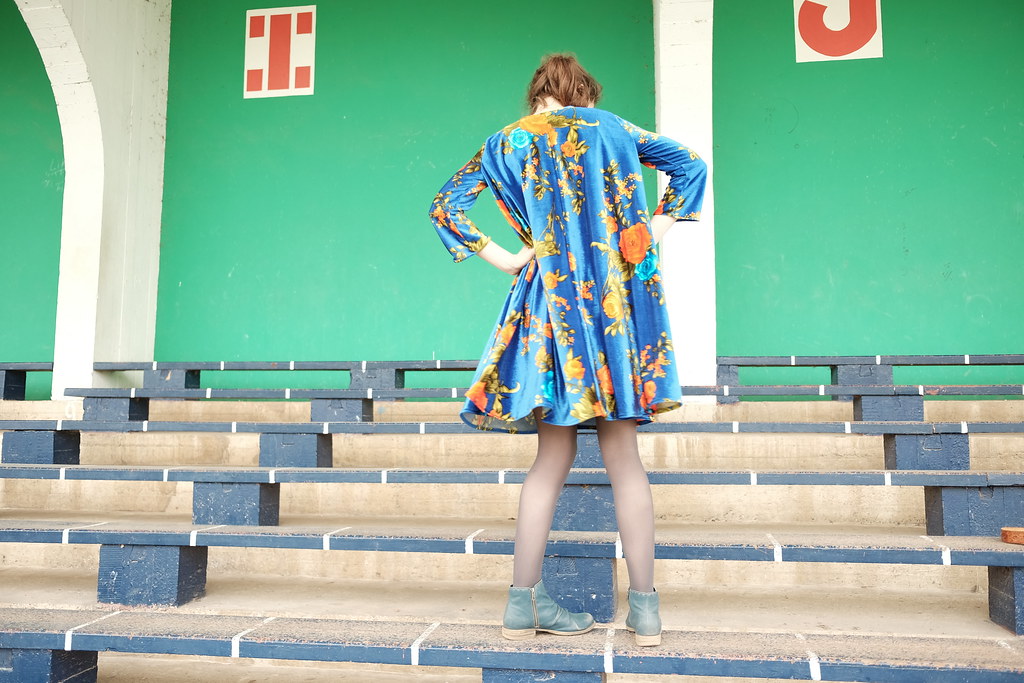
And the length made it hard to get it all in one picture so here is a photo which shows how long the skirt is.

The pattern
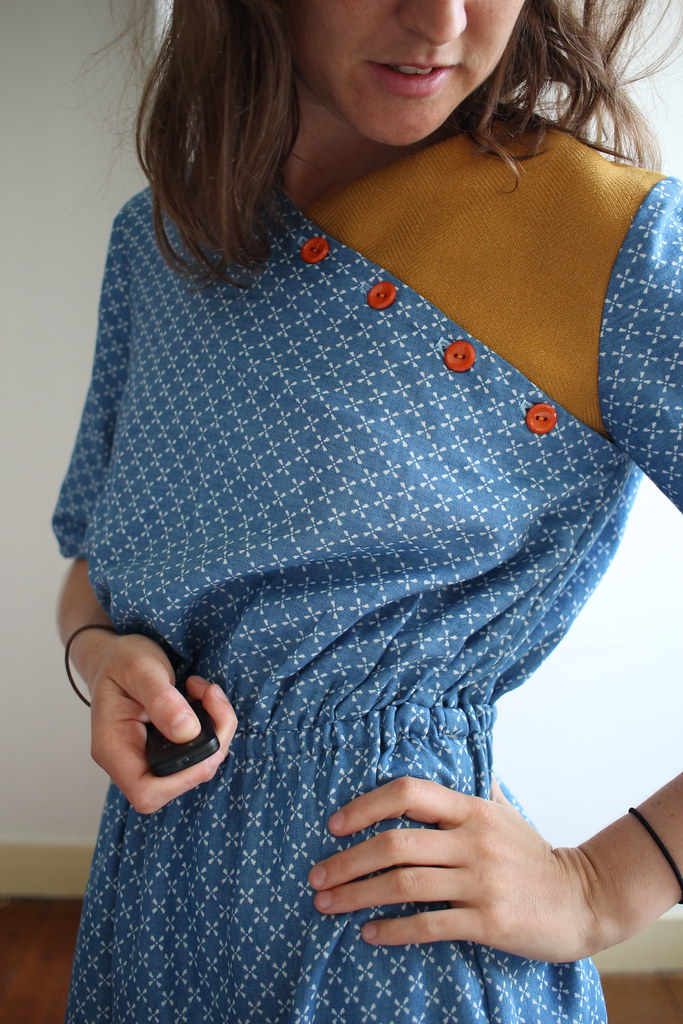
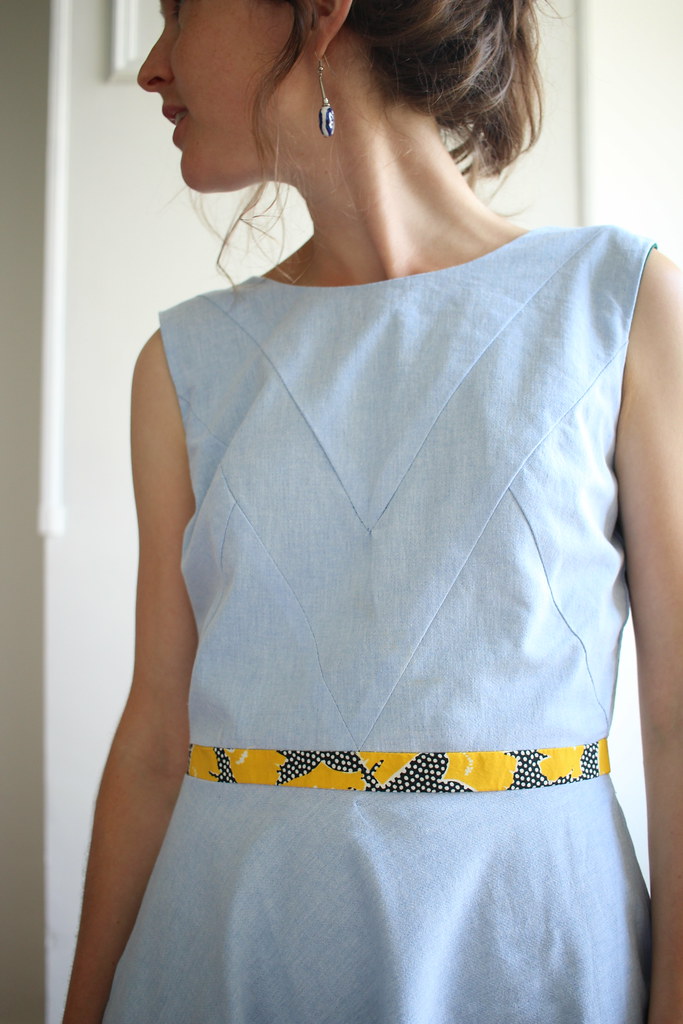
This is the resulting pattern from my attempt to copy the dress. The front and back bodice pieces are gathered to fit into curved yoke pieces. The sleeves are modified raglan sleeves, which are also gathered into the yokes. There is a button placket down the whole length of the centre front.
This picture shows the sleeve pattern piece and the bodice front and back pieces. I’ve not included the placket piece as it is just a long rectangle. For the skirt, on my first attempt I made a simple gathered skirt and on the second attempt I made a half circle skirt.
The original dress has a peter pan collar and the skirt is floor length. On the original dress the sleeves are gathered into an elastic casing at the cuff. On my first version I left the sleeve un-gathered at the cuff so it is flared and on my second version I hand stitched a sort of inverted pleat at the cuff to bring them in a bit.

First go
This was the first attempt and I’m quite happy with it. The two major flaws are that I put a hem facing on it in a heavier fabric which kind of drags down the dress. Also, the fabric itself (which comes from a shop across the road from the Marché Saint Pierre in Paris) while really lovely is not the best quality so it was quite hard to accurately cut out. I love the pattern and the orange colour though so I’m not complaining!


The chortle shot…
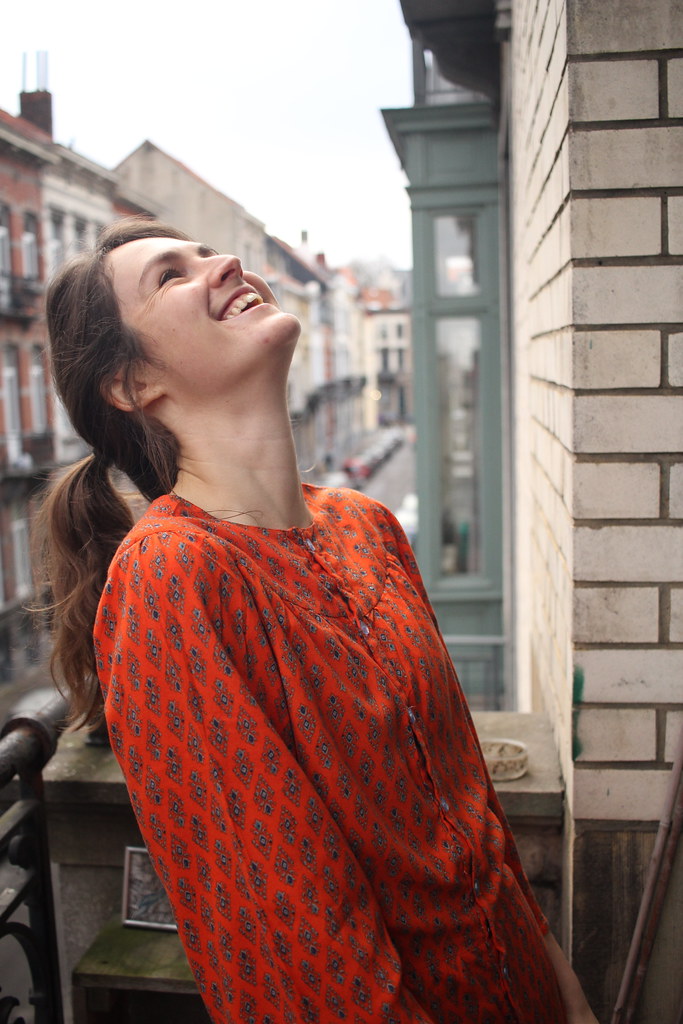

…and round two!
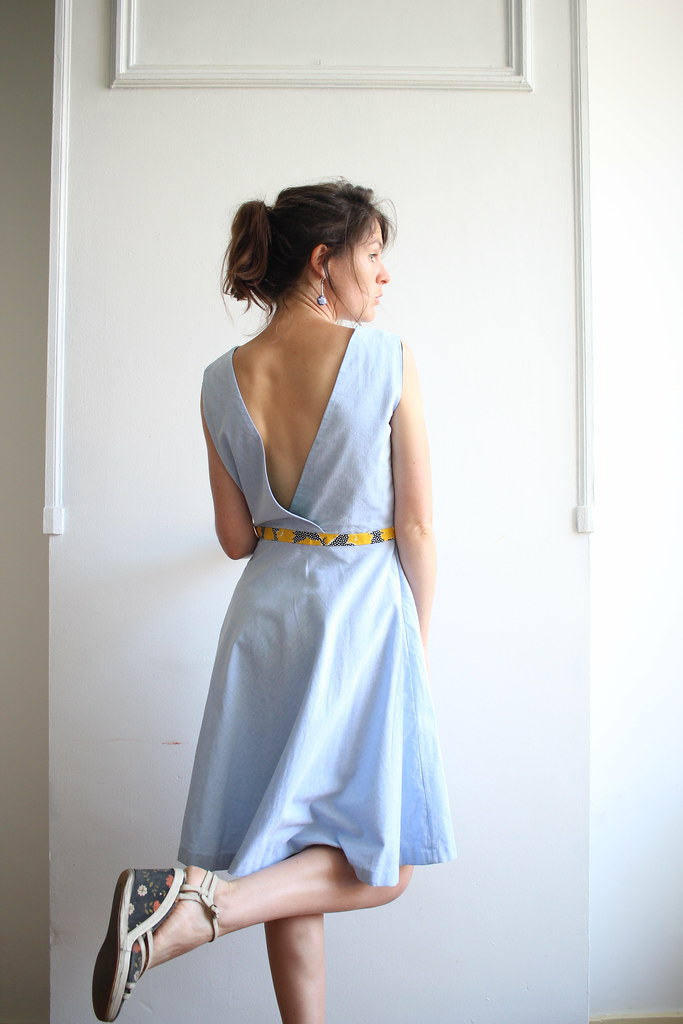
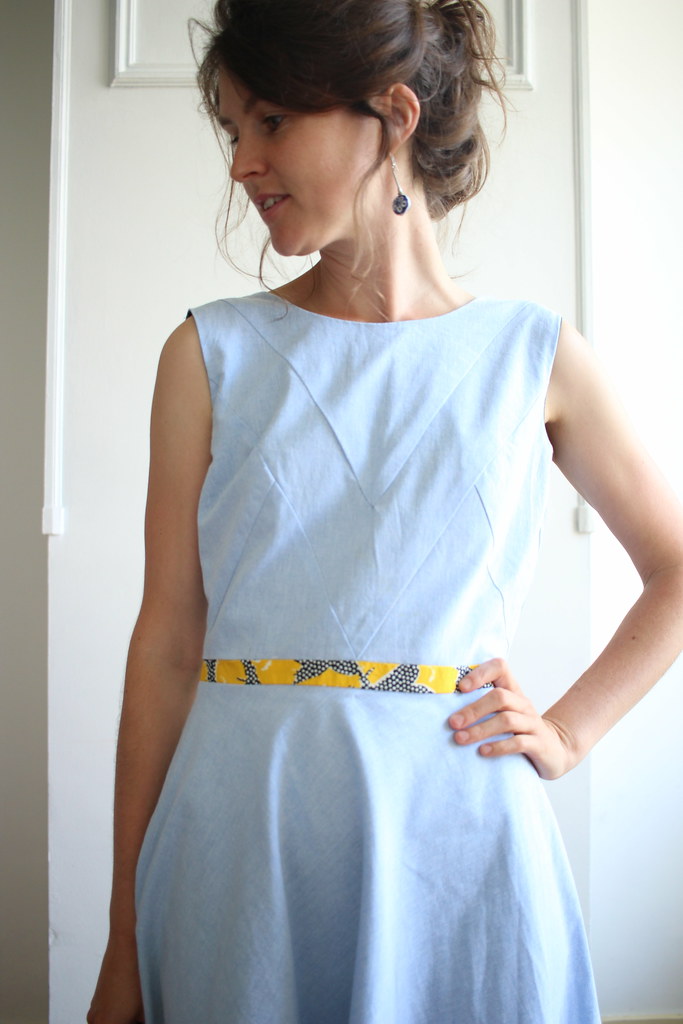
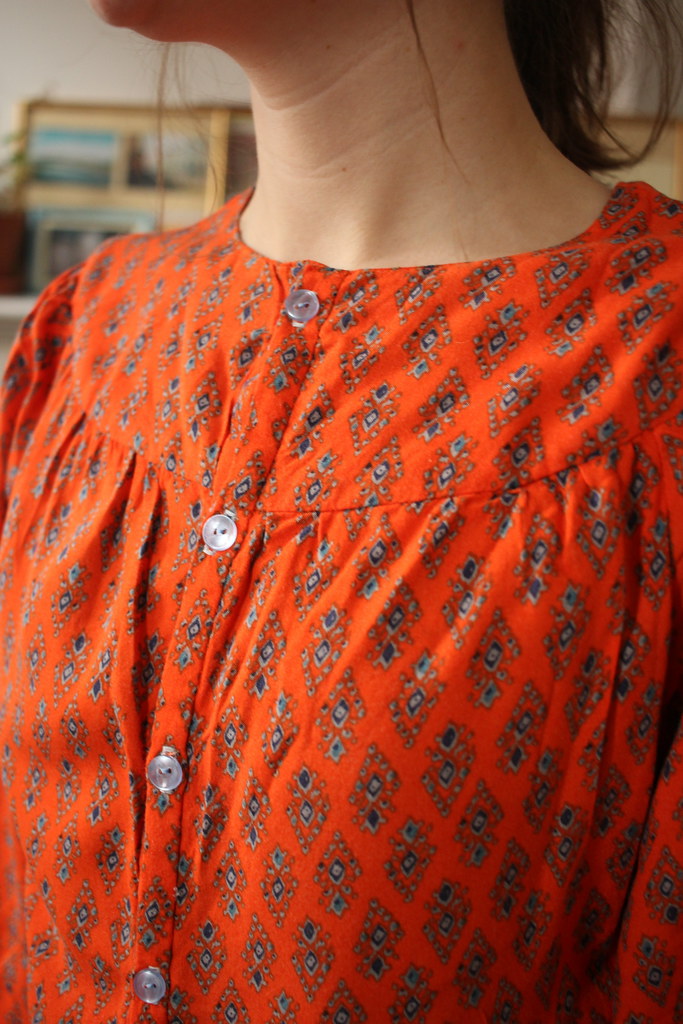
For the second one I used a red cotton which hangs really nicely (from Atelier Brunette). I’d been hoarding this fabric for a while so was glad to finally use it.
I ‘interfaced’ the button plackets by underlining them with calico toile fabric but I’m not sure I’ll do that again as now it has been washed a few times the button placket looks a bit crumpled. I suppose I now realise why iron-on interfacing was invented as you can stick it exactly to the fabric and there won’t be any moving around! That said I also underlined/faced the yokes in the same way and they seem ok.
I really love this dress and can’t wait to try and improve it further and make it in another fabric. Next time I’ll bring the neckline down slightly at the front, and maybe add a collar. I’ll also think about putting a false placket in and using a zip in the side seam instead so as not to have so many buttonholes to sew!


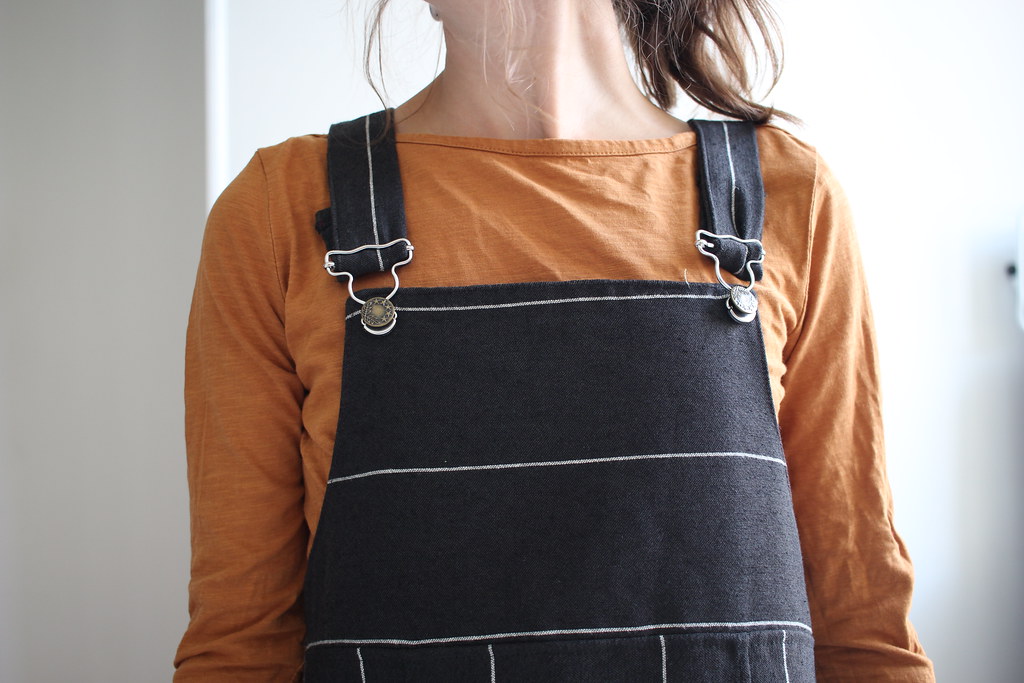
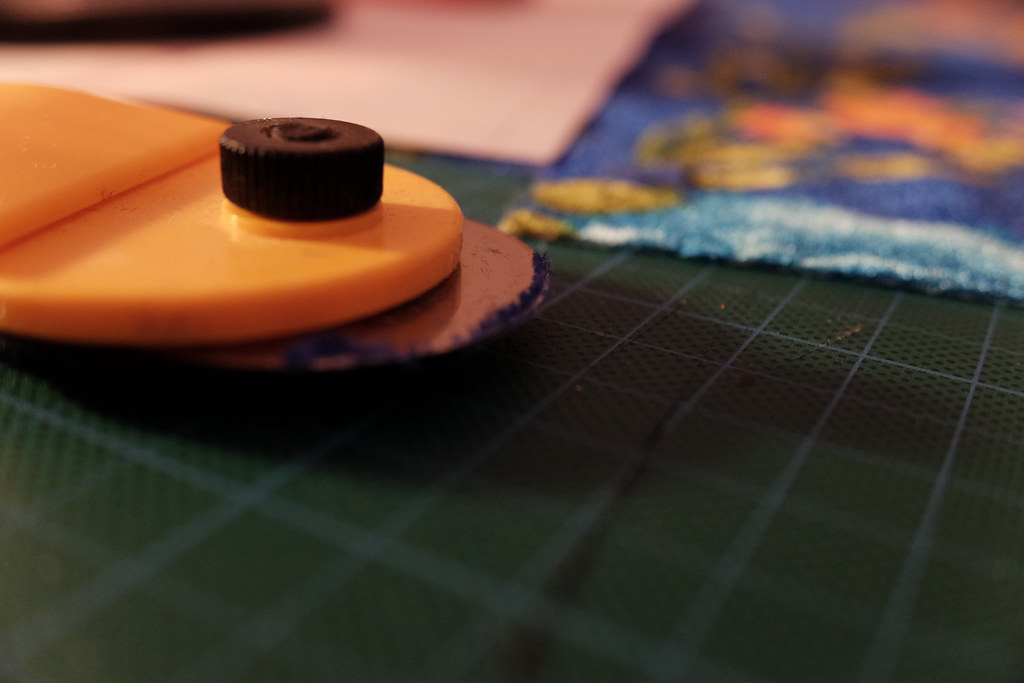
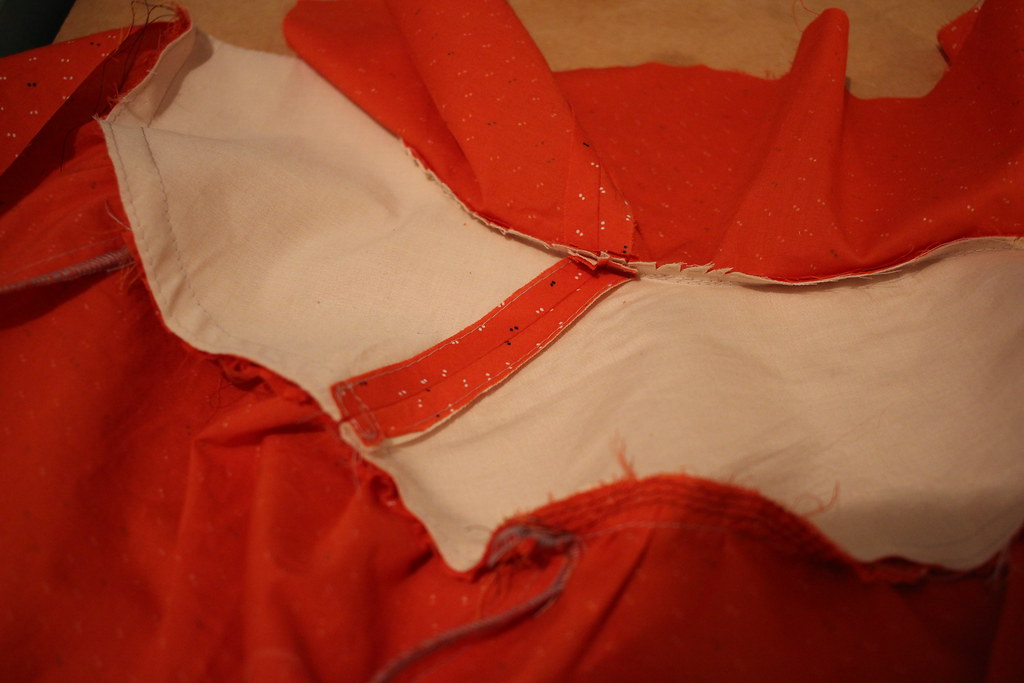
And not forgetting some ‘in construction’ snaps!

And to finish, a close up of what I’m calling the ‘sleeve pleat tuck thing’.