
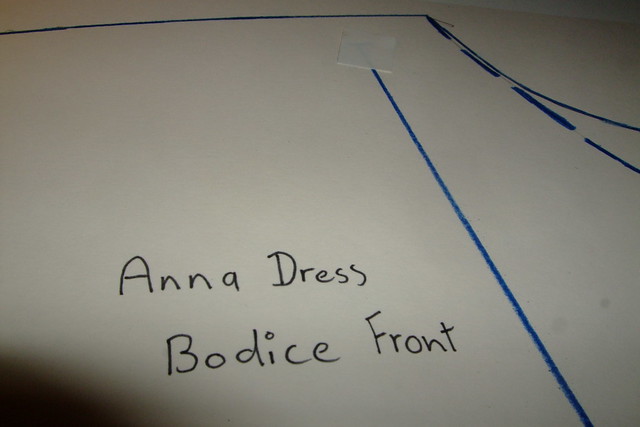
The Anna Dress
So I think I finally cracked the SBA alteration!
I've set out a step by step guide that explains how to carry out an SBA on a dartless bodice, I don't claim in any way that this is the way to do it, rather it is just what works for me. (Coming soon in my next post will be my step by step guide to doing an SBA on a bodice with darts.)
I worked out how to do it through trial and error, and I'd also highly recommend the amazing Craftsy course, 'Adjust the Bust' by Kathleen Cheetham which really helped me understand the principles behind the adjustment.
There are 3 main things to consider before you start an SBA:
1) How much needs to be removed?
The best way to work out how much needs to be removed is a simple calculation: the pattern bust size (so for the Anna dress UK size 6 this is 81.25cm) minus my bust size (78cm) = 3.25cm excess to be removed. Divide this figure by two (1.6cm) and you have the amount to be removed on each side of the bodice front piece.
2) Where do I slash? Sadly there is not one method for all patterns! Seems to be most commonly at the shoulder, armhole, sideseams, and waist on a dartless bodice and on bodices with darts it seems to be at the waist, armhole, and sideseam. But again this is not set in stone.
3) The golden rule is that the SBA must not alter the finished waist line length or finished side seam length. The centre front length can be altered as you can afford to lose excess fabric here. Or in other words, if you alter the side seams they will no longer match up with the back bodice side seams but if you alter the centre front it is ok as it just 'matches up with itself' so to speak.
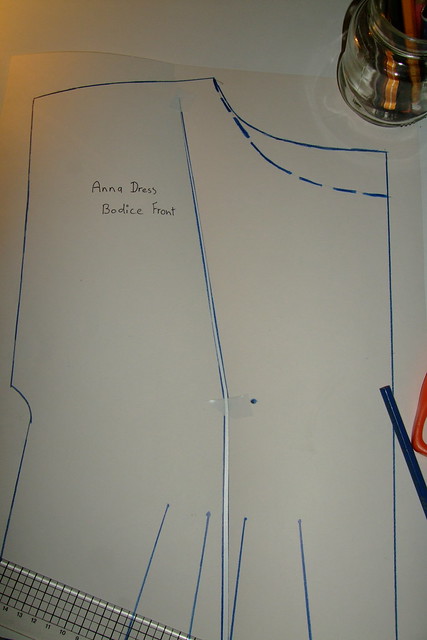
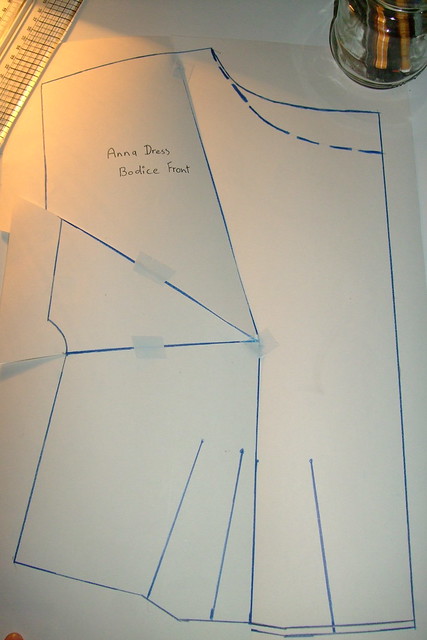
*Please note, I've marked on the original pattern neckline and below it an alternative neckline which is the one I used.*
1) Mark the bust point, about 9cm from in between the top of the two pleats.
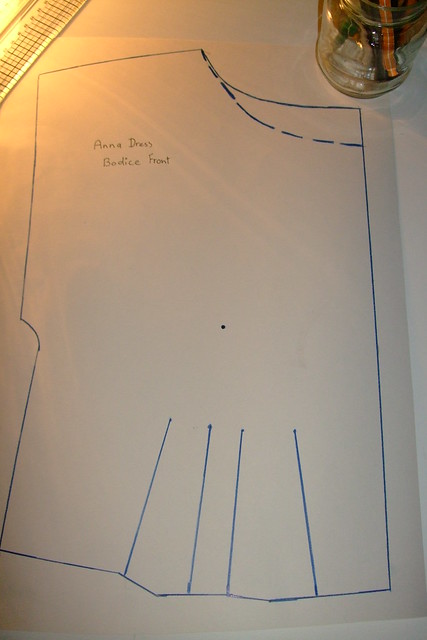
2) Draw a slash line from bust point to waist line, this line should be in between the two pleats, not cutting through them.
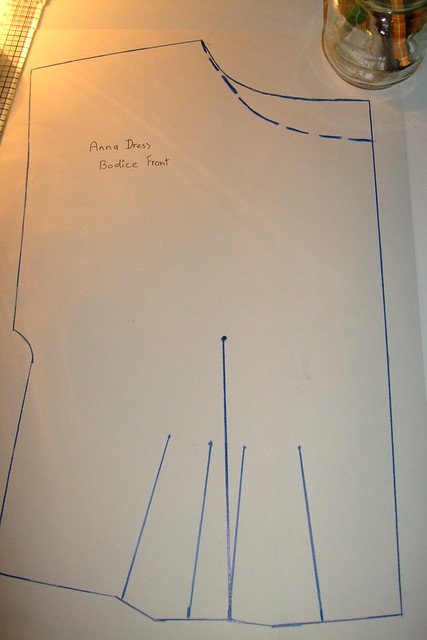
3) Draw a slash line from the bust point to the shoulder, this line should be perpendicular to the shoulder line. Mark a hinge point 1.5cm from shoulder line (or whatever your seam allowance amount is).
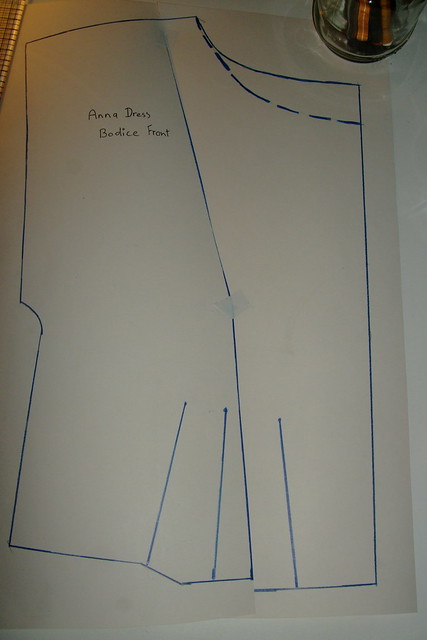
4) Then put some tape over the bust point and over the hinge point at the shoulder to bolster them. Cut along the line from the waist through the bust point and up to the shoulder hinge point.

5) Place a mark 1.6cm* inwards from the bust point ( towards the centre front). Then swing the pattern piece over to that point. Secure with some tape.
*Amount that needs to be removed: The pattern bust size (81.25cm) minus my bust size (78cm) = 3.25cm excess to be removed. Divide this figure by two = 1.6cm to be removed on each side of the bodice front piece.
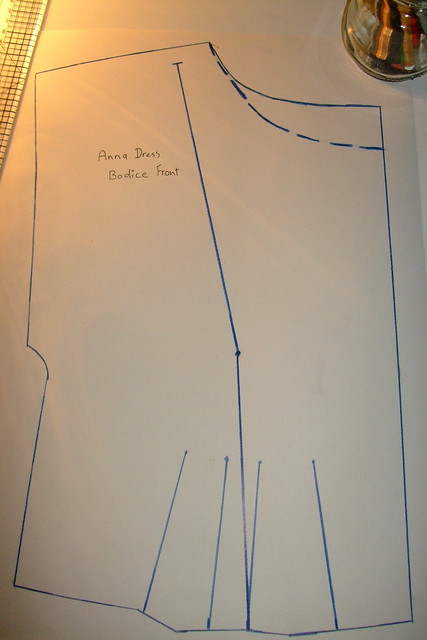
6) As the waistline is now out of kilter we need to bring it back together. To do this we can draw another slash line from a point on the side seam (for the Anna dress this is 2cm or so down from the underarm point) to the bust point. We cut through this line, again leaving a small hinge amount. We then overlap this lower section of the bodice by moving it upwards until the waist line pieces meet once more. Secure this in place temporarily with tape as it will be moved later.
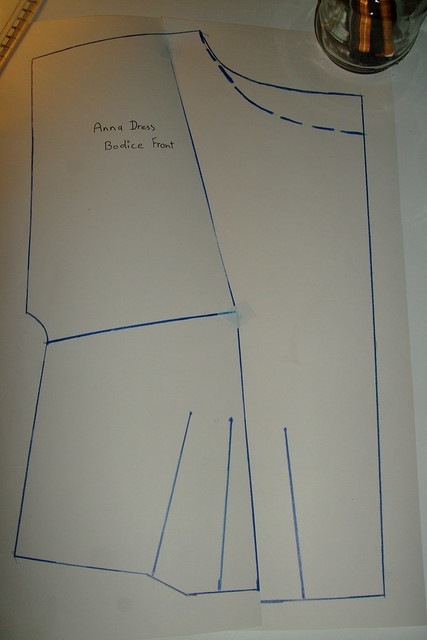
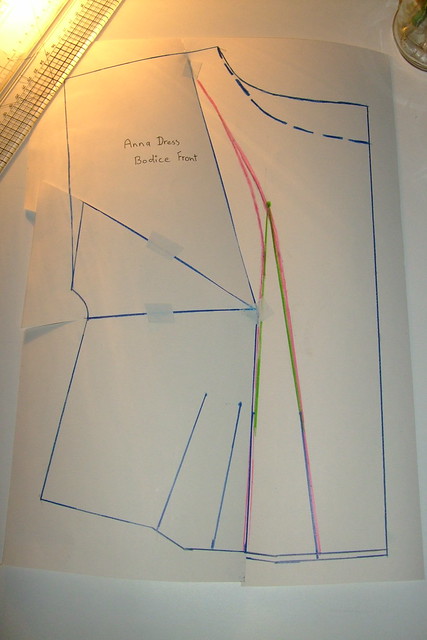
7) Now the centre front section is longer than the side section so this must be rectified. The side seam point on the waist must remain where it is but you can modify the waist line point on the centre front, you just have to make sure that the waist circumference length stays the same. So redraft the waist line to cut off the excess in the centre front section. The top line in this picture is the new waist line.

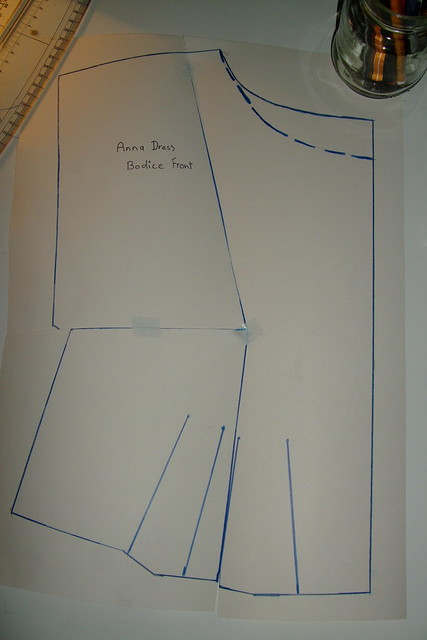
8) In step 6 you shortened the side seam so now it will be too short to match up properly to the back side seam so you need to do another overlap. To do this draw a new slash line from the armhole to the bust point.

The aim of this slash is to effectively disperse what was taken away in step 6. Cut all the way in (leaving a small hinge of course) and then lift the tape on the side seam slash line and move the slash line at the side seam back to where it was and move the excess to the armhole.
I hope this is clear, it's tricky to explain this part! Now redraw the armhole with a French curve.

And we're done! (I just realised that I forgot to mark the centre front and the cut on fold instruction, sorry about that!)
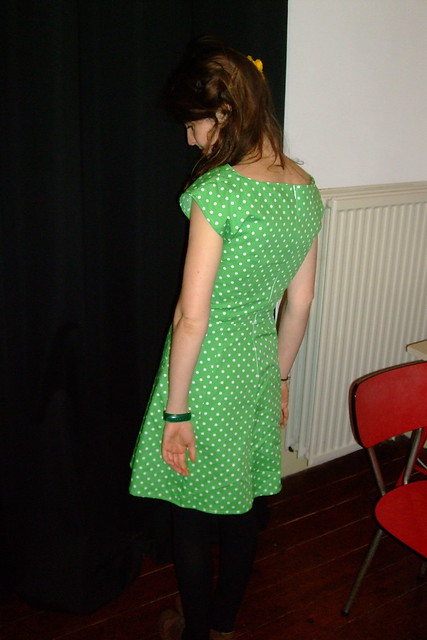
Tada! Here are some photos of my Anna dress with the SBA alteration:

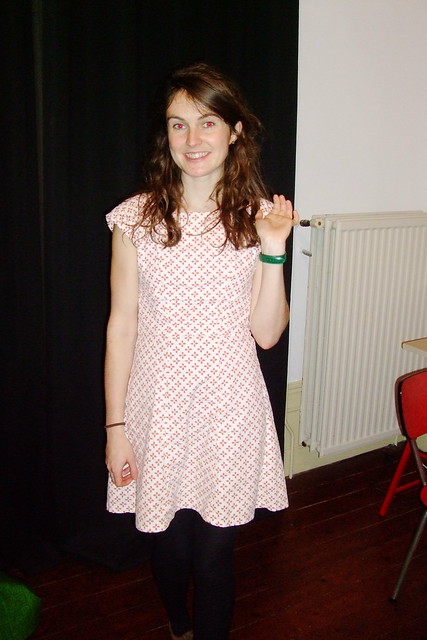
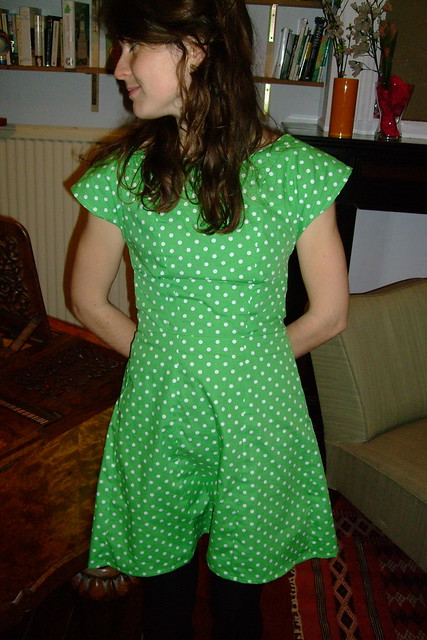
Although I was really happy with it and it is much better than the original muslin I made of the Anna dress size 6, I still felt it was a bit gapy so I decided to try another alteration: on the front bodice I kept the outer pleat but I extended the inner pleat into a dart, which I then altered into a princess seam. My thinking was that this would give a more structured style and remove the extra excess.
Tada take two! Here are some photos of the Anna dress with the princess seam bodice adaption:
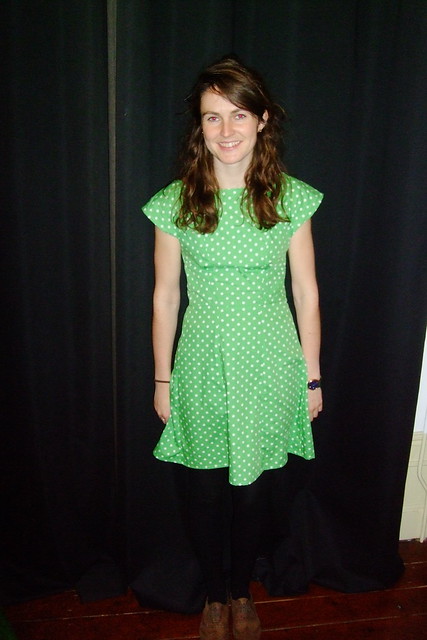
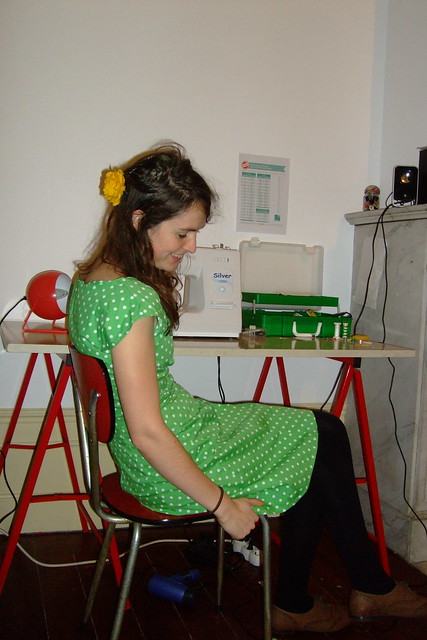
I love the Anna dress, it really is an amazing pattern!
Coming soon...an epic small bust adjustment story part 3 covering altering bodices with darts using the Colette Truffle dress as an example.
