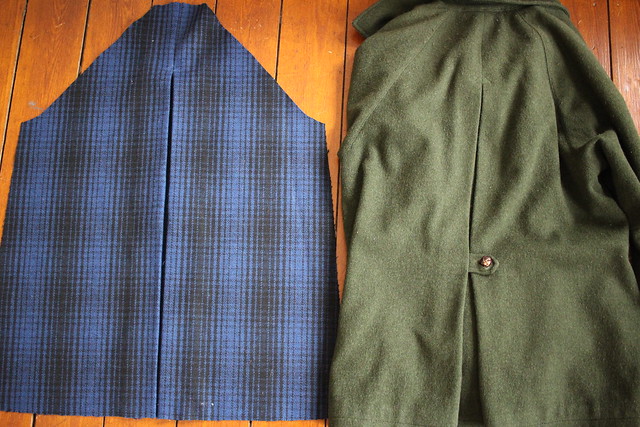
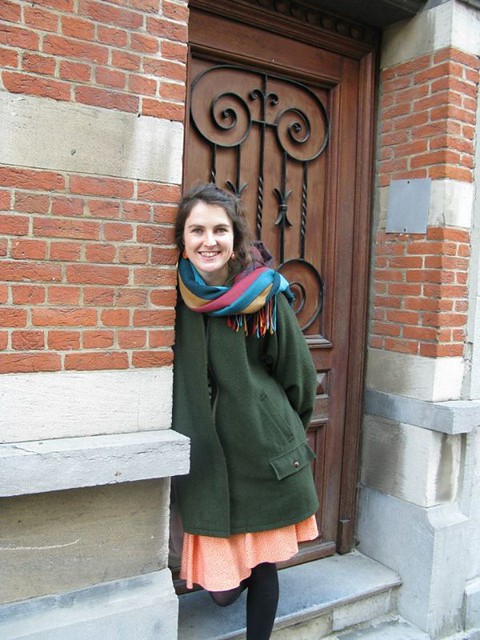
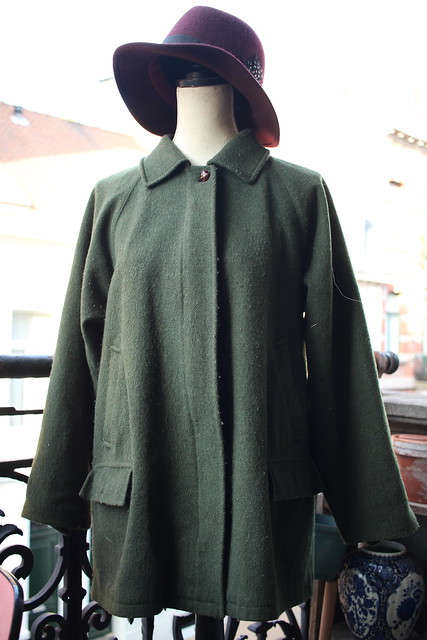
I'm currently working on recreating my favourite coat of all time. I bought it in my second or third week in Brussels, over 5 years ago, at the 'marché au puces' at the Place du Jeu de Balle. It cost me 10 euros and for the incalculable amount of times I've worn it, it's fair to say I've definitely got my money's worth. It's a plain, green coat but there is something about it that I just love. The brand is 'Tiroler Loden' which is apparently a schmancy Austrian coat maker. It's cosy, comfy, has great pockets and raglan sleeves, and is slightly too big for me so there is plenty place for a jumper underneath. Look how happy it makes me!
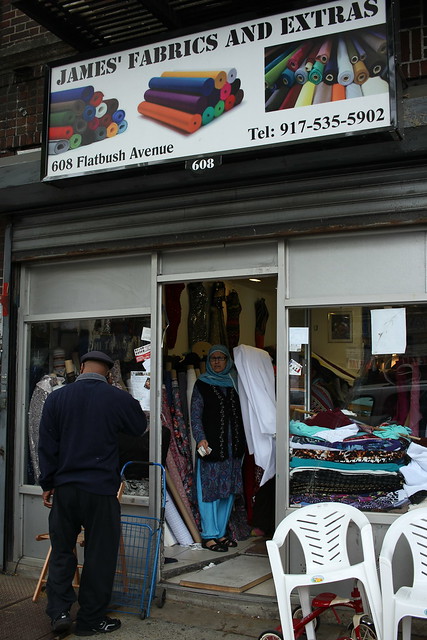
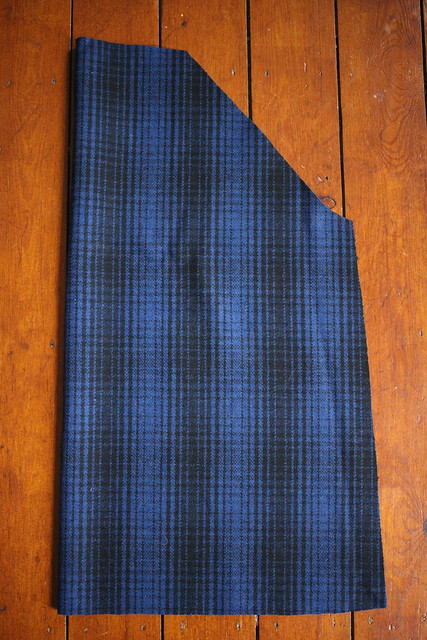
So in keeping with my recent attempt to draft my own patterns I decided that trying to recreate this one would be no more difficult than hunting out a coat pattern I liked and then working out how to make it. I have an idea in my head of a red version of this coat. In the meantime I'm diving head first into a (hopefully) wearable muslin. The fabric I'm using cost me 1 dollar a yard, yes, 1 DOLLAR A YARD. That is way too cheap to be ok. I bought it in Brooklyn, New York, in a small shop on Flatbush Avenue near Prospect Park when I was there last week on a trip.
How to make an inverted box pleat in the centre back of a coat
The coat is far from finished but today I want to share a tutorial for how to make an inverted box pleat in the centre back of a coat, a feature of my beloved green coat. I worked out how to do it through much analysis and fondling of my green coat - imitating clothes you love is so frustrating because you can't unpick things!
This tutorial can be used for any back coat pattern piece cut on the fold.
(I'm going to focus on construction and presume you have a pattern piece but just a quick word about drafting: make sure your pattern piece has the 'extra' fabric needed for the pleat. This means widening the pattern piece by (in my case) 11cm from where your centre back seam is to count for the pleat.)
So here we go:
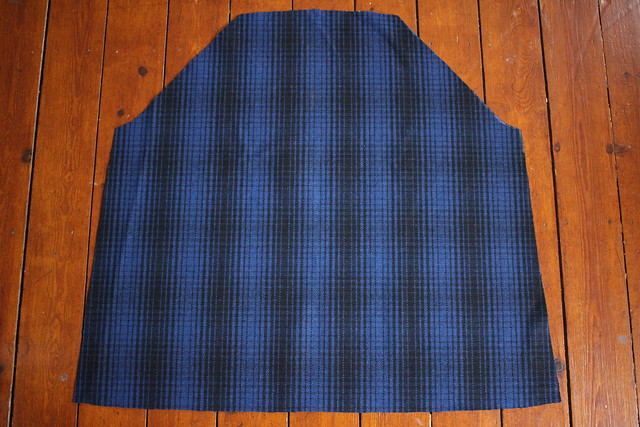
1) Cut out your back coat piece on the fold.
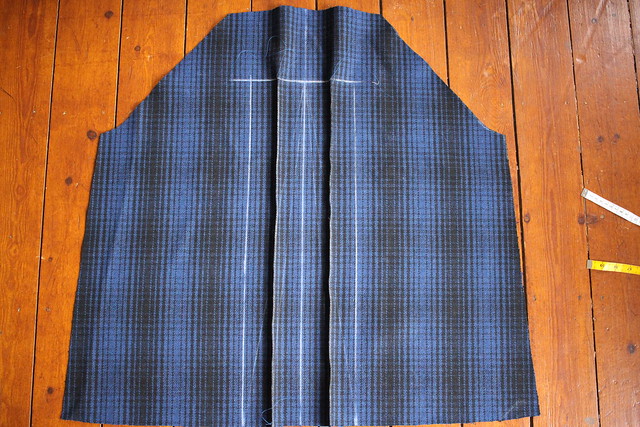
2) Your back coat piece once it is opened up (obviously your pattern piece will vary depending on the style of the pattern you are using).
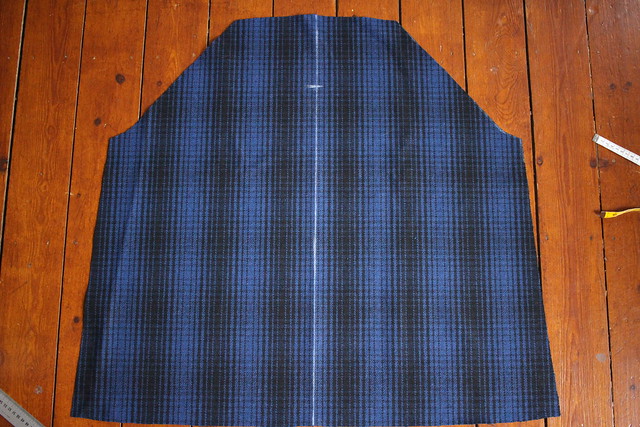
3) Draw a line down the centre in chalk on the wrong side of the fabric.

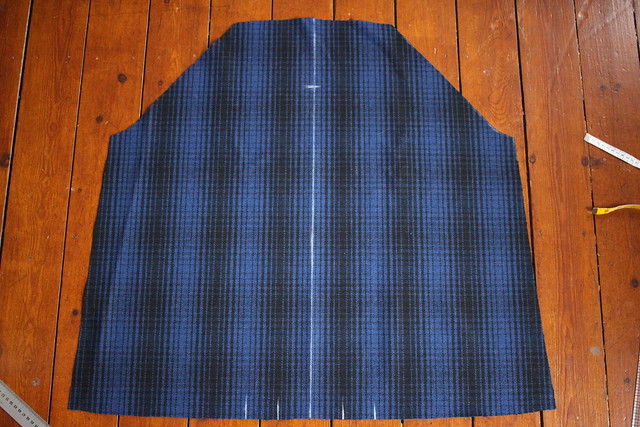
4) On this line measure down 14cm (or whatever distance you want the pleat to begin from) and mark that point.
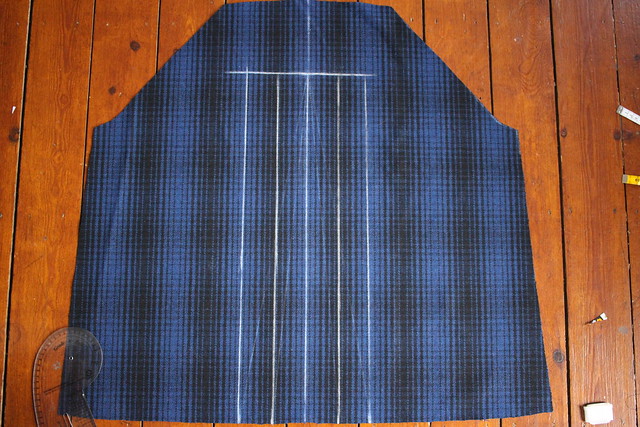
5) On each side of the centre back mark two points, one 5.5 cm from centre, and another 11 cm from centre. Then square these lines up to be parallel with the point you marked 14cm down from the top of the pattern piece.
Whatever measurements you use it is important that each column is the same width as they will become the two sides of each pleat. So each of my columns are 5.5cm.
6) Take the first line you drew on one side of the centre back and fold it over, right sides together. Now sew along this line with with a tiny seam allowance of just a few millimetres. The idea is to define this fold so that it stays in place. Repeat for the other side of the coat.
Hope this step is clear from the photos.
7) Fold the outer columns under the inner columns.
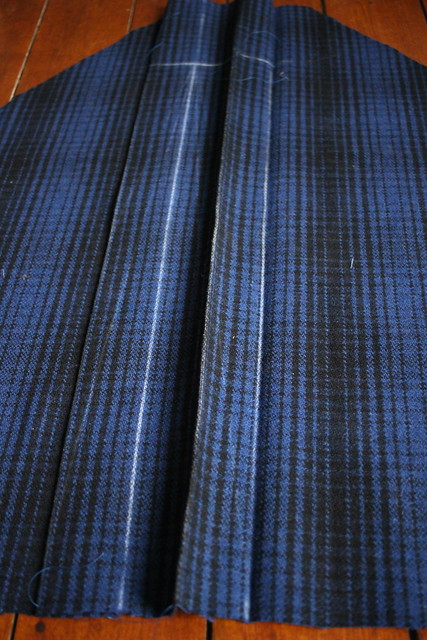
It should look like this on the wrong side...
...and this on the right side.
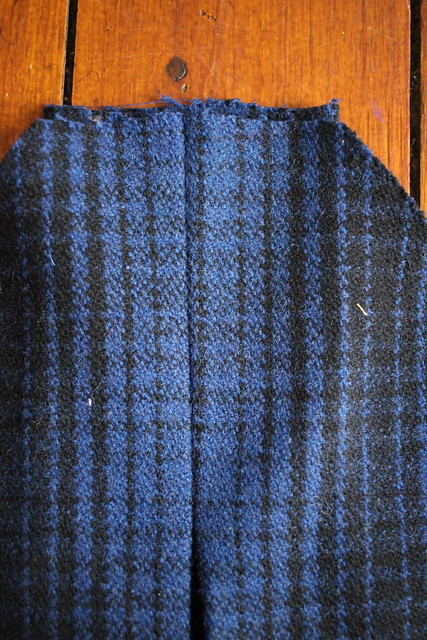
8) Now you are going to sew the part of the coat above the line you drew 14cm down from the top. Lift up the pleat and pin along the centre back.
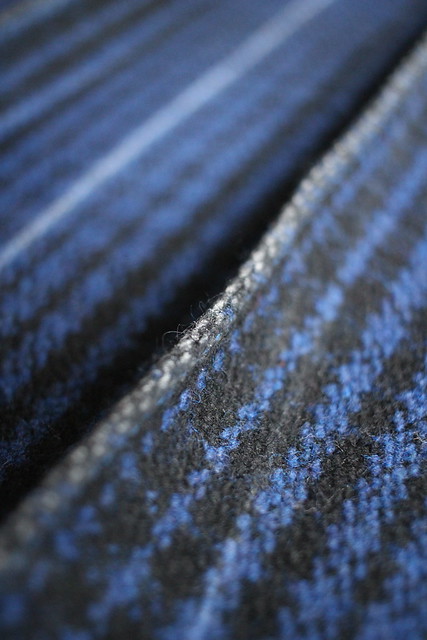
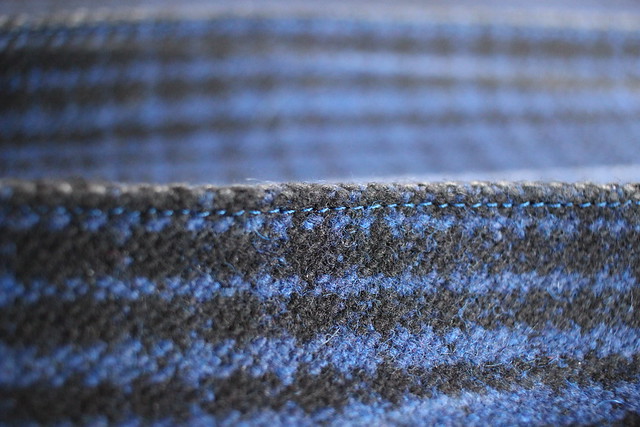
Sew. It should look like this from the front.
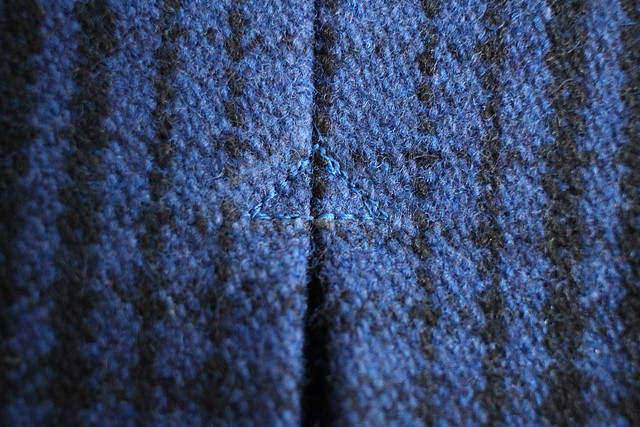
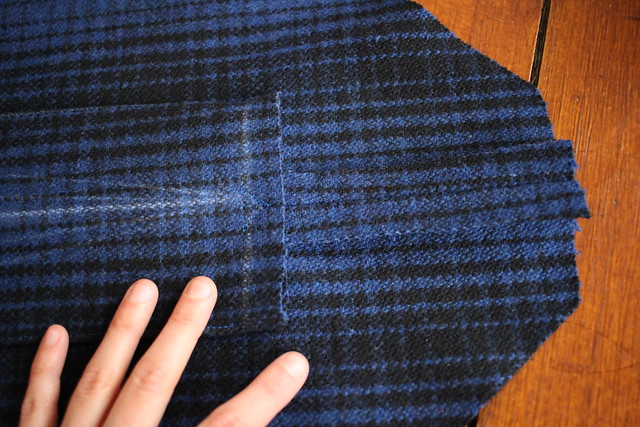
9) Topstitch a small triangle where the top of the pleat meets the sewn part of the cente back seam.
10) This part is tricky to show in photos. Basically the aim is to cut away the unnecessary fabric at the top.
You should now have three layers of fabric. Repeat the following for both sides.

Cut down the centre of the first layer of fabric only from top to just above your triangle.
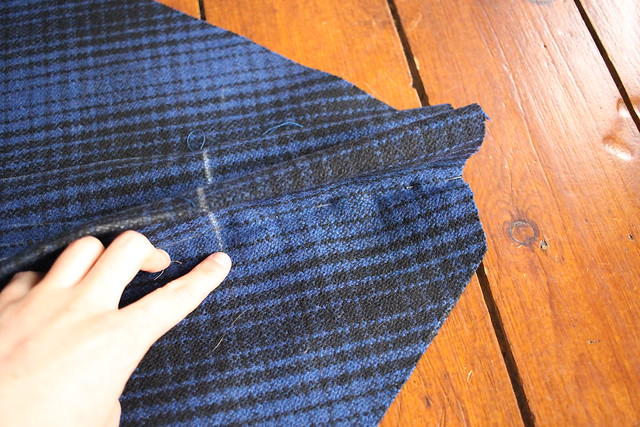
Then cut to the left to the end of the pleat.
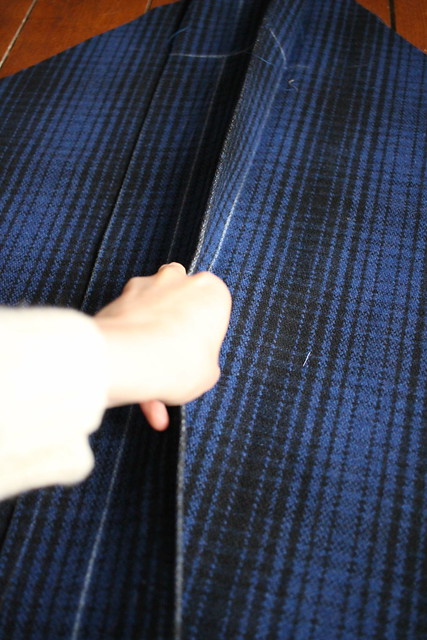
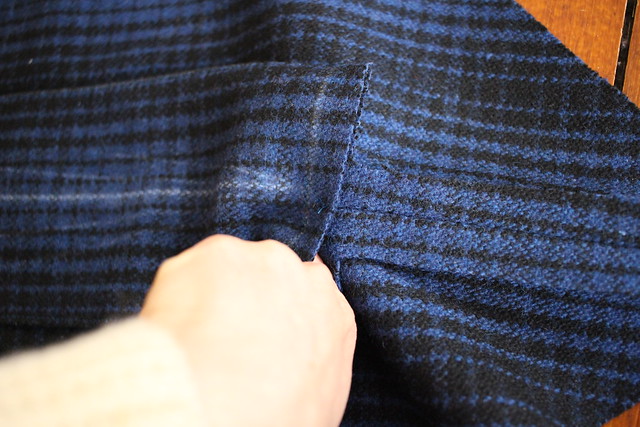
Open up this panel as in the photo. Cut it off leaving a seam allowance at the centre back and leaving the double layer of fabric at the top of the pleat in between my fingers in the previous photo.
It should now look like this:
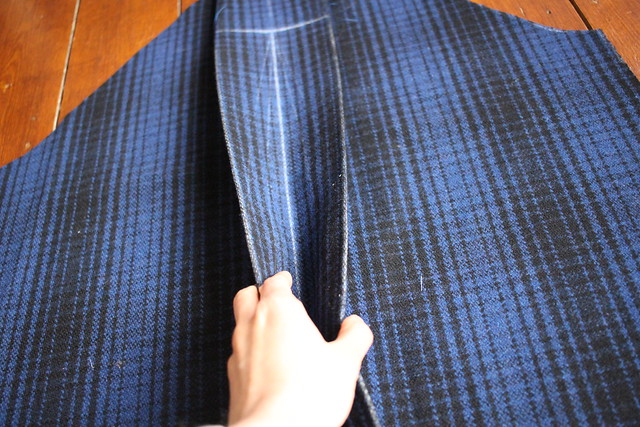
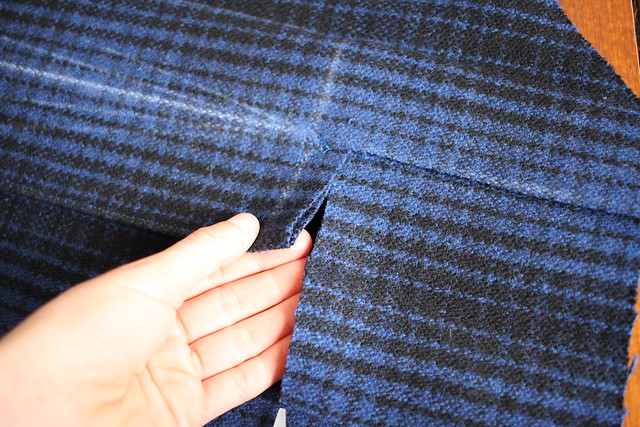
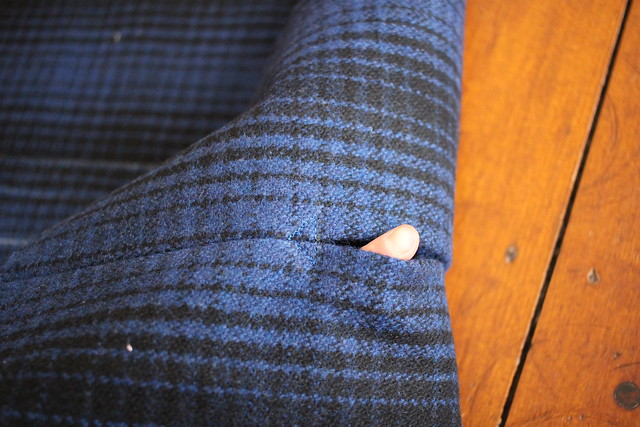
You should be able to stick your finger right through from here:
to the front:
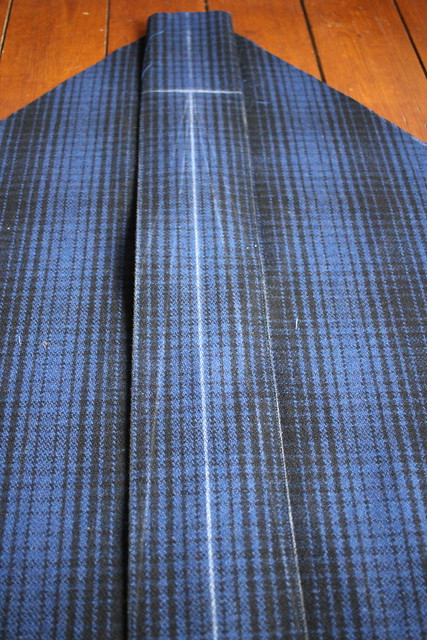
I'll deal with whether I add a button and fastening like the one that appears on my green coat another day :)
Voila !
- - - - - - -
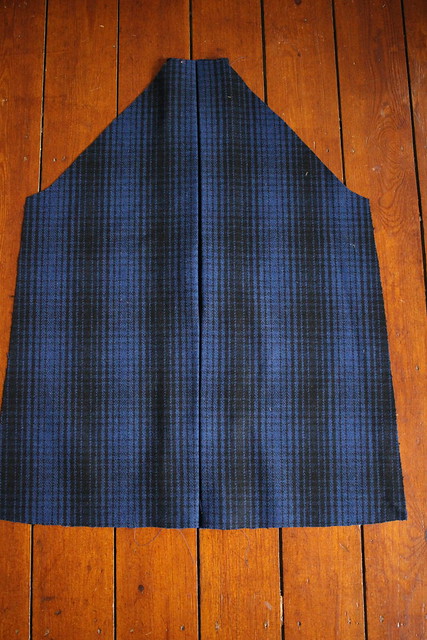
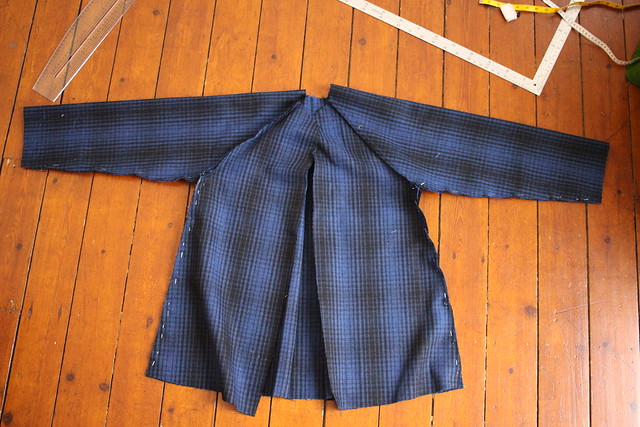
Here is a picture of the finished back piece pinned to the sleeves and the two front pieces before I sewed those four seams.
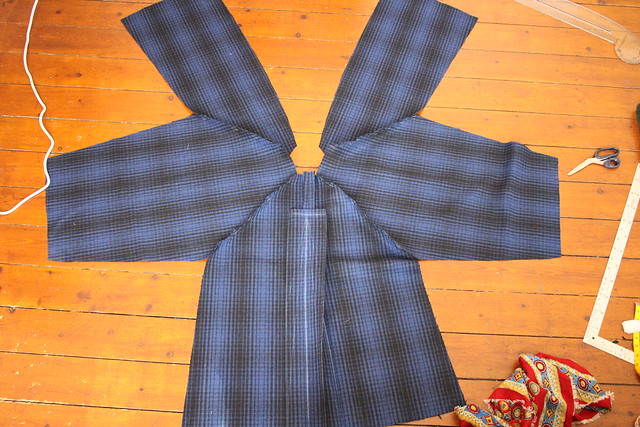
Then I sewed the side seams and underarm seams in one fell swoop - one of my favourite sewing manouvers!
To be continued....