21.12.13

Solstice sewing

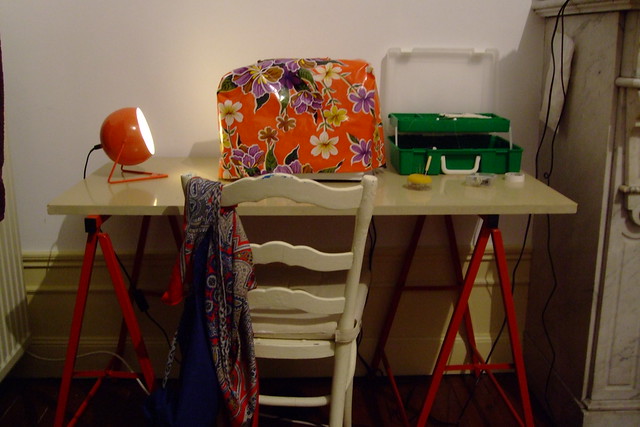
beignet preparation
It's the shortest day of the year and I'm putting together the Beignet and Violet patterns from Colette patterns. Quite a long process so looking forward to getting to the cutting out and sewing!
What do you prefer - PDF print at home or pattern in the post?

13.12.13

An epic small bust adjustment story...Part 3

Truffle Dress

Here is my third and final post on this topic (for now at least!) where I'll show you how I carry out SBAs on bodices with darts using the Truffle dress from the Colette Sewing Handbook as an example.

Step by Step example on darts: Truffle Dress by Colette Patterns


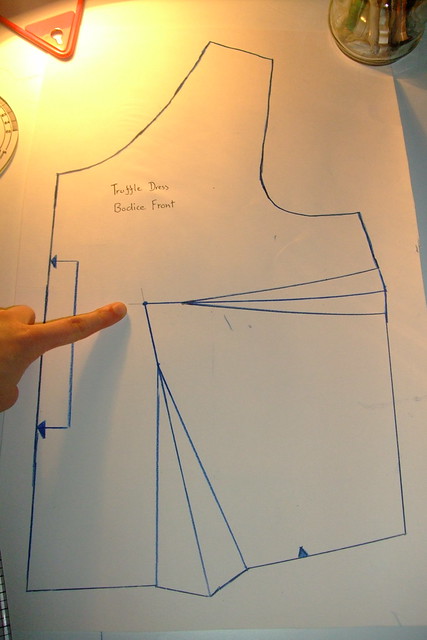
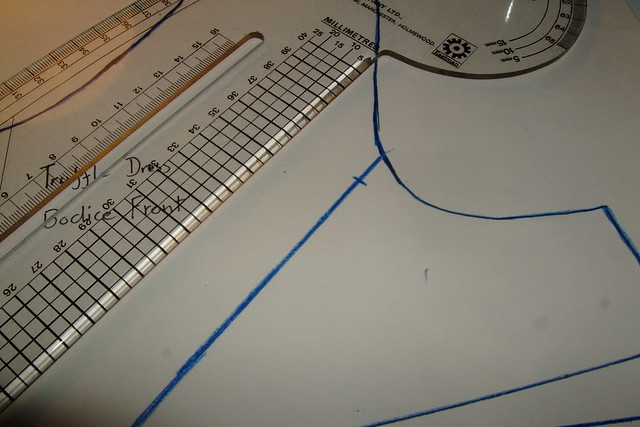
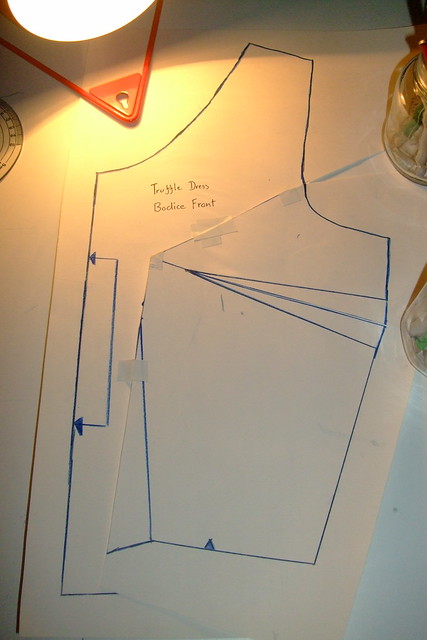
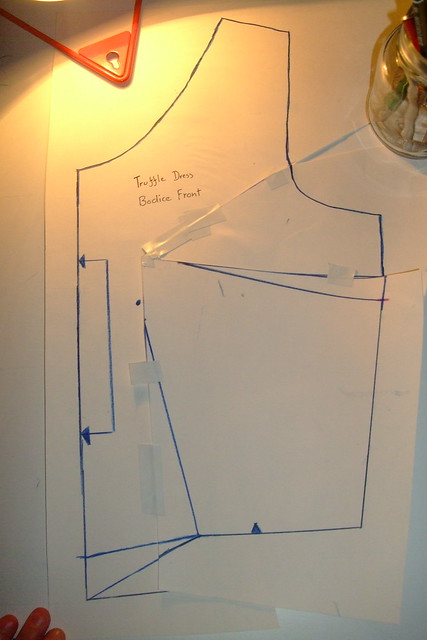
1) Mark the bust point. I extended lines through both dart points to find the bust point on the Truffle dress.
1

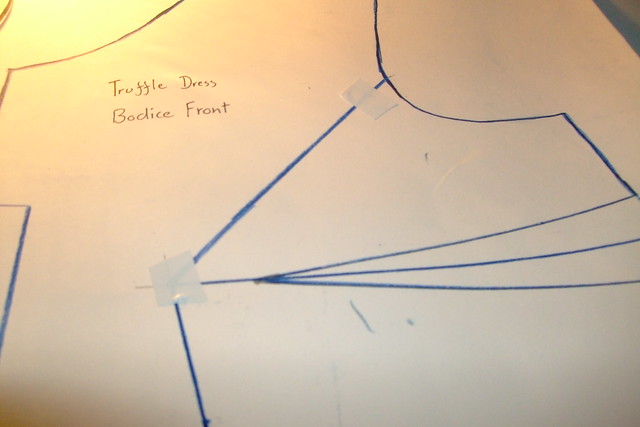
2) You've also just drawn your first slash line, from the waist through the centre of the dart to the bust point. You'll use the line through the side seam dart later on.
2

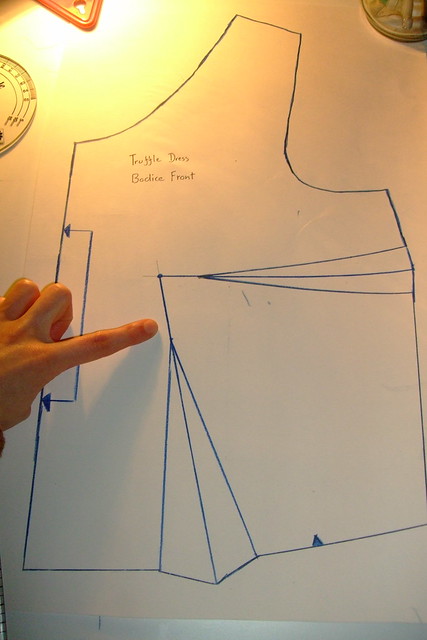
3) Draw a slash line from the bust point to the armhole.
3

4)Mark a hinge point 1.5cm from the edge (or whatever your seam allowance amount is).
3a

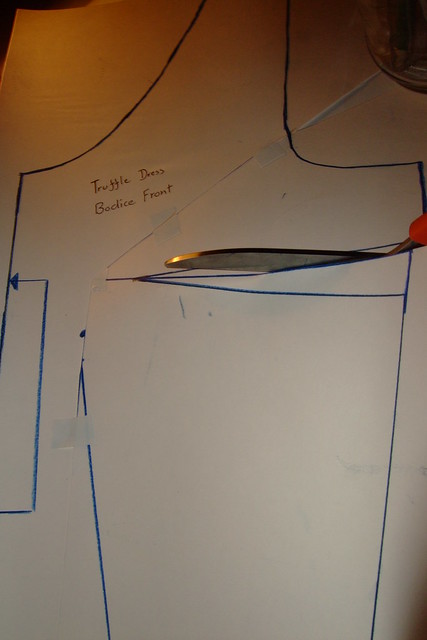
5) Then put some tape over the bust point and over the hinge point at the armhole.
4


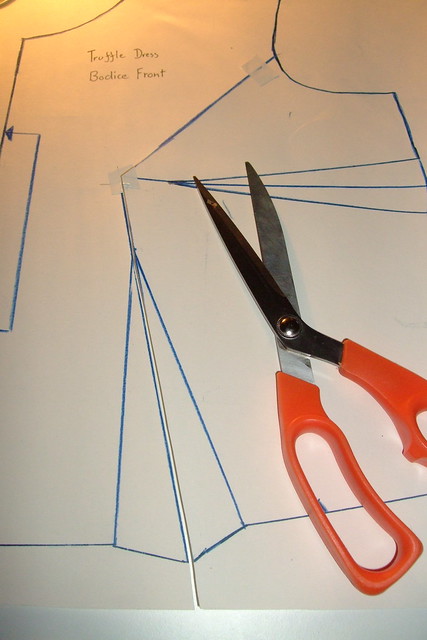
6) Cut along the line from the waist through the bust point and up to the armhole hinge point.
5


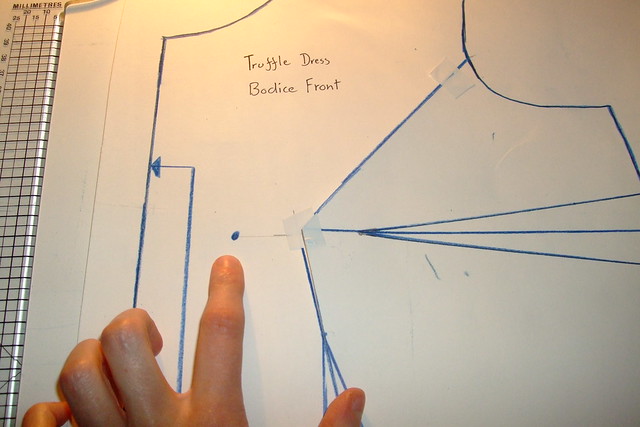
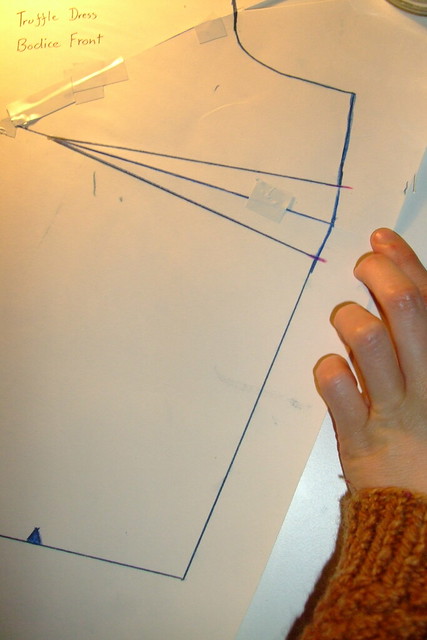
7) Mark a point 3cm* inwards from the bust point ( towards the centre front). Then swing the pattern piece over to that point. Secure with some tape.
*Amount that needs to be removed. The pattern bust size (84cm) minus my bust size (78cm) = 6cm excess to be removed. Divide this figure by two = 3cm to be removed on each side of the bodice front piece.
6
7


8) Cut the slash line through the side seam dart to just before the bust point (don't forget to leave a hinge).
8


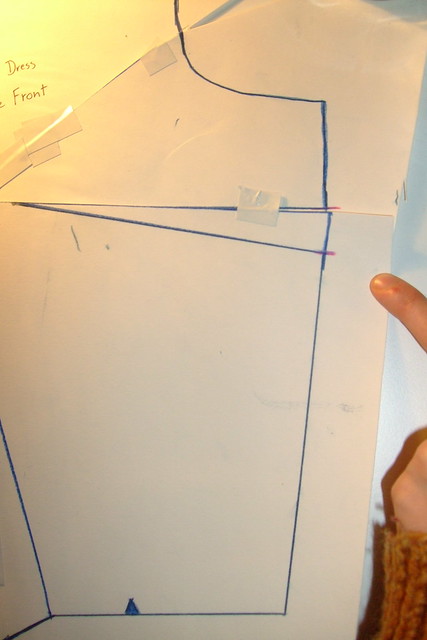
9) Then swing this lower front section upwards to move the waist line back to its original position. In doing so you will be moving the side seam dart leg points. See comparison between original position of dart in this photo...
9
...and the new narrower dart in this one.
10


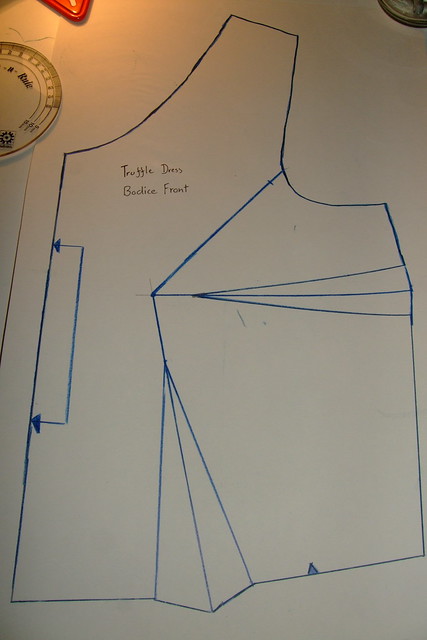
You can extend the dart point to nearer the bust point. Redraw the dart with its new leg points. You might need to reshape the side seam here to ensure that it is smooth. If necessary you can fold the dart closed as if it was being sewn to find the new side seam.

11) For the waistline, you can either redraw the dart, or as I did with the Truffle dress, eliminate it altogether. The most important thing is that the finished waistline length remains the same as in the original pattern. When redrawing the waistline the most important thing is to make sure the pattern piece will line up with the corresponding skirt section. I have drawn in two options for the waistline. The higher one is the one I used as I think the lower centre front section needs to be brought up as this will help remove some of the excess.
12


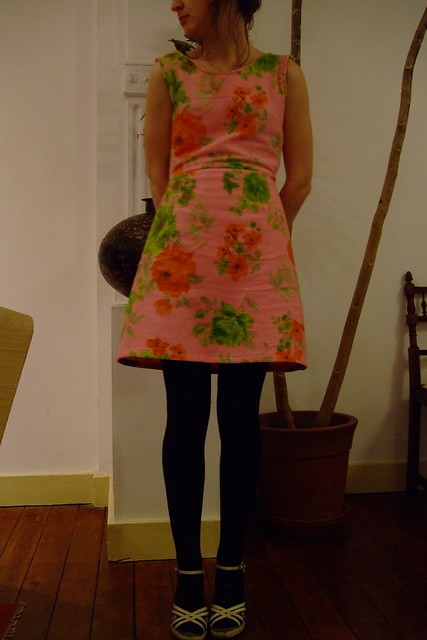
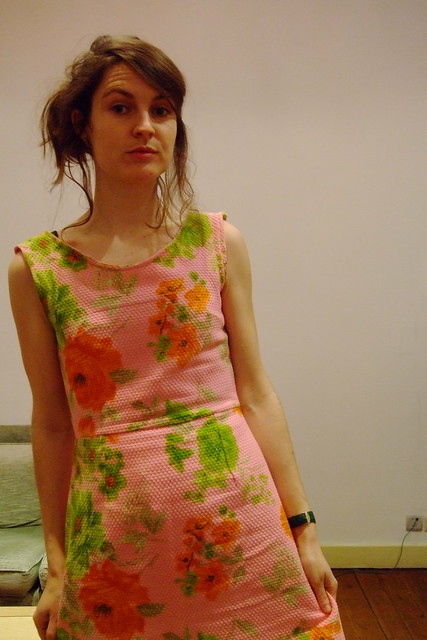
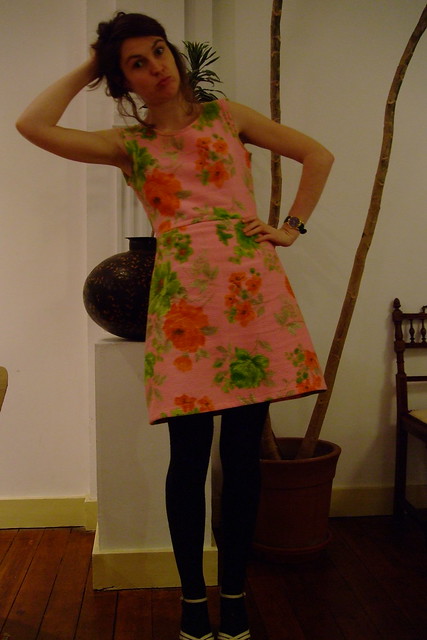
And here are some photos of my finished Truffle dress:

DSCF7375DSCF7372

As you can see I omitted the front drape as I didn't think it was necessary for this slightly more structured style. I love the texture of this great fabric, which I acquired in the July sale at Maison des Tissus (Chaussée d'Ixelles 117, 1050 Ixelles).

It would be interesting to make the Truffle dress in a different type of fabric for a more flowing style.

I'm really happy with the final fit of this dress and the bodice adjustment. I'm also realising that when it comes to bodice darts the style that fits best for me is side seam darts and no waist darts, this was also the case for the 60s style dress pattern I drafted in the summer.

Phew! That was indeed an epic three-part saga. Time for tea.

DSCF7377

9.12.13

Toile cirée sewing machine cover

DSCF7379

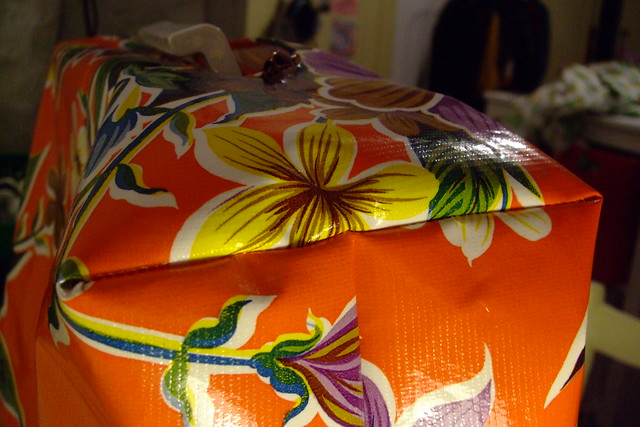
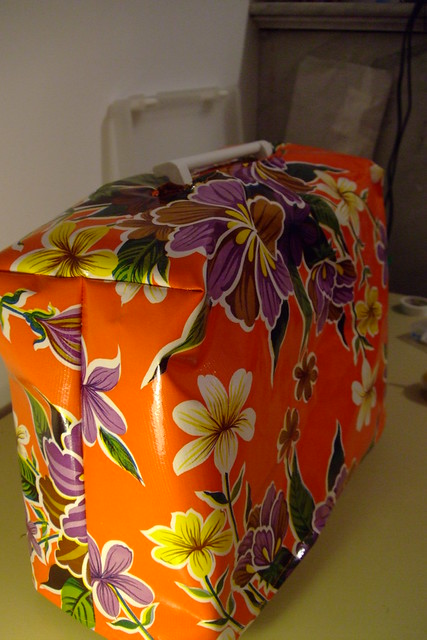
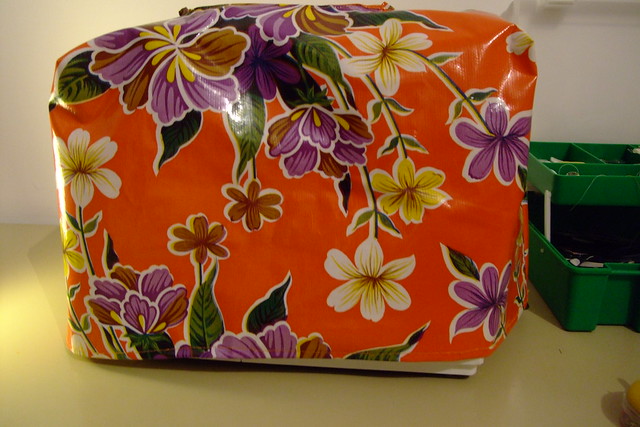
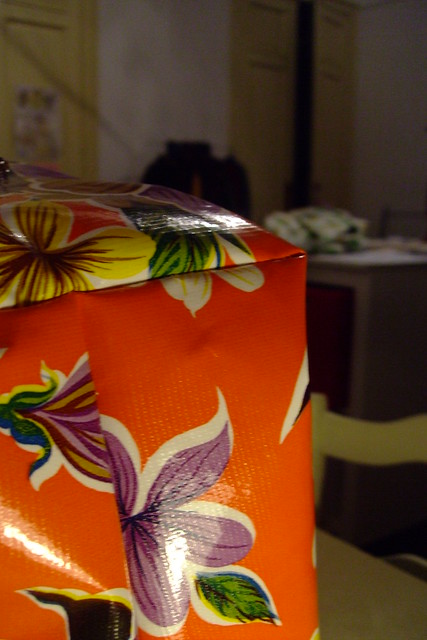
The white plastic sewing machine dust cover that came with my sewing machine, which is now (frighteningly) going on 7 years old, was long past its sell by date so I decided to fashion a new one out of some 'toile cirée' which I have a lot of from an old tablecloth! The best translation for 'toile cirée' in English is 'oil cloth' or 'vinyl cloth', but I'd probably just call it a 'plastic tablecloth'.

I simply drafted a quick pattern based on the shape of the old cover and then sewed it up.

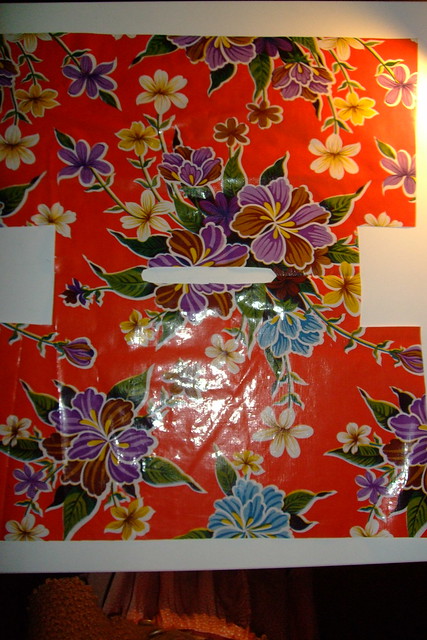
Here it is cut out before I sewed it up. You could make one for your own machine by following this model making sure that the pattern corresponds to your machine measurements. I also drafted a facing for the handle area to finish the edges off.
DSCF7328


It was fun to use such a thick fabric and to make something that is not for wearing for a change!
DSCF7381


DSCF7380DSCF7382
DSCF7383

4.12.13

Unscalloped

DSCF7385
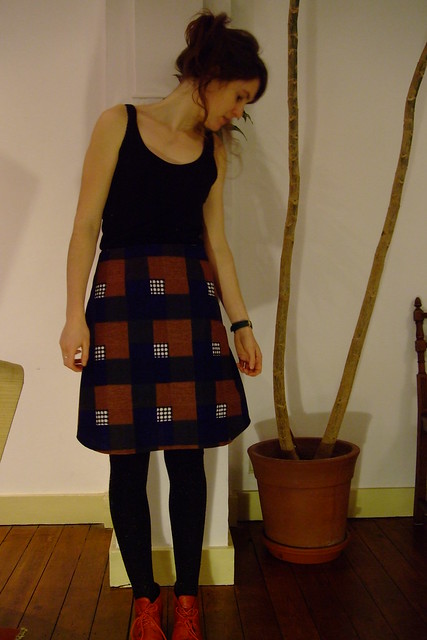
I made the Meringue skirt this weekend from the Colette Sewing Handbook, but as you'll have noticed my version does not feature the signature scallop edge. Although I cut it out with the scallop edge, unfortunately it didn't look right when I sewed it all together so I decided to just chop it off. I'm quite pleased with the result, but I would like to have another go at the scallop and be less slap dash this time! Or maybe life is too short for scalloped edges?!