

One of my recent projects was to make a shirt for my sewing crazy boyfriend (haha!) Nico. And in the end I made two!
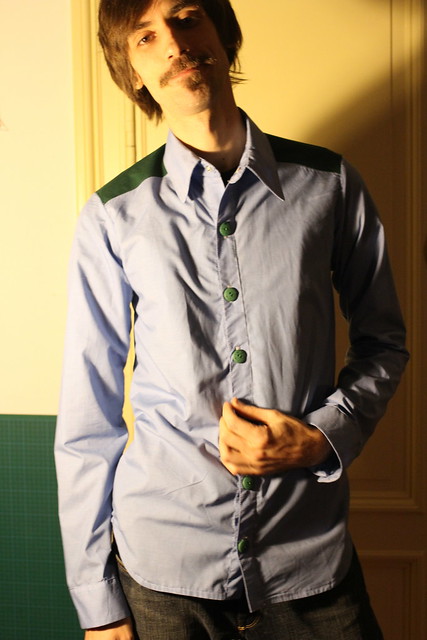
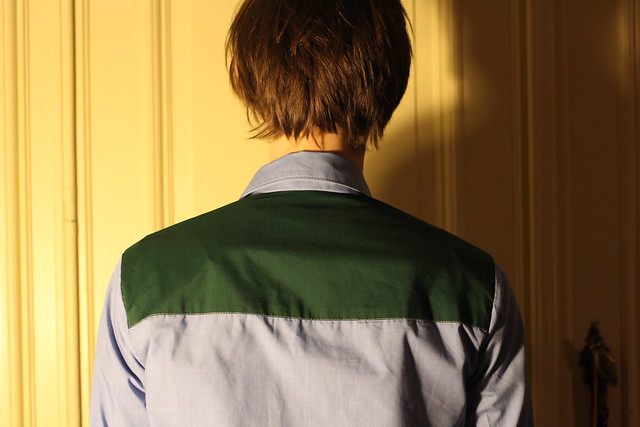
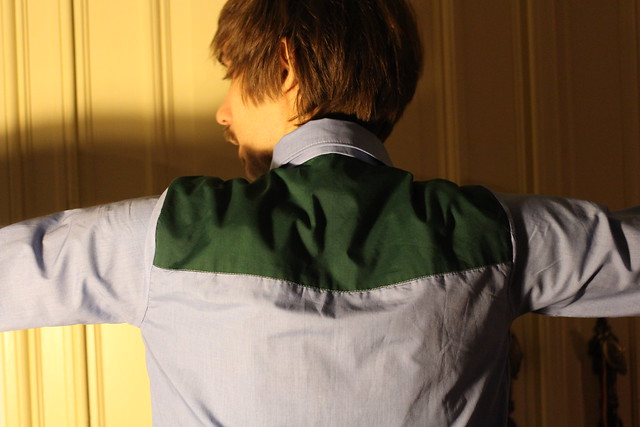
The first one was an adaptation of the Men's shirt pattern from the GBSB book ‘Sew Your Own Wardrobe’. I used some blue shirting cotton that I have no recollection of purchasing and some mystery green material for the back yoke also from the depths of my stash.
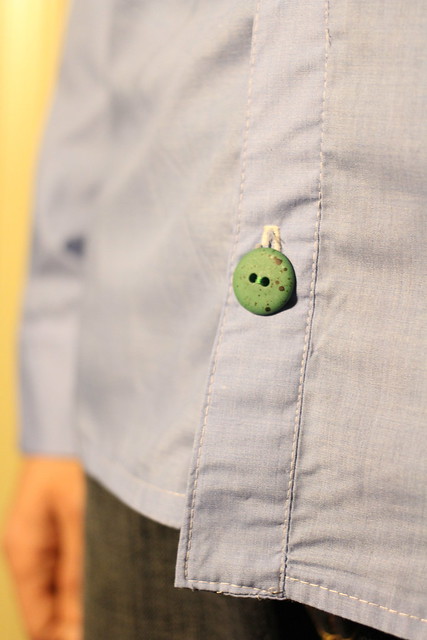
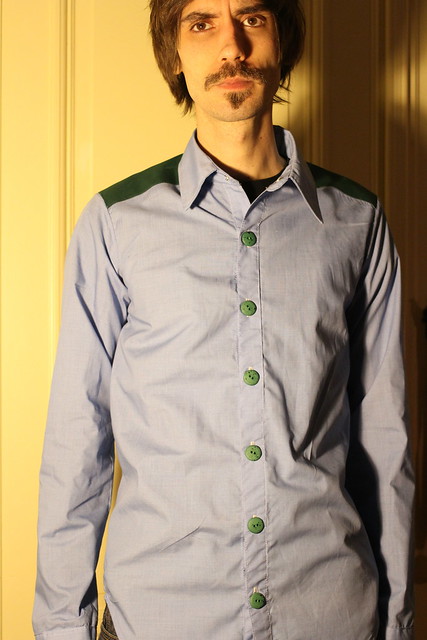
The lovely green eggshell buttons come from Gold Fingers.
As the pattern just has a simple collar with no stand I drafted one using this handy guide from Em Makes Patterns.
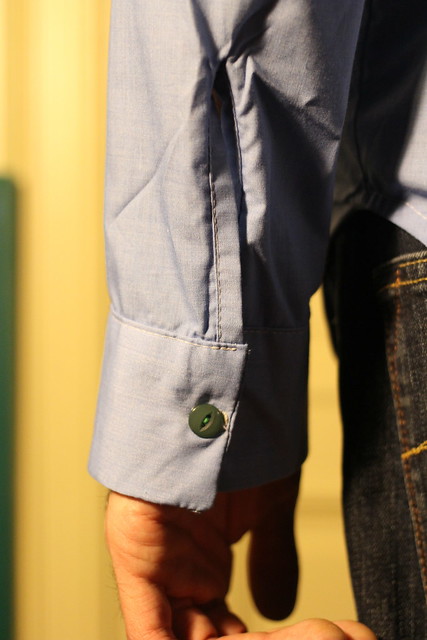
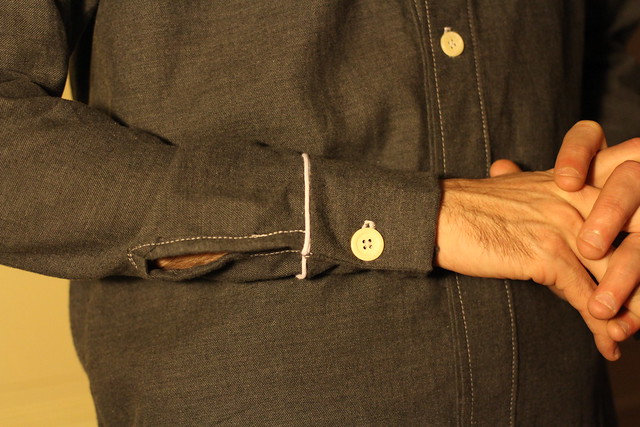
I also lengthened the sleeves and added cuffs and plackets.
As Nico is a slim bean I just decided to go for it and make up the smallest size to see if it would fit him as I viewed the first shirt as a test and ‘skill sharpening’ exercise anyway. It’s wearable but a little too tight under the arms for his liking.
'Hmmmm, sew me another shirt, and make sure it fits this time!'
So back to the drawing board for attempt two!
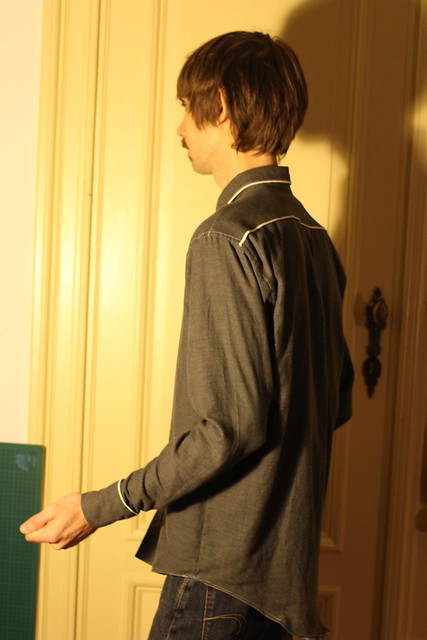
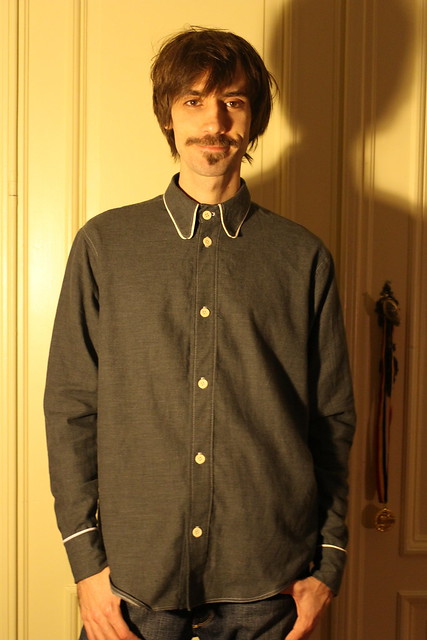
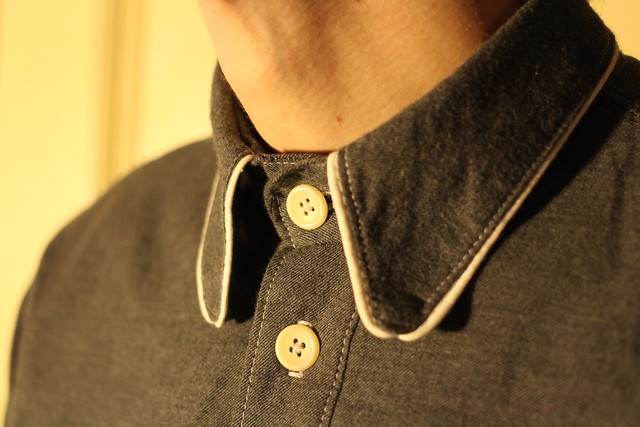
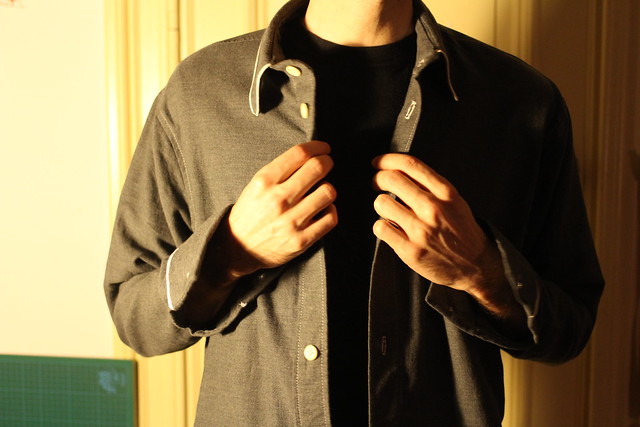
For the next shirt I picked a grey warm soft fleecy-like cotton from Berger and rubbed off one of his favourite shirts to make sure that this time I got one that fitted him as he likes. I added white piping for a country and western look!
'Let's dance!'

I’d like to make another one and really go all out with the country and western feel – I love the use of piping and the front feature of the République du Chiffon ‘Jolaine’ shirt so might steal the idea for a men’s shirt.
Construction wise I had a great time making these shirts. I got really into trying to be as accurate as possible and work out the best way to do things.
Here are some online resources I found indispensable:
> Em Makes Patterns
is one of the most useful blogs ever! Love the focus on pattern manipulation/adaptation/construction.
I followed her how-to on copying a shirt
pattern to the letter.
> My GBSB ‘Sew Your Own Wardrobe’ book Men’s shirt instructions were useful for the basic first steps, particularly the button bands. It was good to have some basic instructions to start from which I could adapt.
> The last time I made
a shirt it was the Grainline Archer.
The method used in the Archer instructions is to join the collar to the stand
and then attach the whole thing to the shirt. However, I much prefer the method
Sewaholic use in their instructions which involves making
the collar first, then attaching
the collar stand to the shirt using a collar stand
template. Lastly, you attach
the collar to the stand.
> I turned back to Grainline for the plackets though as I think this explanation is great, as is the one for cuff construction.
Now my plan is to make a third shirt and really hone the
process. It’s frustrating when you learn something (such as collar and stand
construction) and really grasp it but then forget it again when you don’t do it
for a while!
The only thing I don’t enjoy about shirt making is buttonholes; probably my least favourite and most fear-inducing sewing task. I find it so tricky to do them and there is so much pressure as you only get one shot!
The only thing I don’t enjoy about shirt making is buttonholes; probably my least favourite and most fear-inducing sewing task. I find it so tricky to do them and there is so much pressure as you only get one shot!
Above all, Nico is happy (I hope)! And I might try to sneakily wear one of these shirts from time to time too…

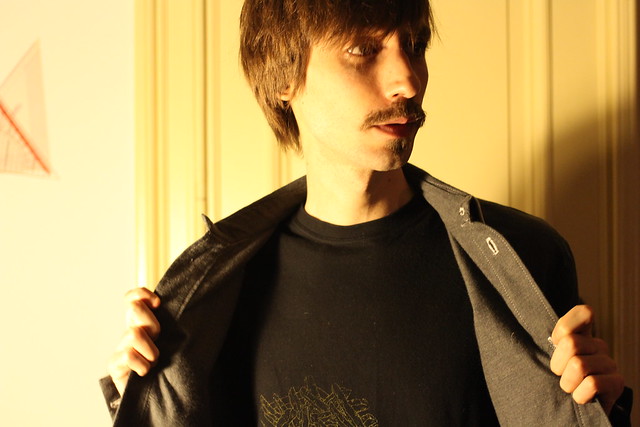
Disclaimer: Nico bears sole responsibility for the moustache featured in this post.

I'm cracking up over the mustache comment! These are some great shirts! I love the fabric combo with the buttons on the first shirt and the shape of the second. I like Sewaholic's method with the collar too. Well done!
ReplyDeleteThanks! haha, the moustache is gone now! :
Delete