
Here is a quick step by step guide to how I sew buttonholes.
First mark on your fabric* the length of your buttonhole in chalk and make sure you have a buttonhole presser foot.
Step 1:
First you sew down right-hand side of the buttonhole using the 1 function (or equivalent function depending on your machine type, I use a Silver 1008). Make sure that the last stitch you sew is on the left and that the needle is up. I like to go down once, then reverse stitch back over it before sewing downwards once again.
Step 2:
Use the 2/4 function and do an odd number of stitches, so that you finish on the right-hand side.
Step 3:
Now you use the 3 function to go up the left-hand side. The last stitch should be on the right and the needle should be up.
Step 4:
Now use the 2/4 function again to do the top of the buttonhole.
Step 5:
Now I sort of 'trick' my machine and use the 1 function to go over the left-hand side two more times to strengthen it like I did for the right-hand side. Make sure you place the needle carefully so you go exactly over the stitches that are already there.
Step 6:
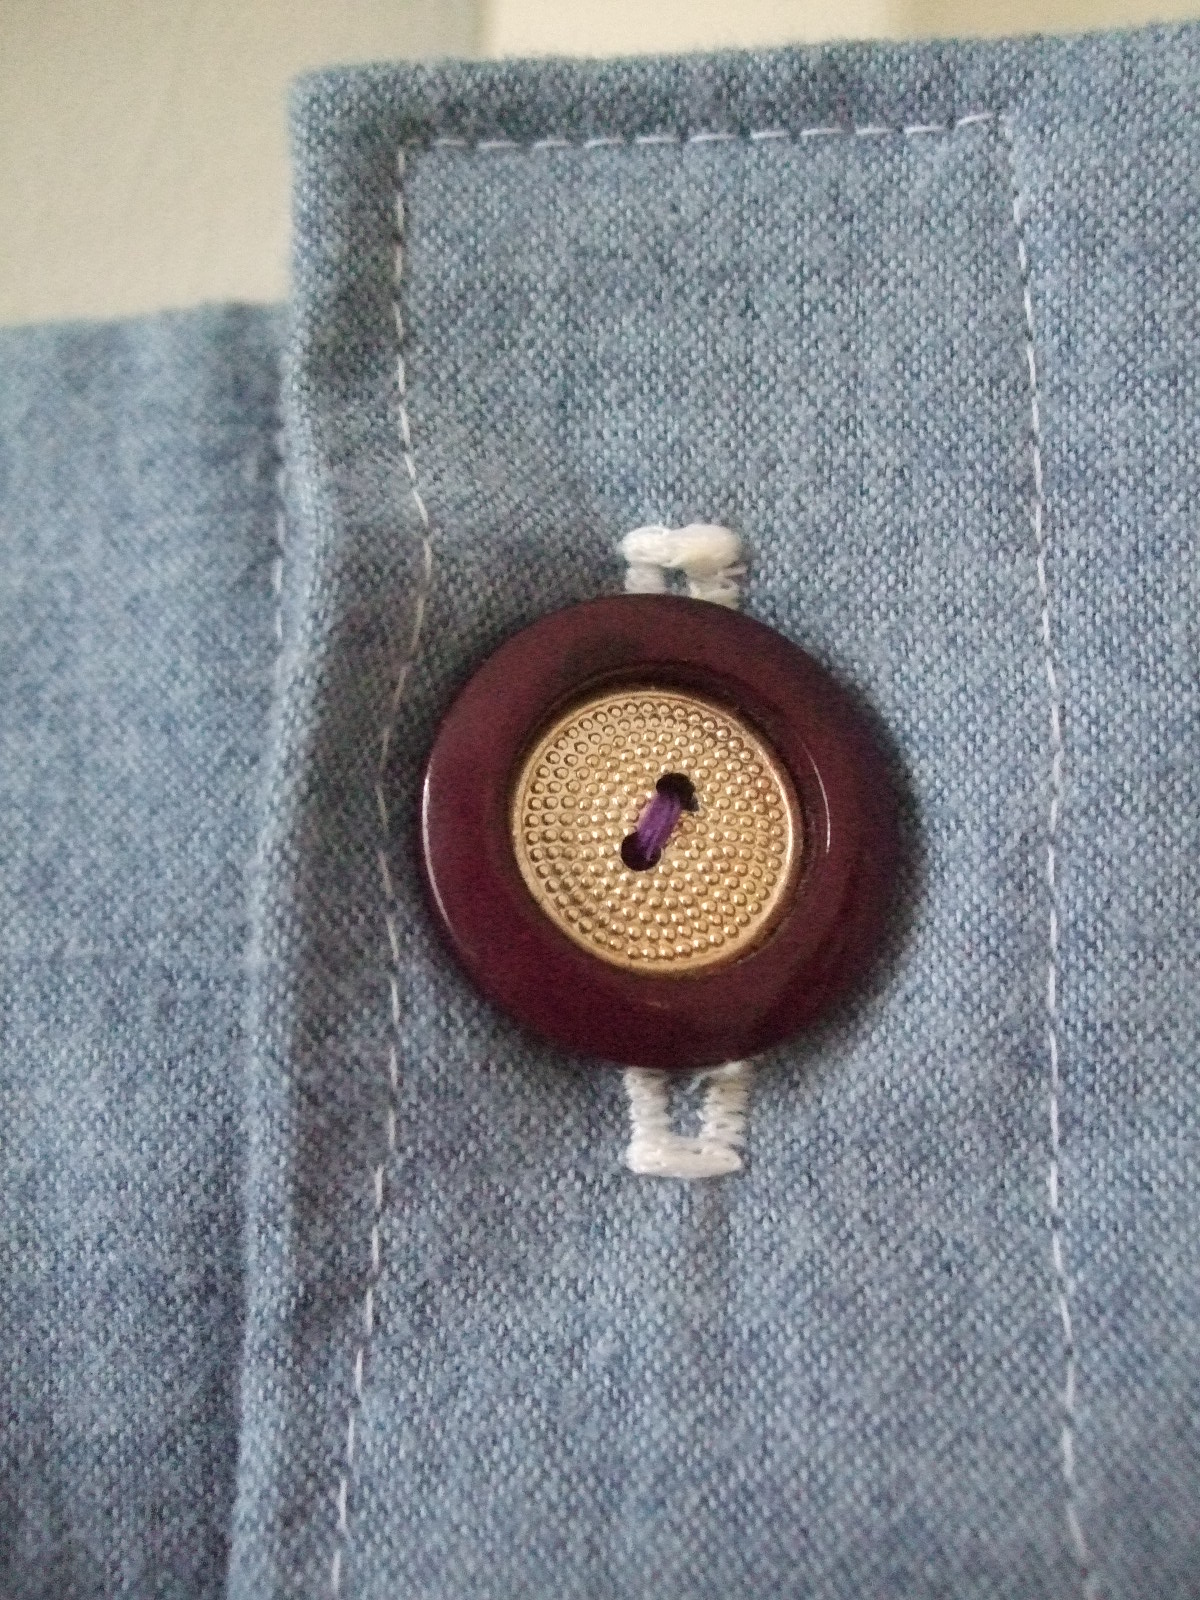
Carefully burst the fabric in the middle of the buttonhole with a seam ripper.
*Always do multiple practice buttonholes on a scrap of fabric first!

No comments :
Post a Comment